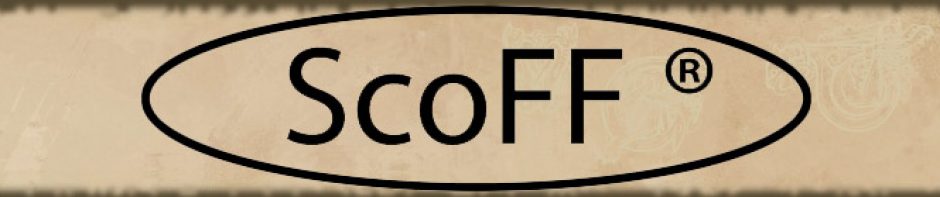
For each leg I look forward to doing 3 arms. Lots of work go into making these things, I need a new college fund idea.
For each leg I look forward to doing 3 arms. Lots of work go into making these things, I need a new college fund idea.
I’ve put together a good docking station to do small parts on the larger Festool Domino XL. The domino sits in a domino dock that’s clamped on the workbench so it can stand up vertically so I can bring the wood to the machine.
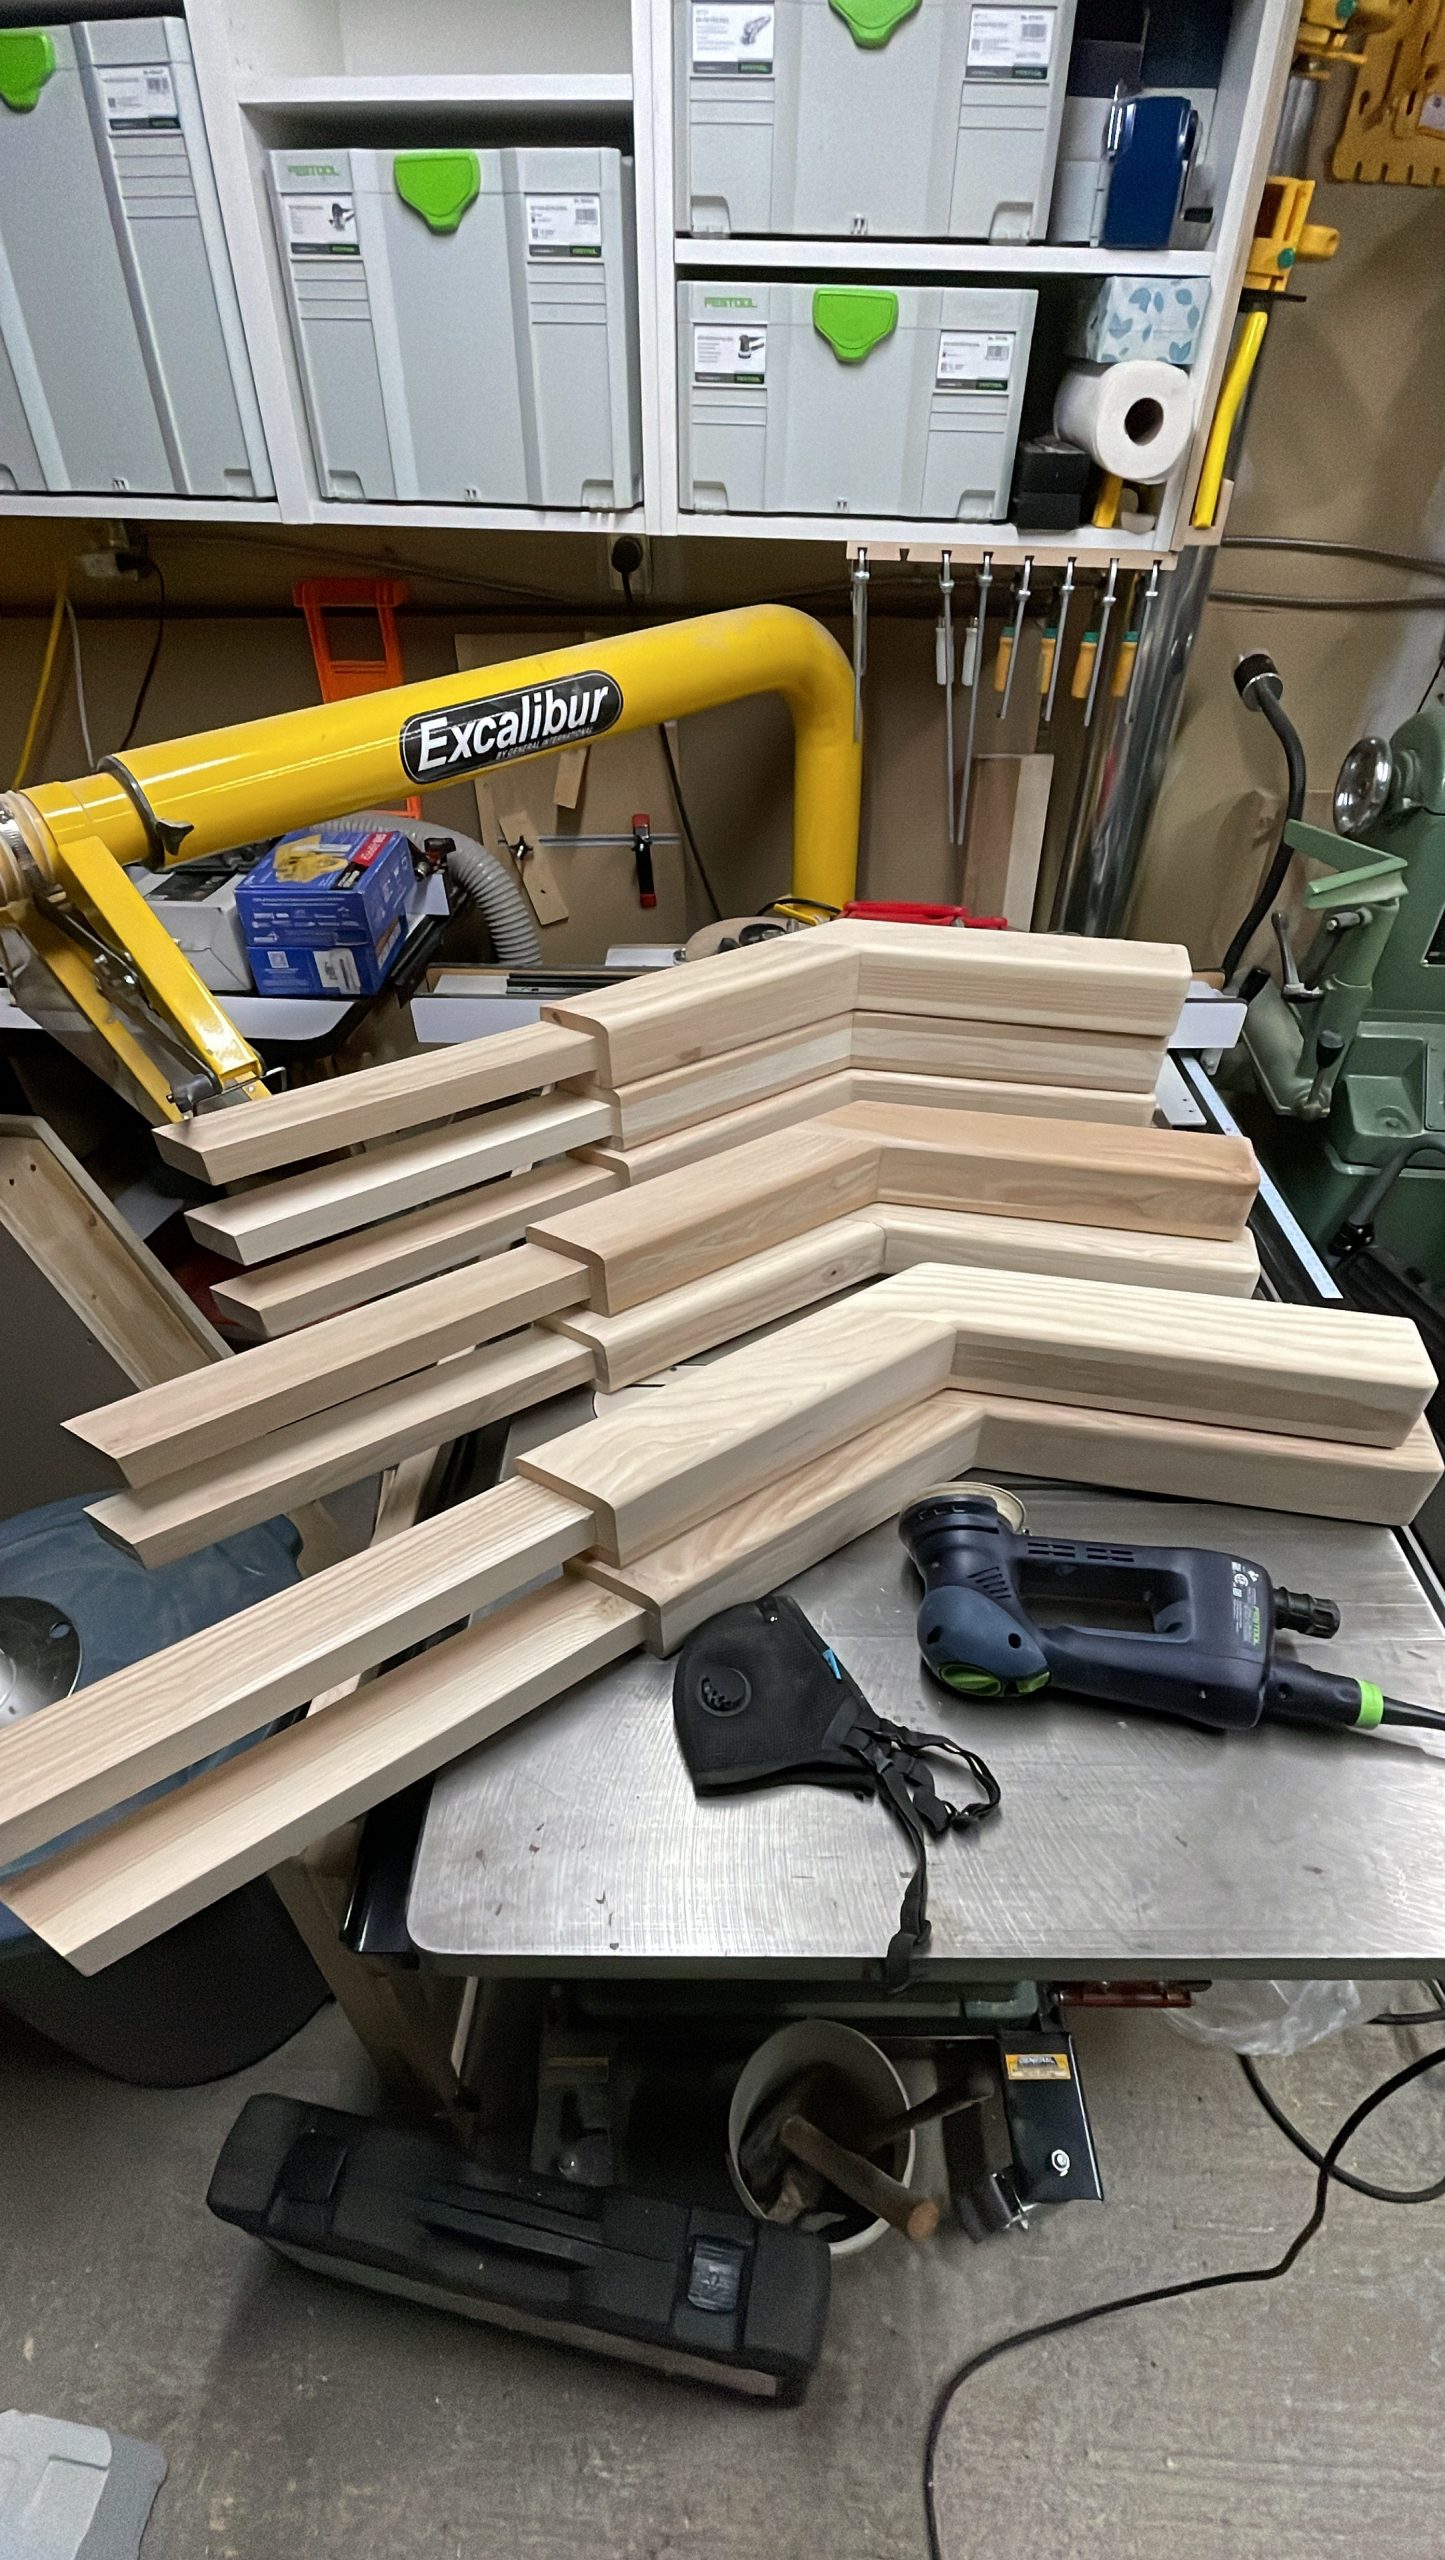
Next is the Seneca Dock Plate XL, the black jig that attached to the domino fence. It lets you set narrow pieces of wood to plunge a mortise into the end that would normally be hard to do otherwise. There’s a built in clamp so you don’t have to hold the workpiece. This doesn’t let you do pieces laying down flat which brings me to my last piece. A flat platform.
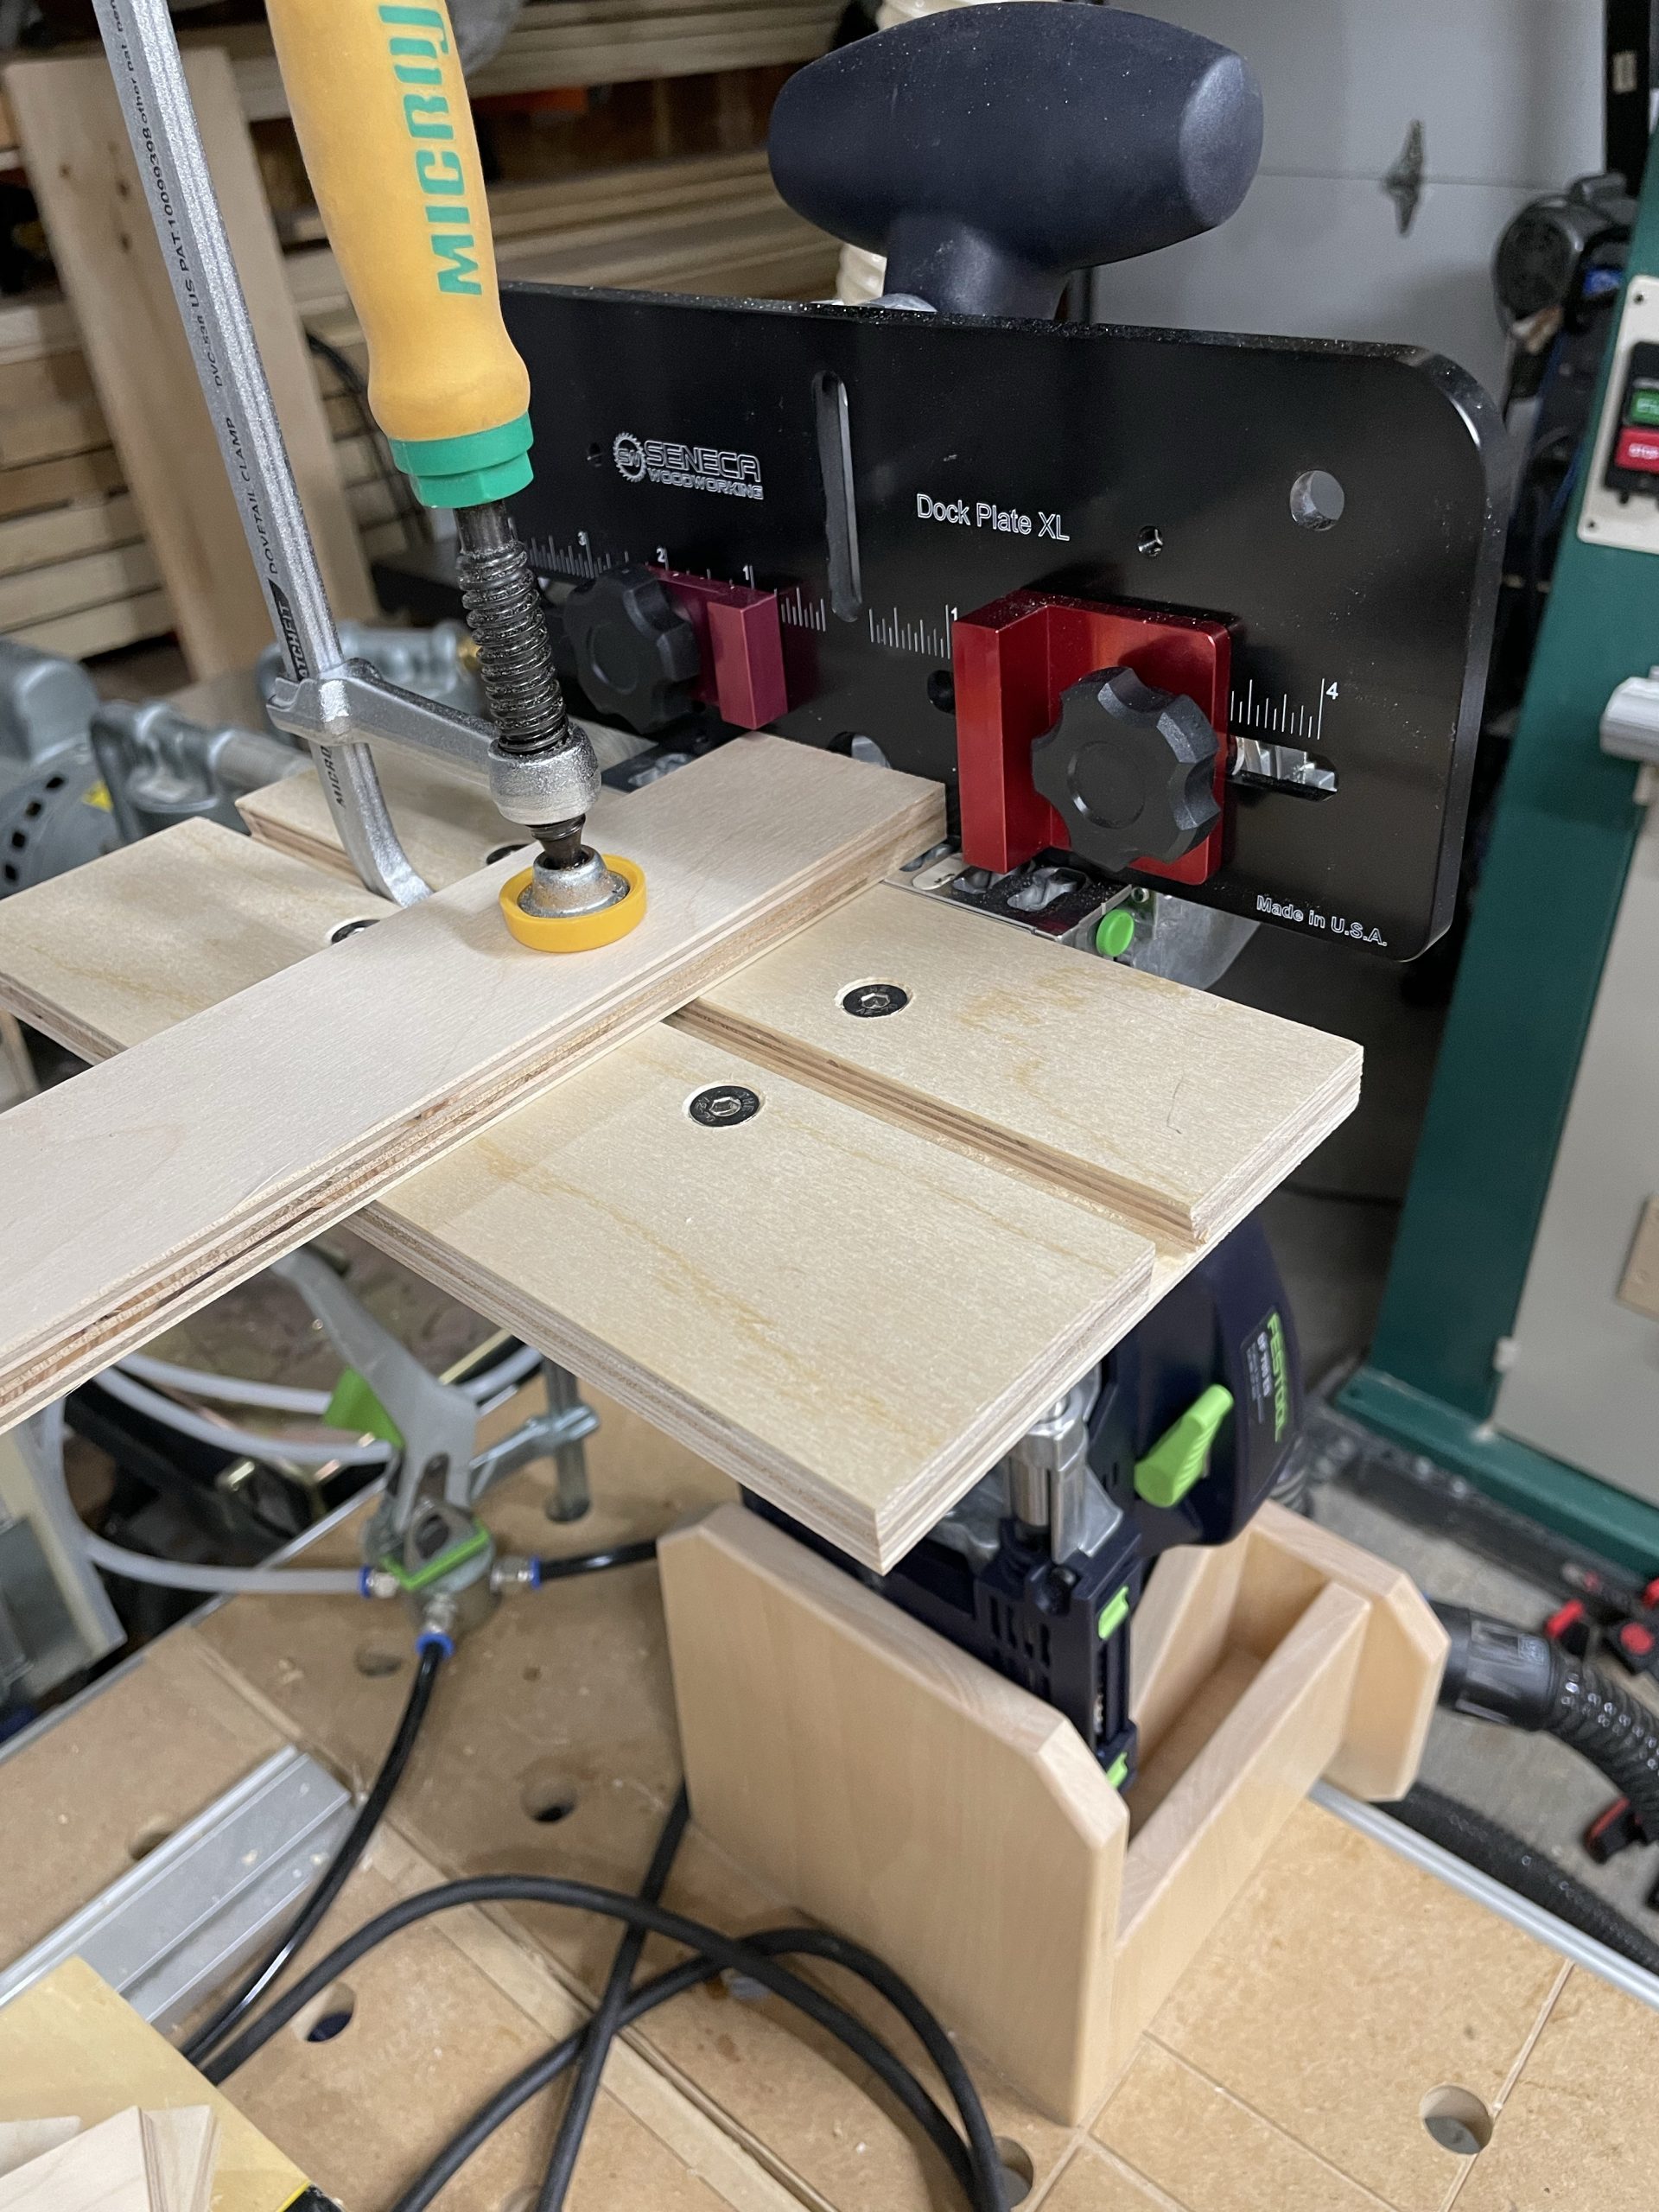
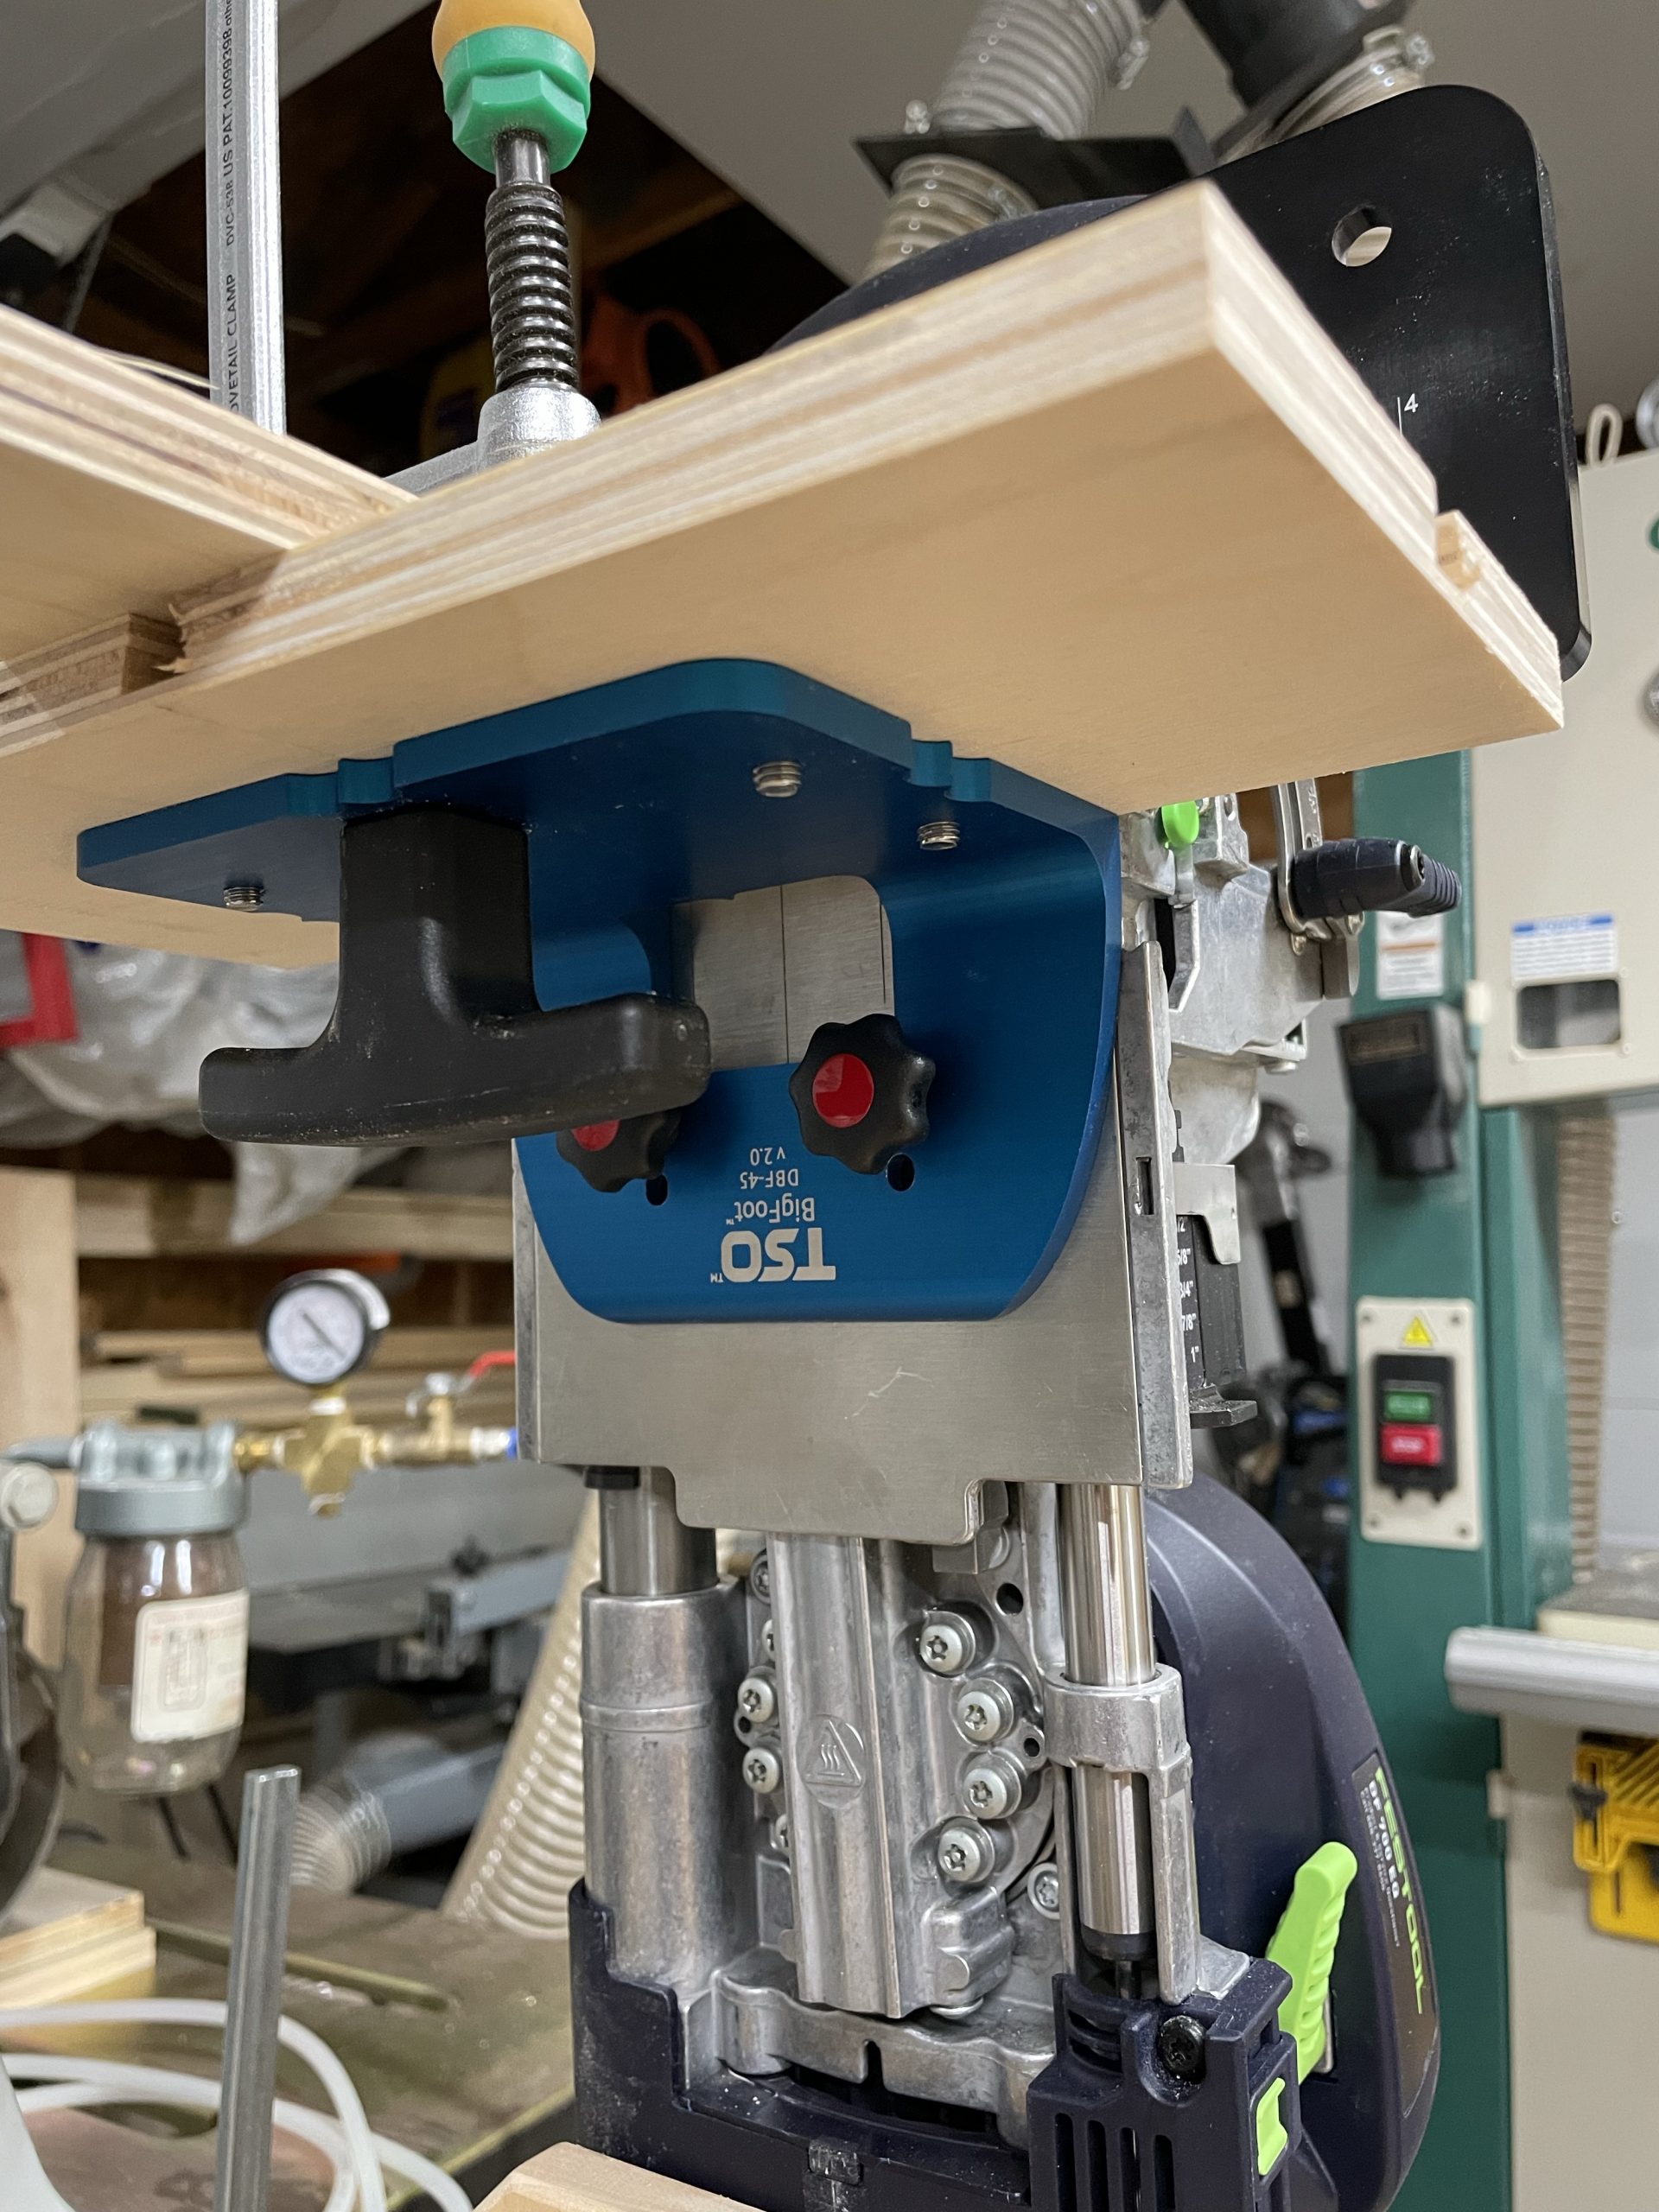
Next I use the TSO Bigfoot. The blue piece. It lets you put a 1/2” plywood base which I’ve routed dovetail slots so Microjig clamps cam be used to hold workpieces flat hands free. Now I can do mortises on the ends and then the corespondent faces of wood.
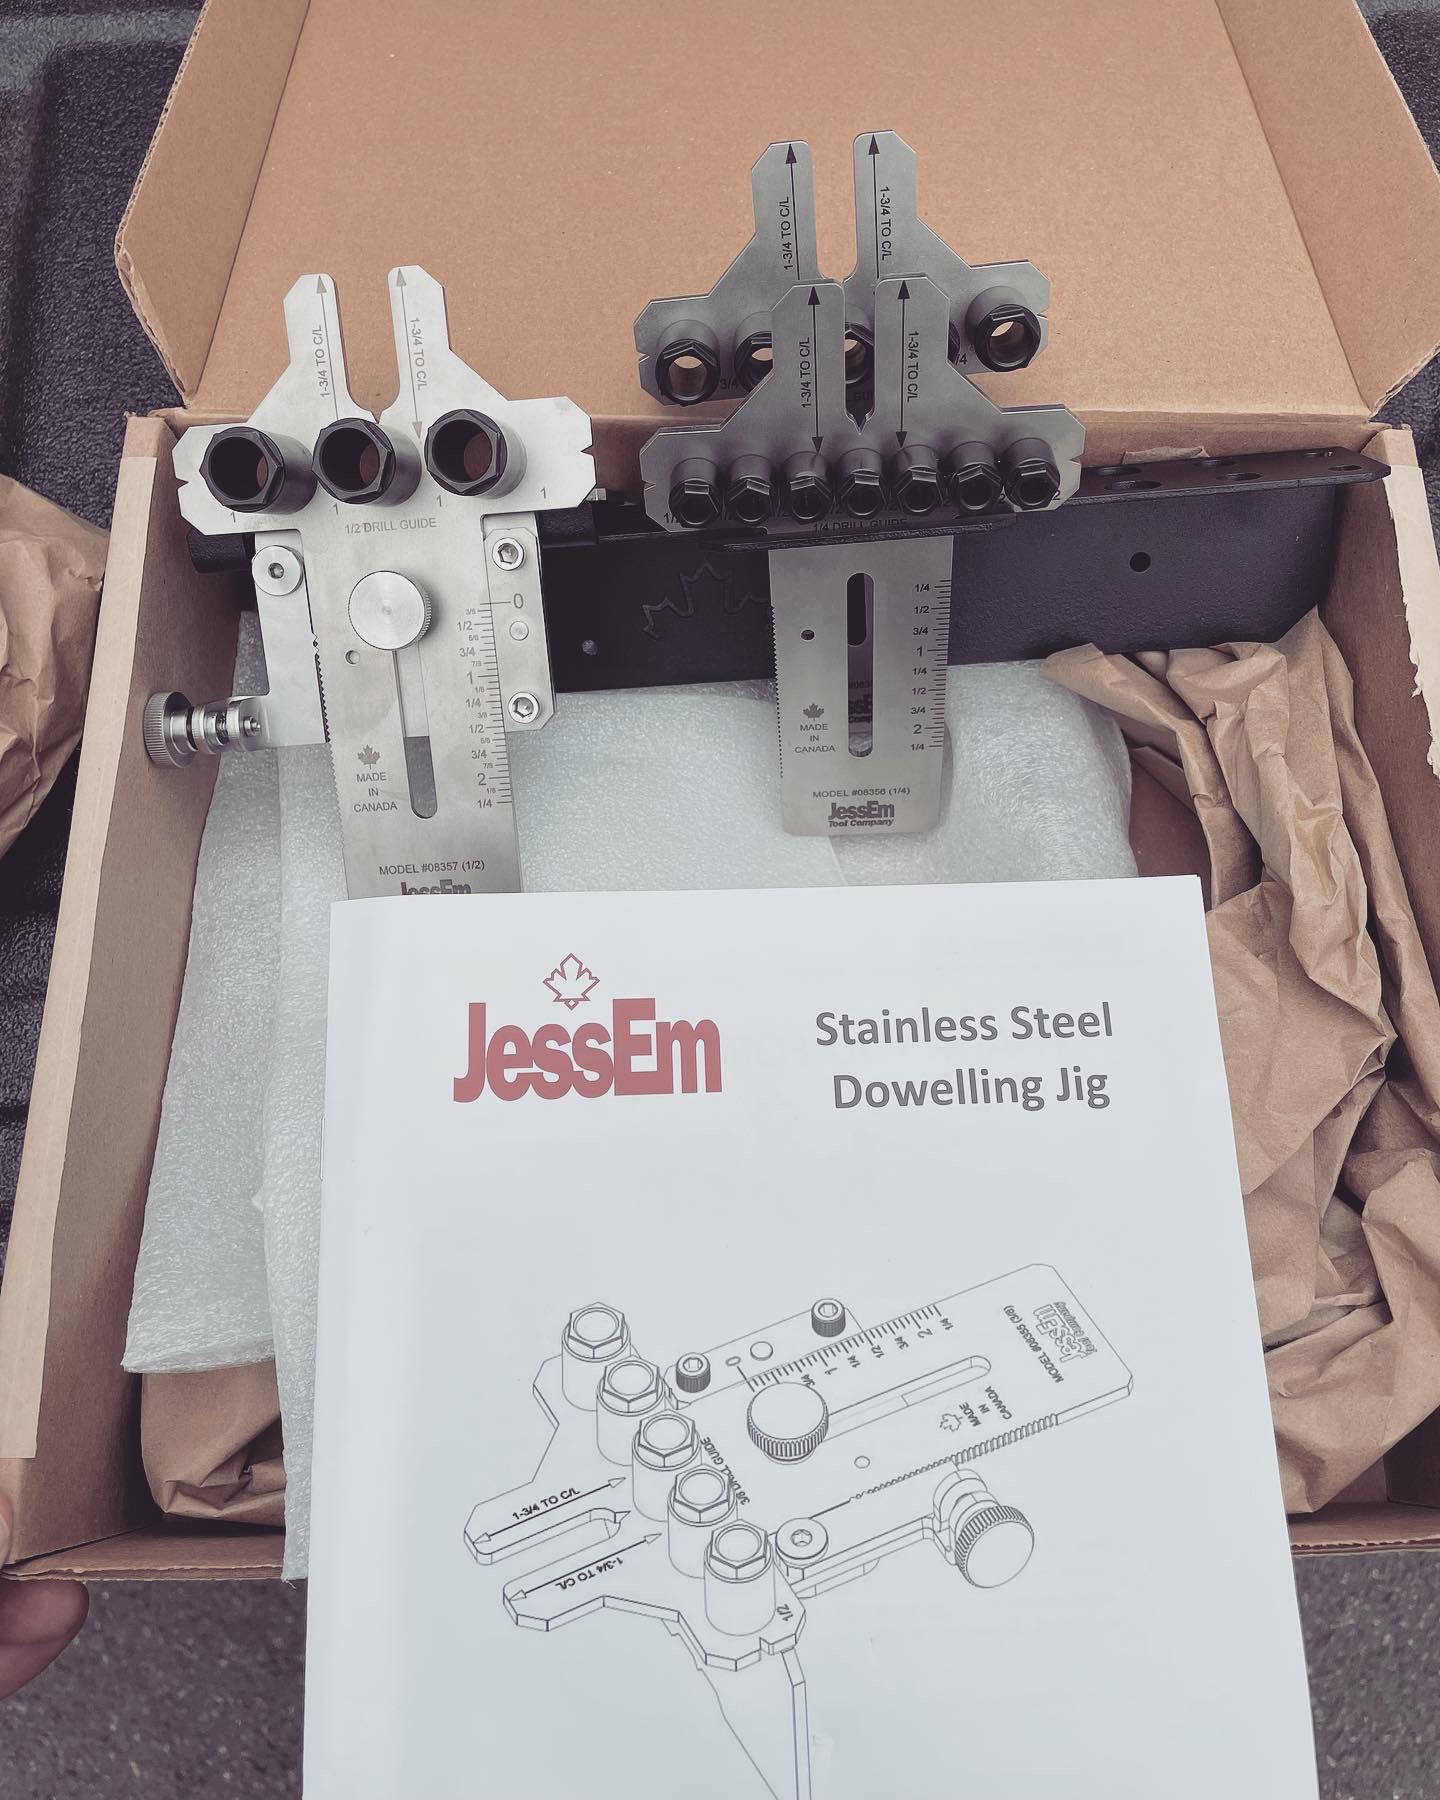
While in our vacation in Moncton we stopped in at Jessem Tools, a high quality woodworking tool company proudly Canadian. It’s a new facility and when I asked if they had a showroom to view their products he took me in the back warehouse manufacturing area where they were assembling everything and he gave me a run through on their new products.
I bought a doweling jig.

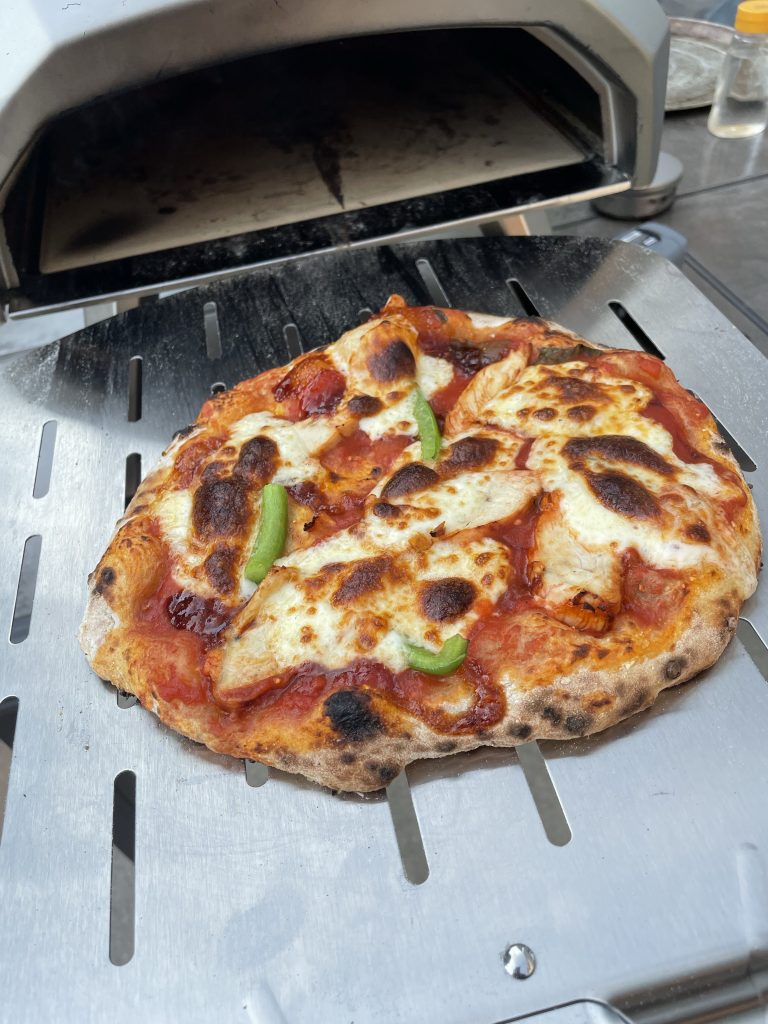
This is way better than the oven and stinking up the house with a 500 degree oven.
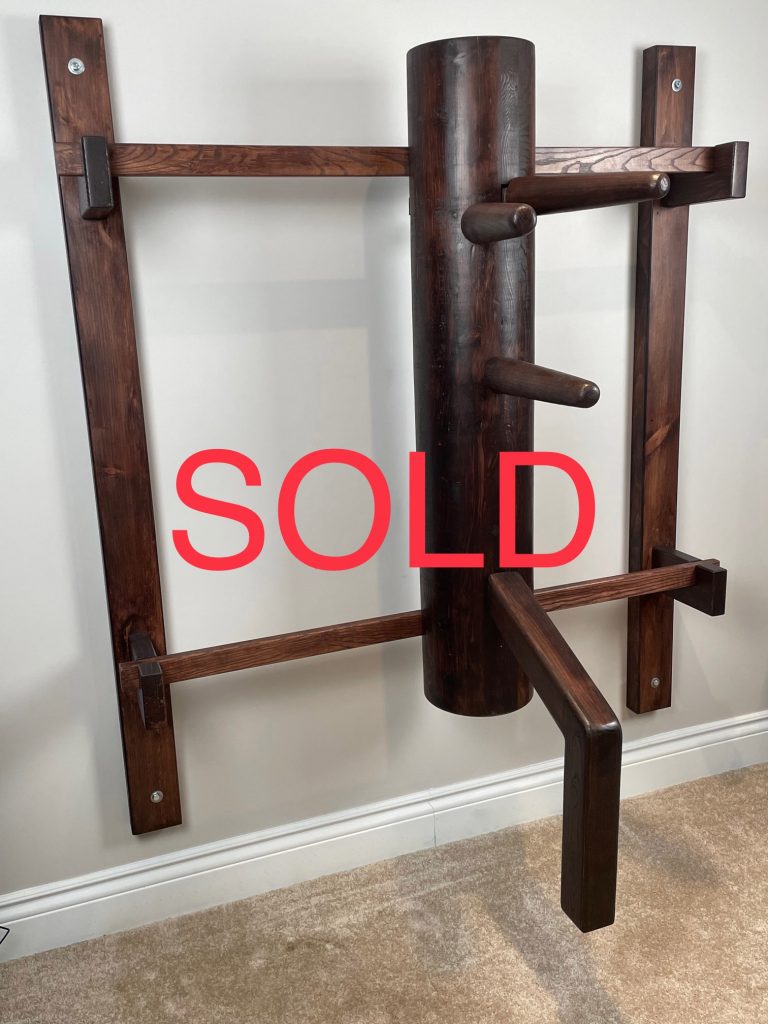
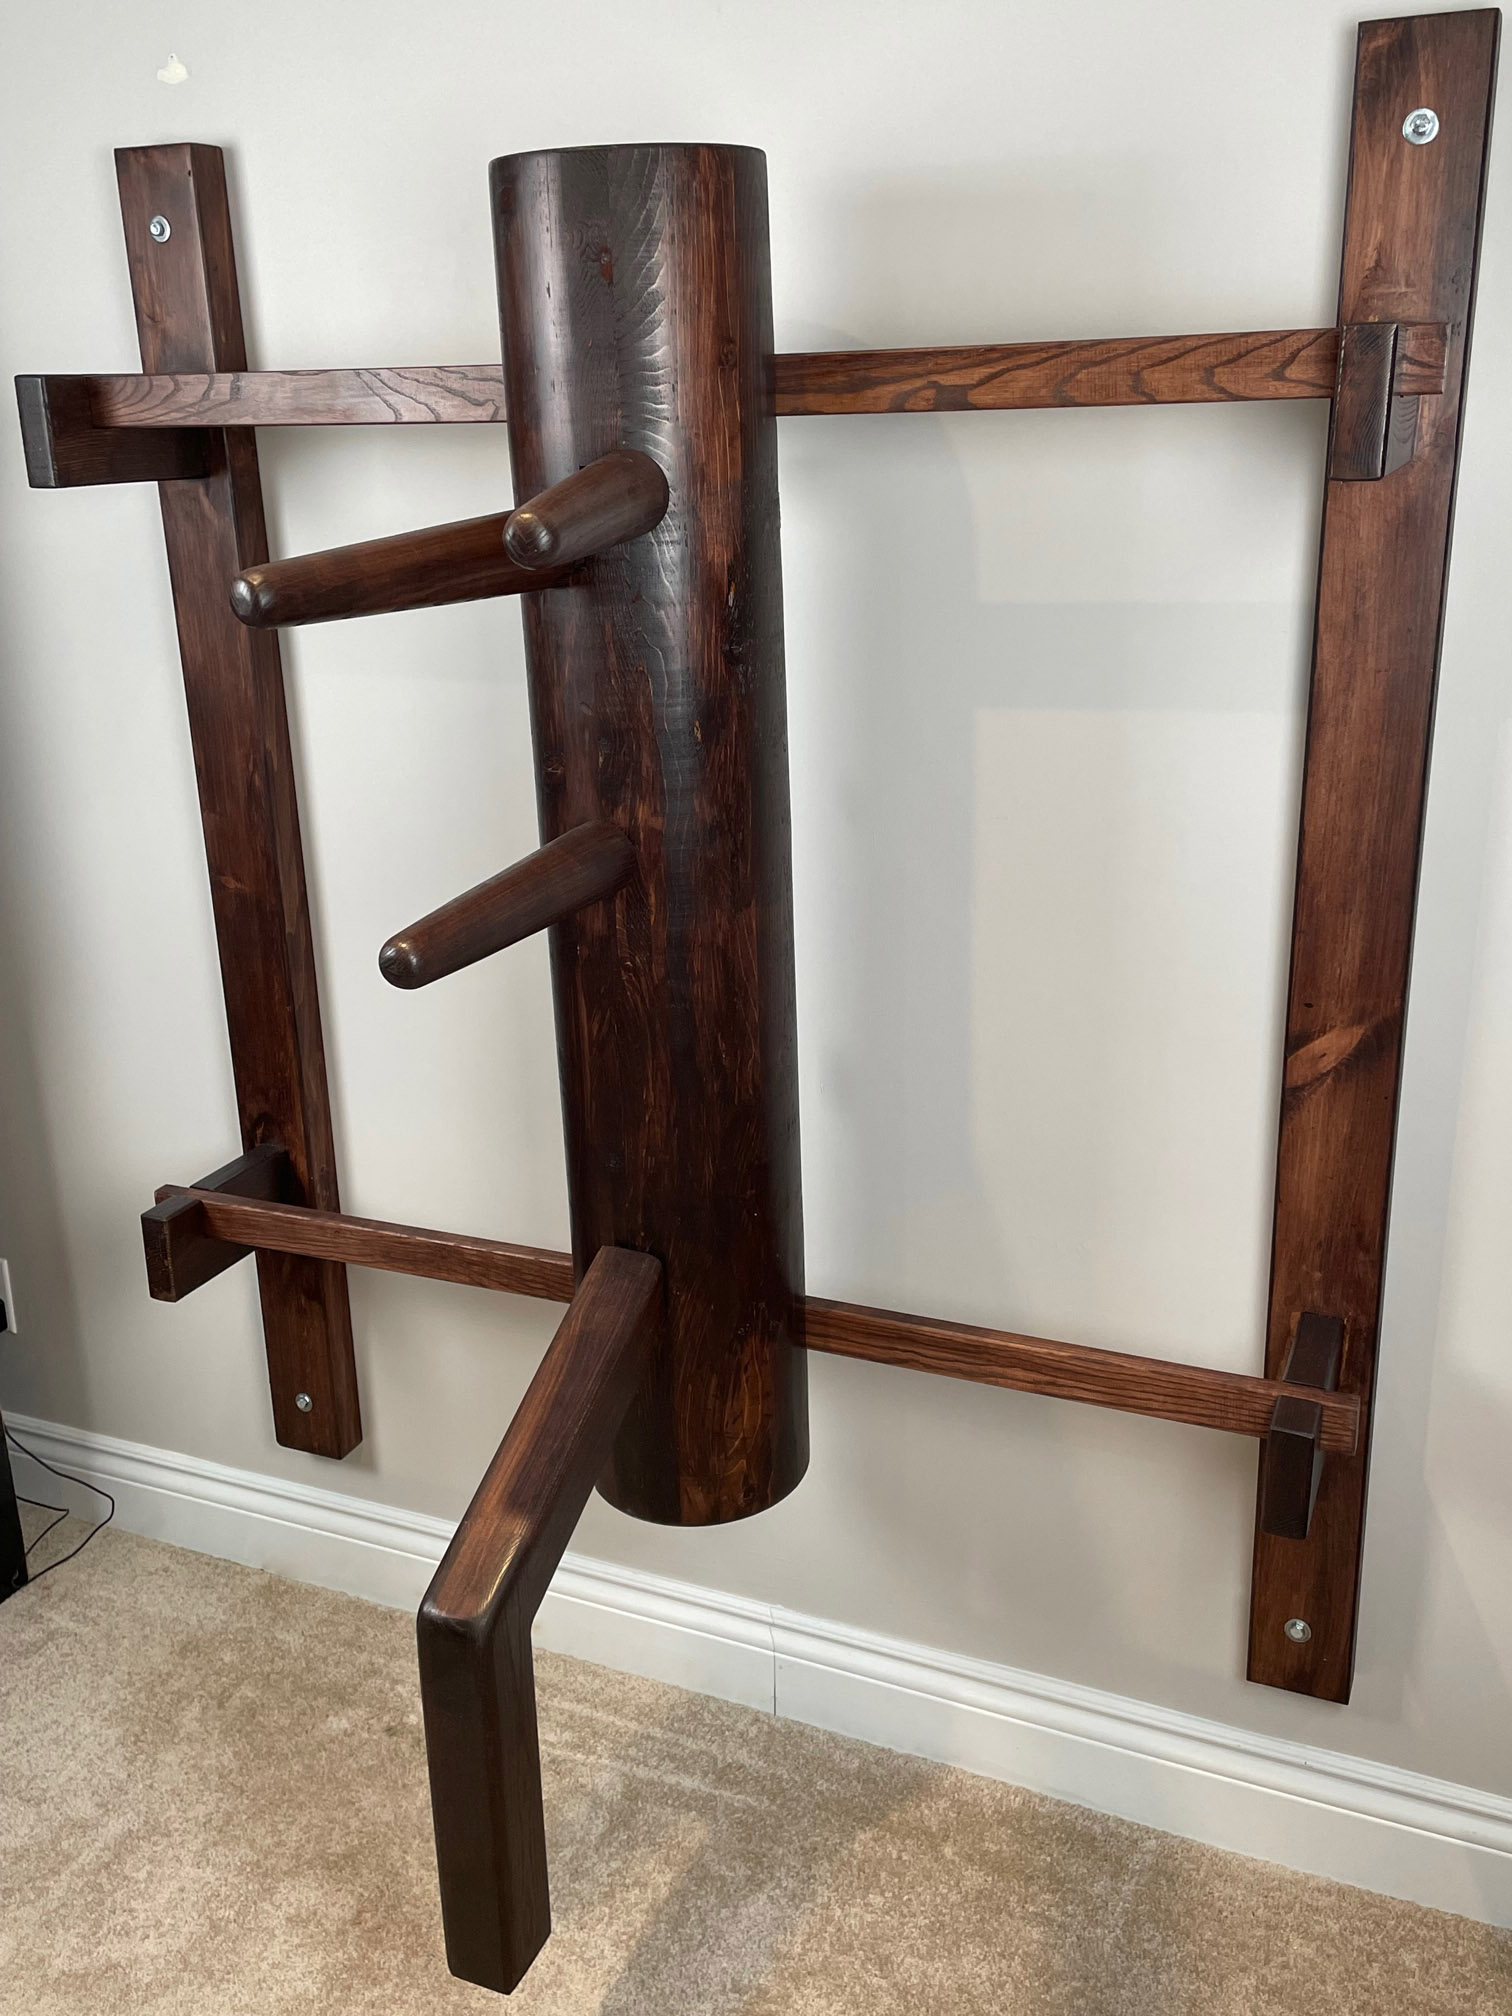
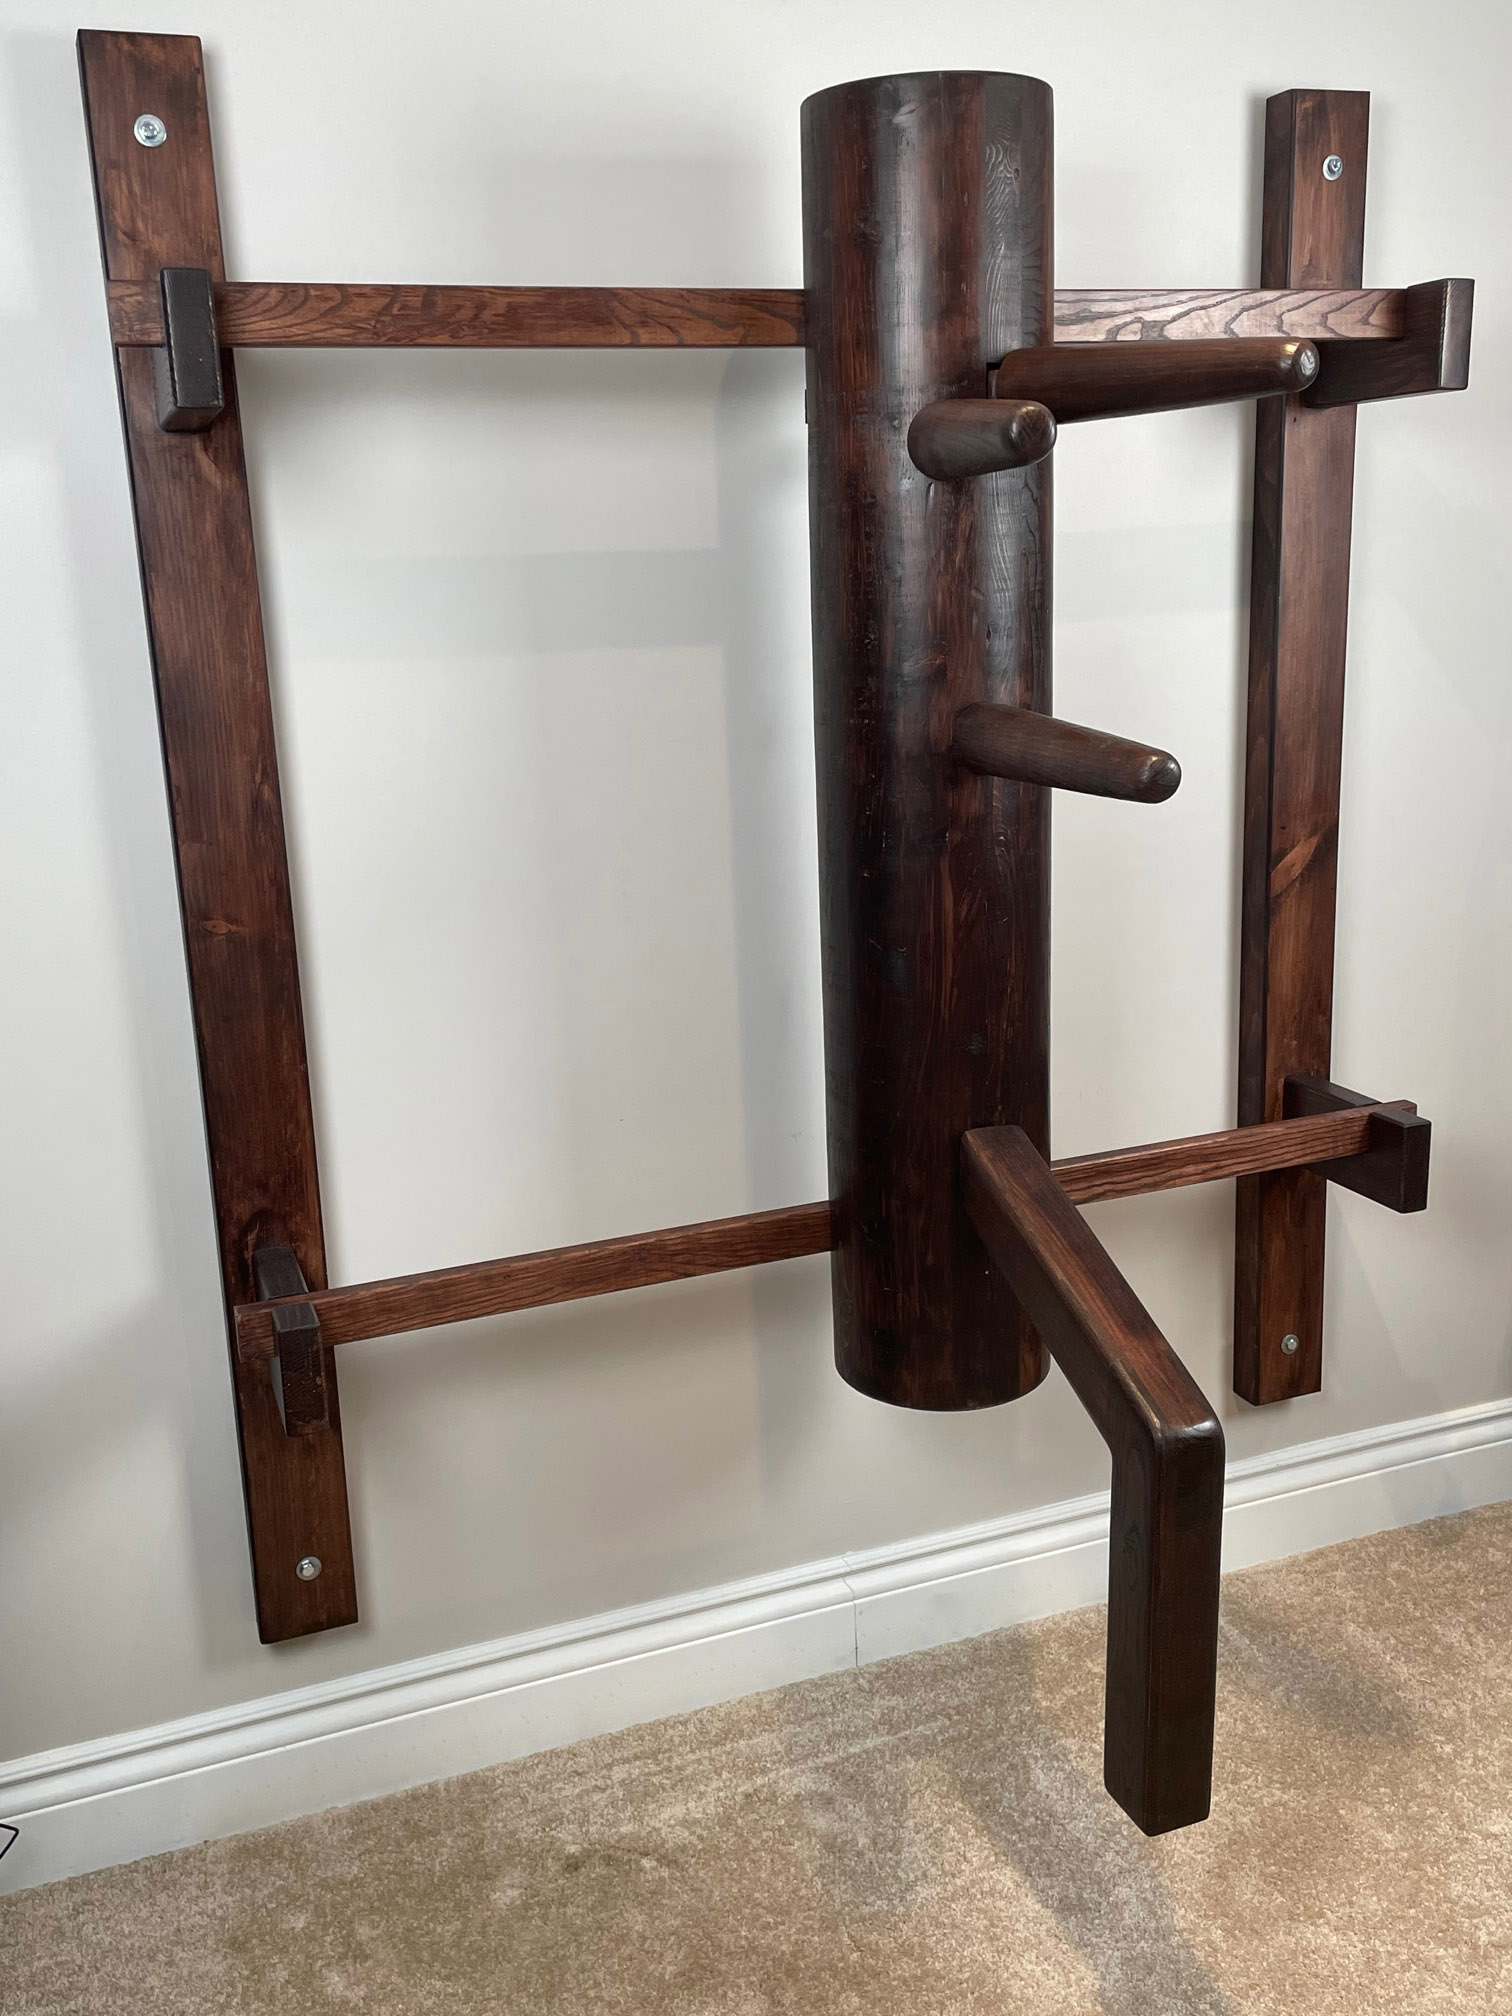
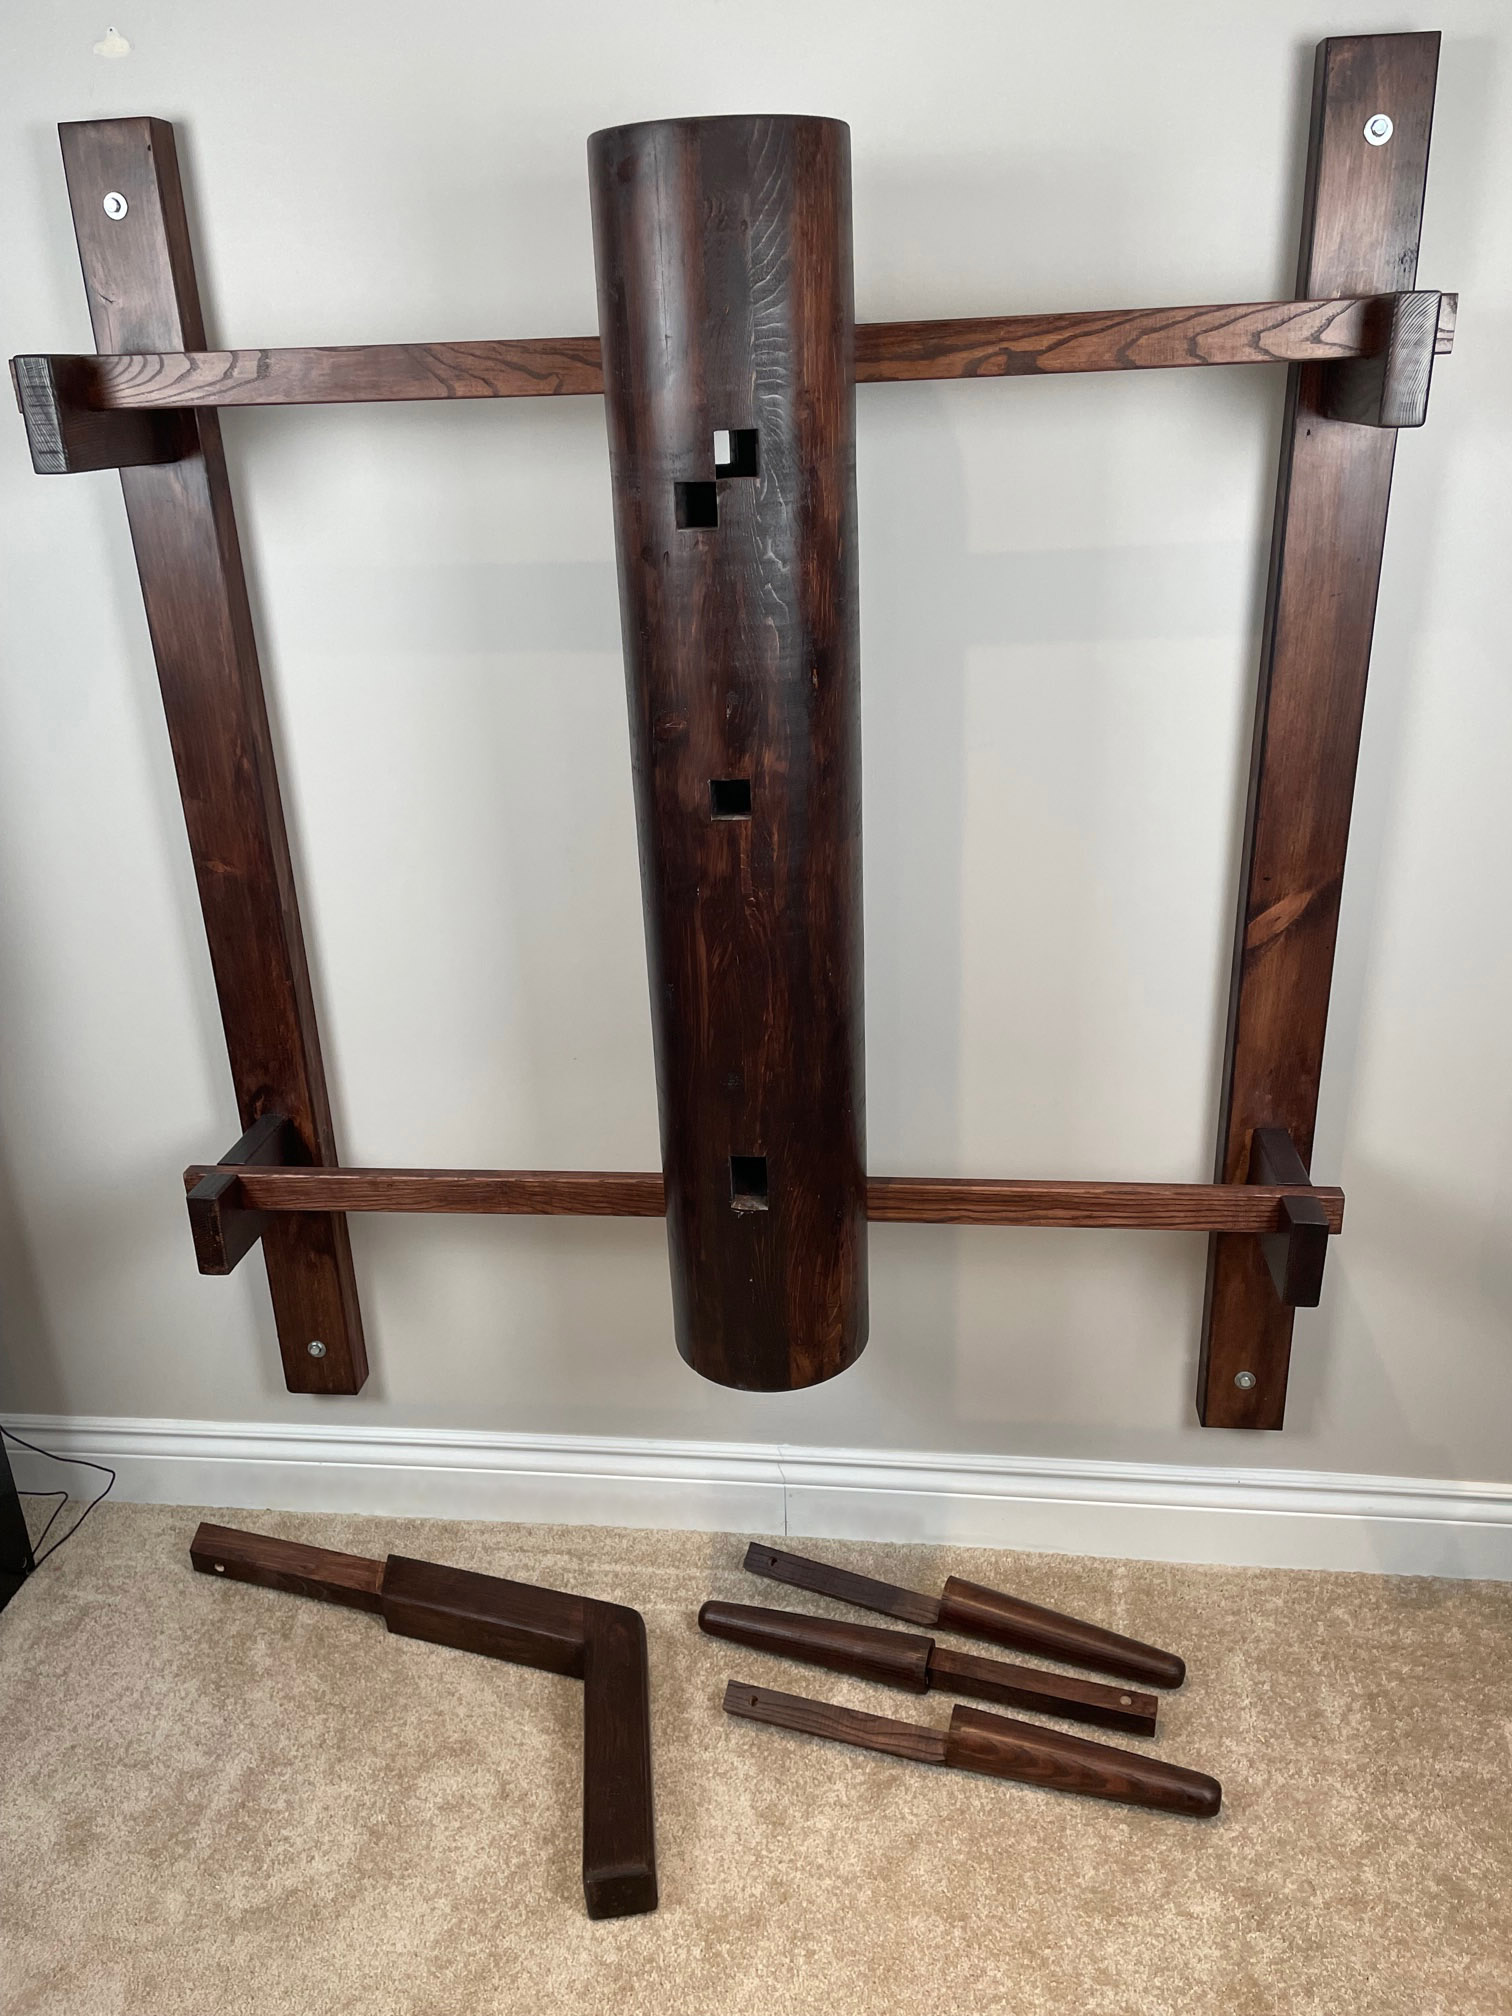
Left handed model as the right arm is higher than the left arm (reverse order)
Wall mount included.
1/8″ space around limb tenons for correct movement.
All limbs come with wooden pegs to hold in place.
Dummy is allowed to slide side to side on hangers.
Body is 9″ diameter solid pine/spruce/fir
4 feet tall body.
Arms/legs/wall mount are solid ash hardwood for strength.
All specifications for arms/legs correct:
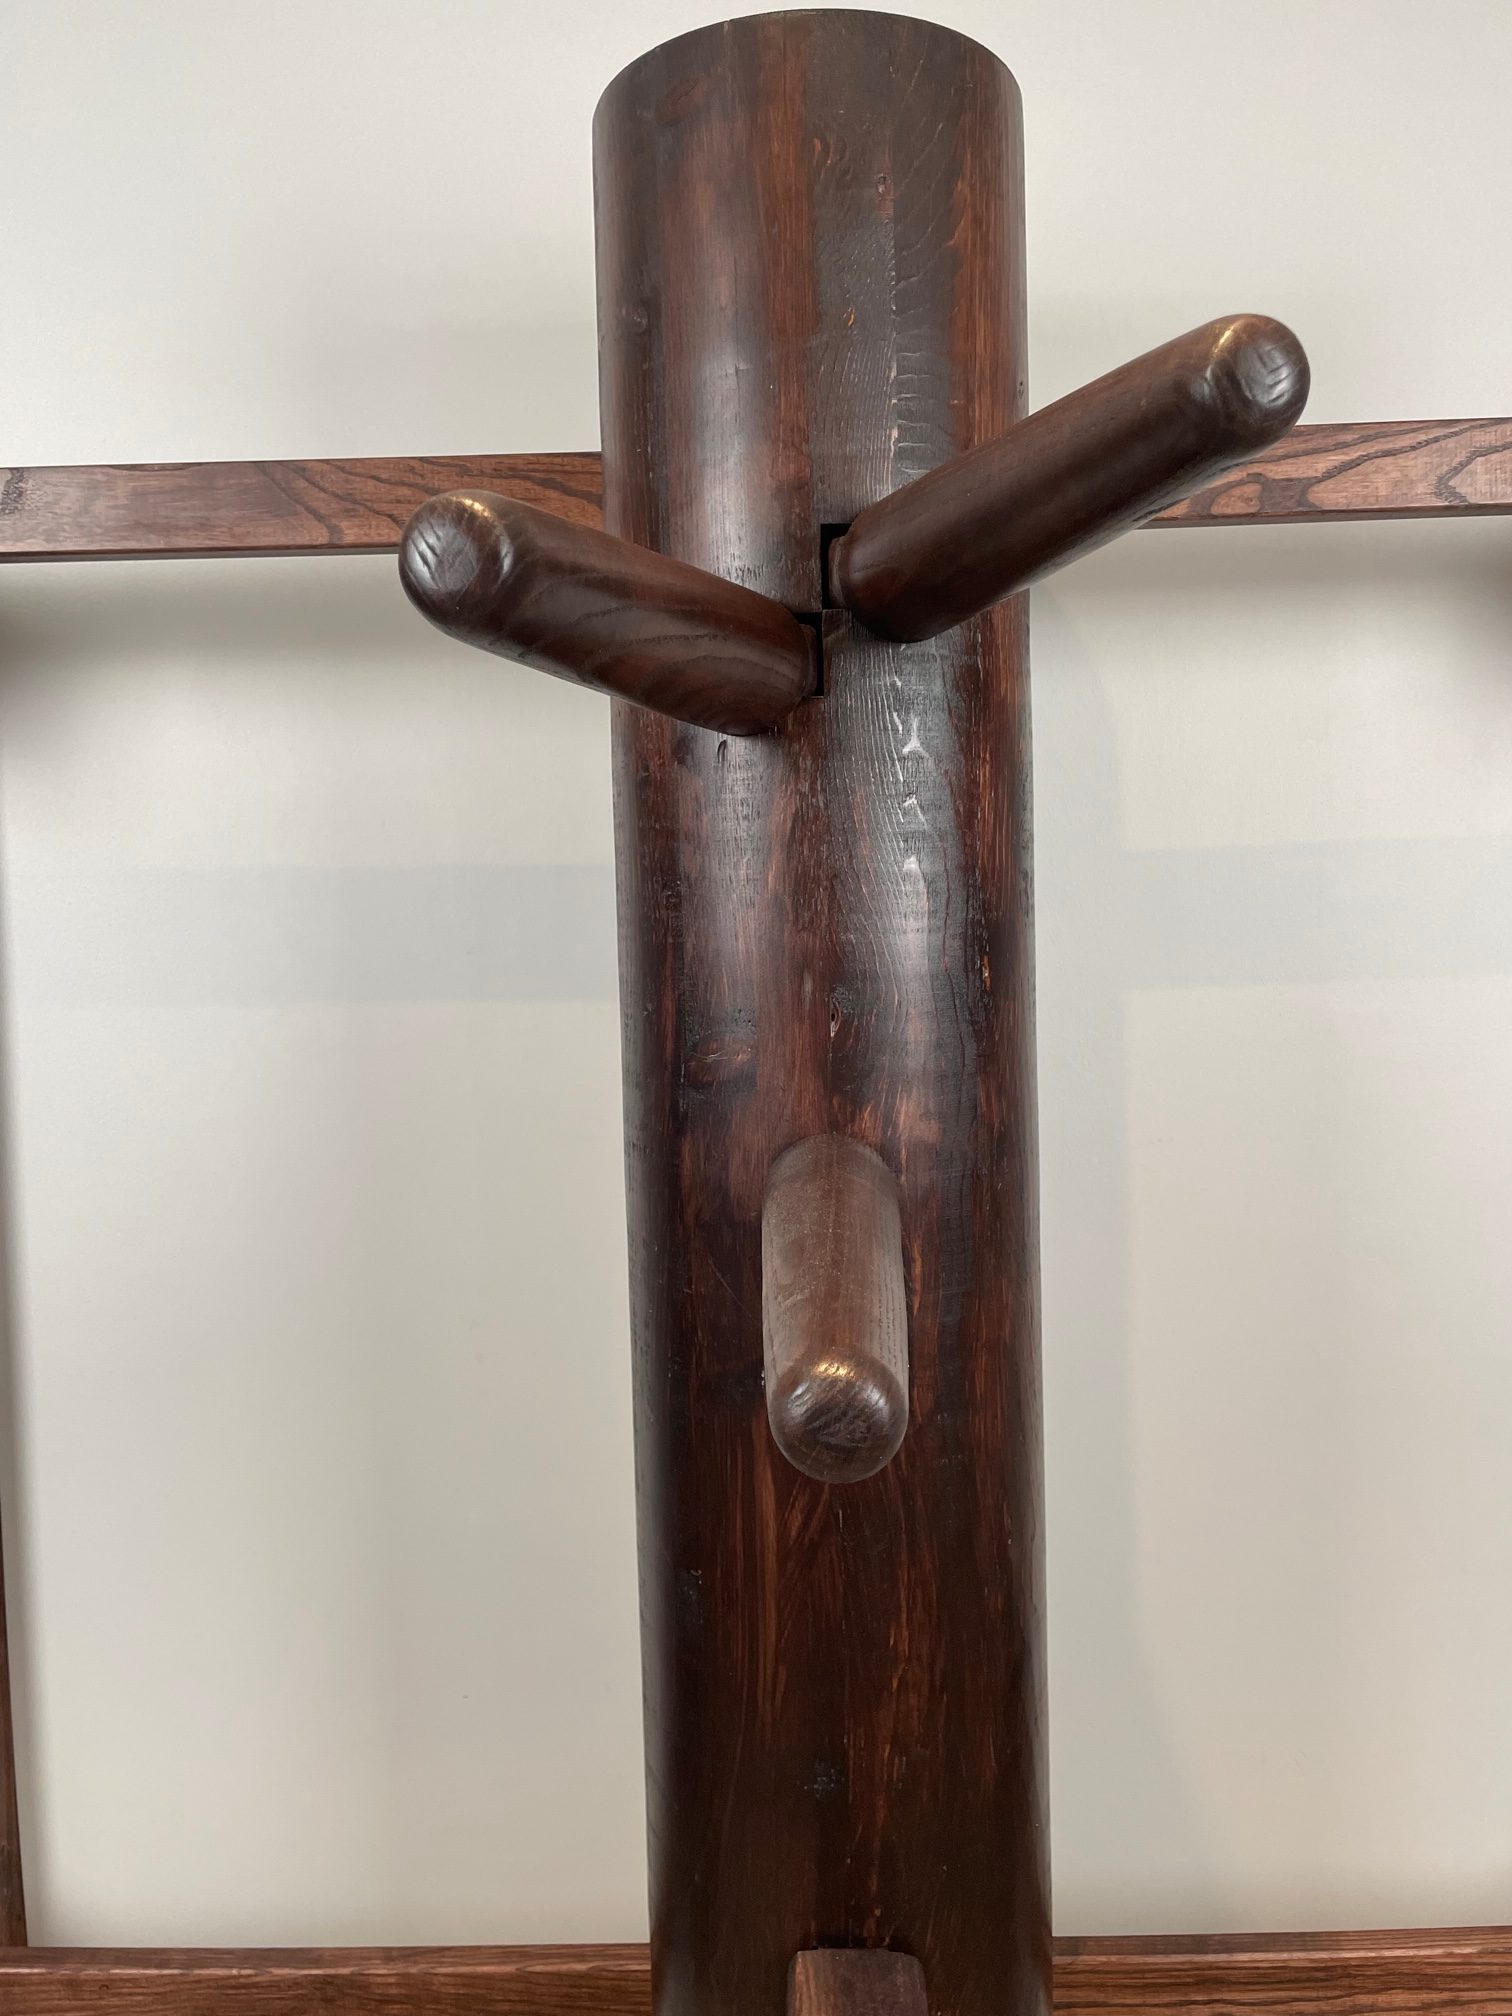
Arms 8.5″ apart from center point of arm.
Arm tenons 1 1/4″ square.
Arm widest diameter 2 1/2″
Arm narrow tip 1 1/2″
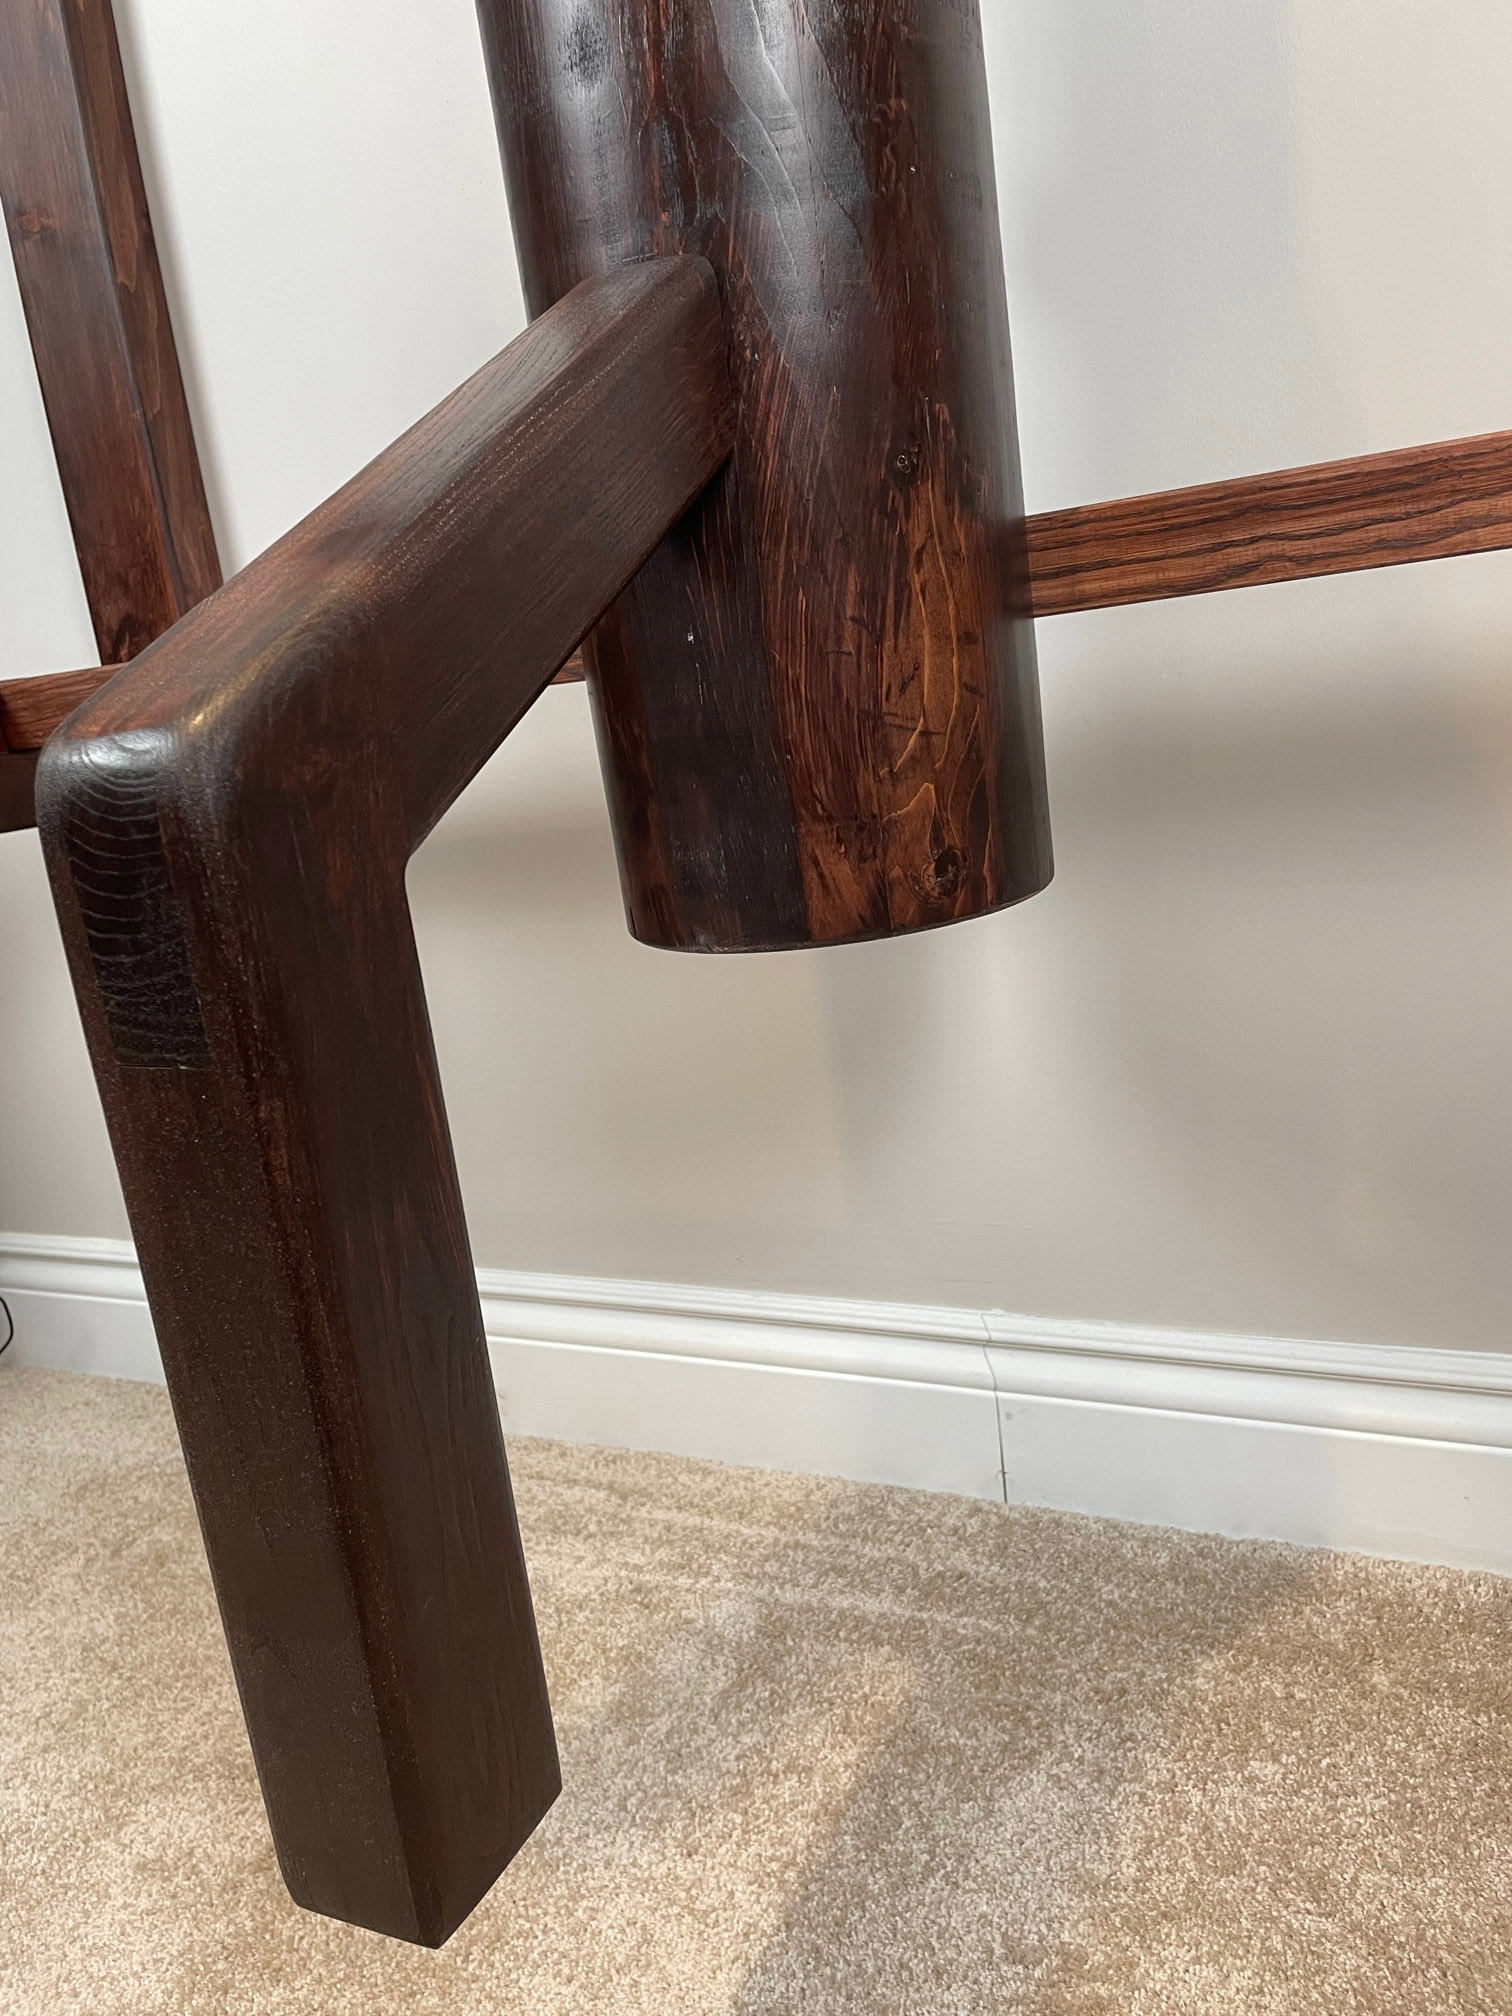
Leg is straight down model
Leg is 2 1/2″ x 3″ thick.
Leg tenon is 2 1/4″ x 1 1/4″
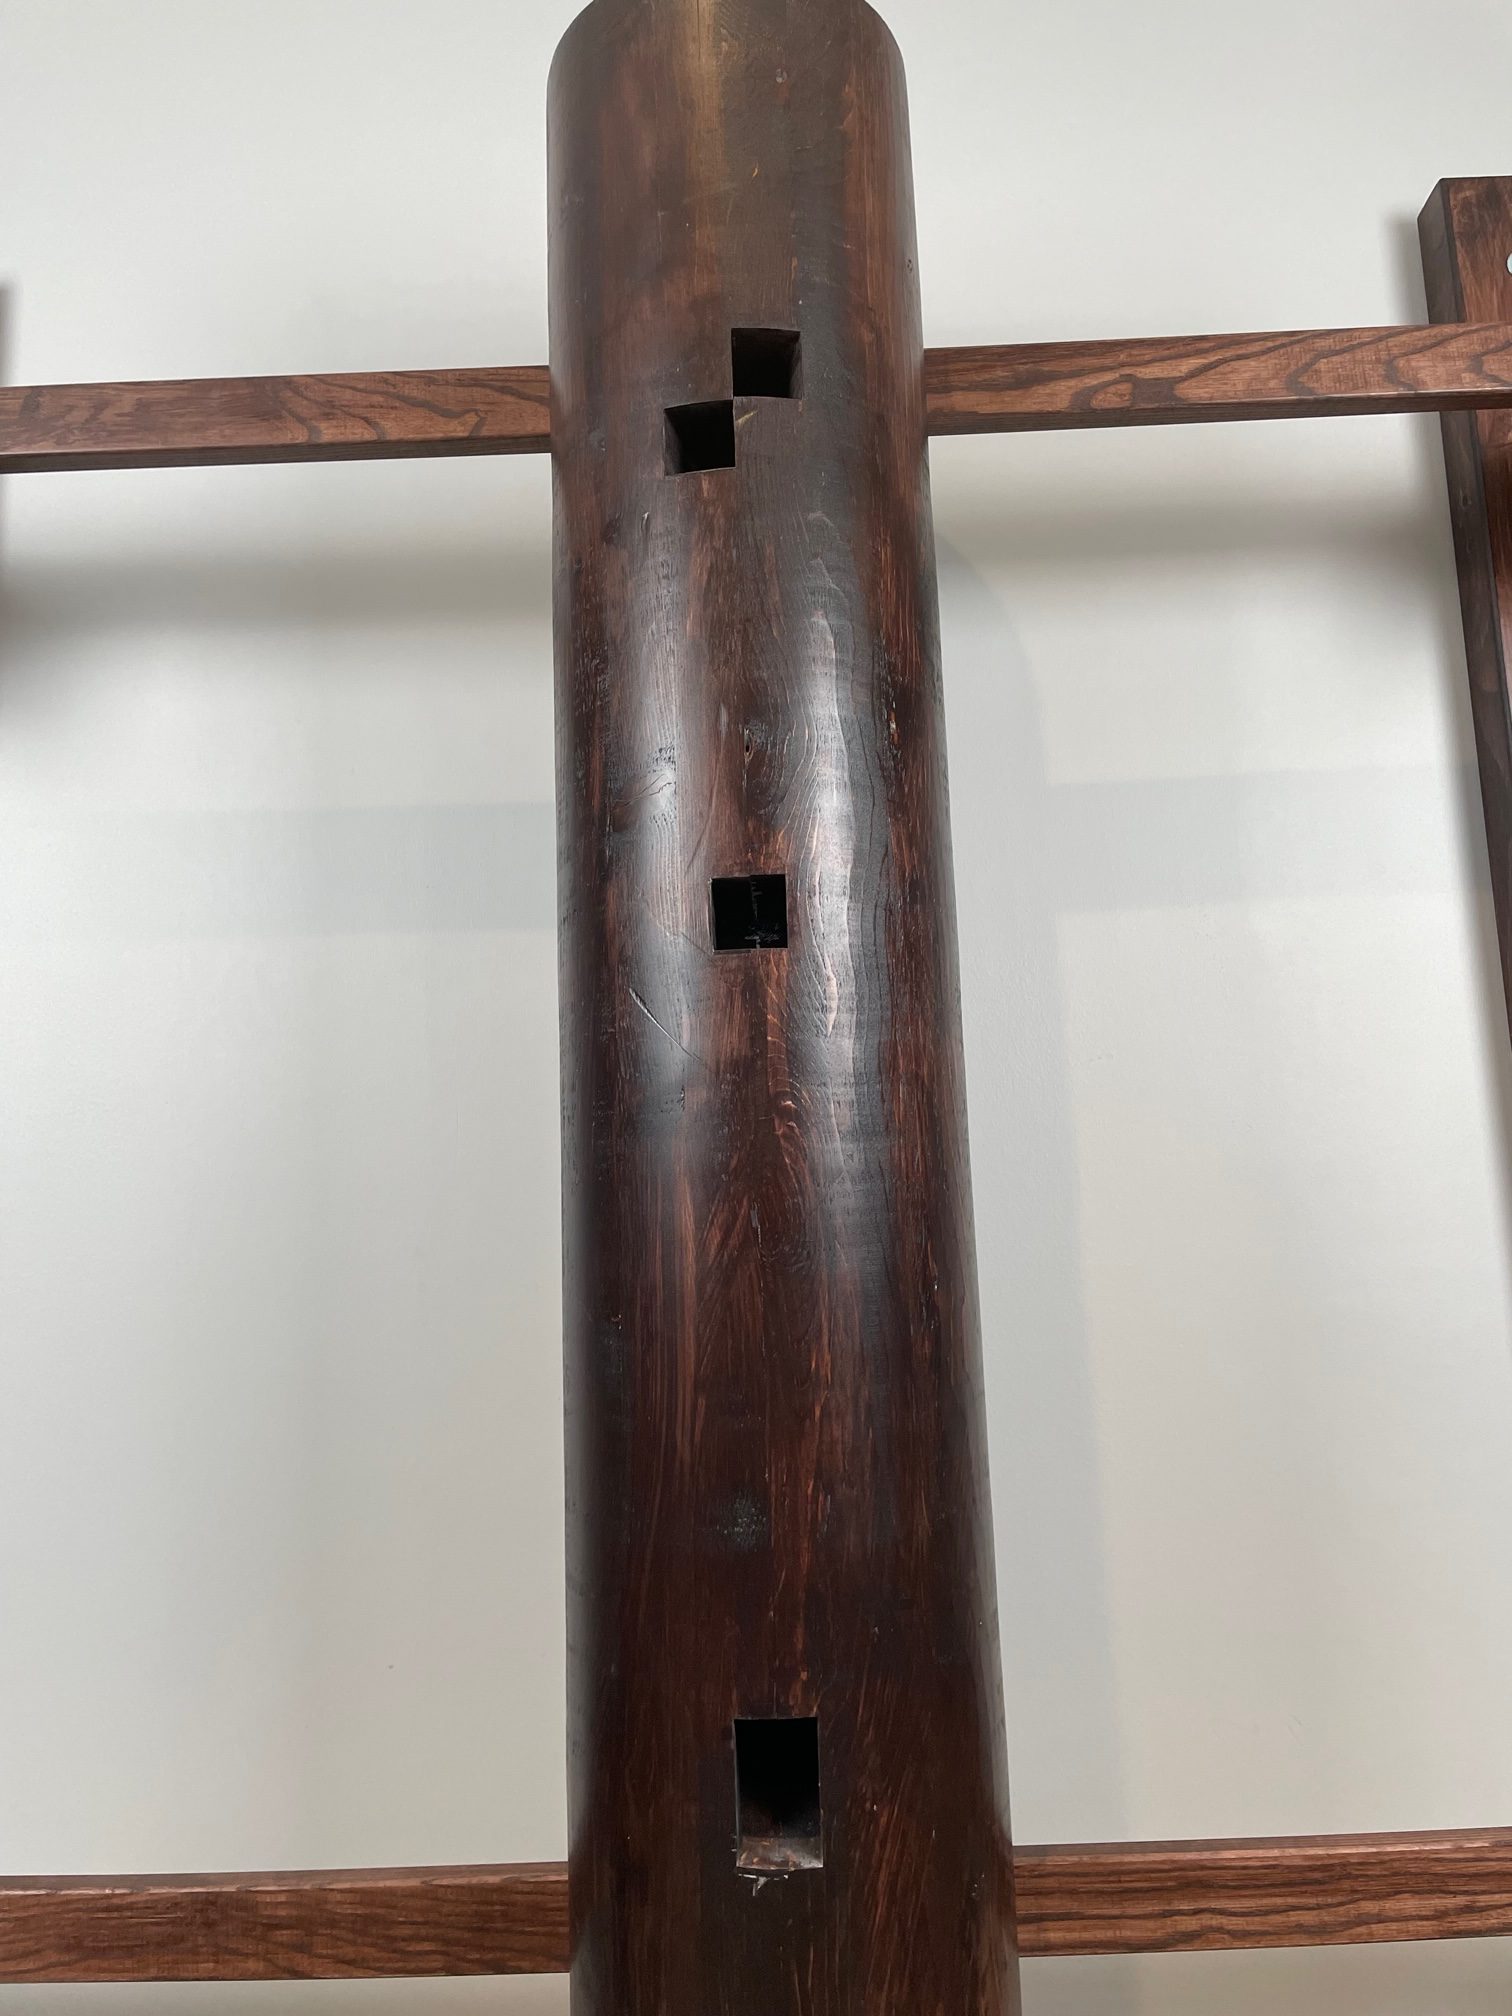
Body holes:
Arms: 1 1/2″ square
Leg 2 1/2″ x 1 1/2″
Large 4 1/8″x 4 1/8″ cavity on the bottom for optional mounting on a floor base/stand with 4″ post.
Pine/ash hardwood wall mount:
Pine Wall beams: 5 feet tall, 2″ thick, 4″ wide
Ash hangers (pegged mortise and tenon), ash cross beams top and bottom.

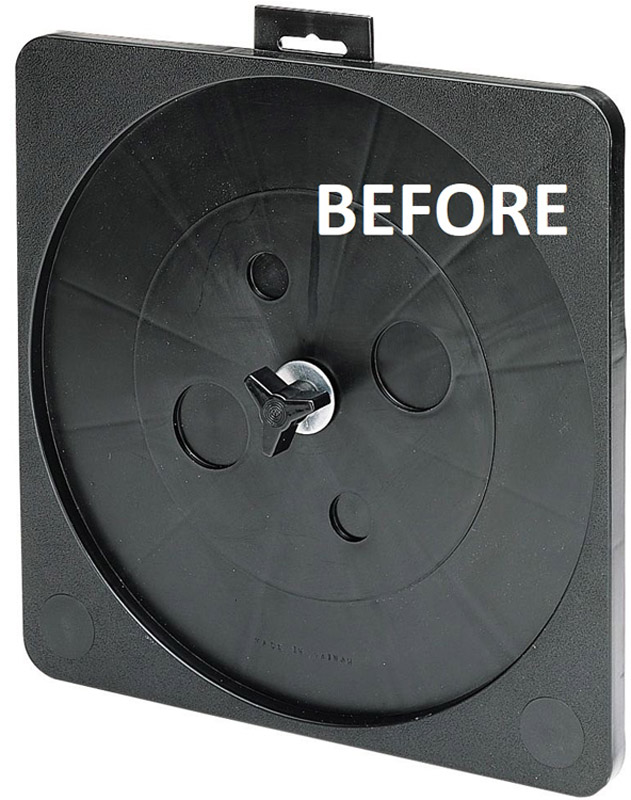
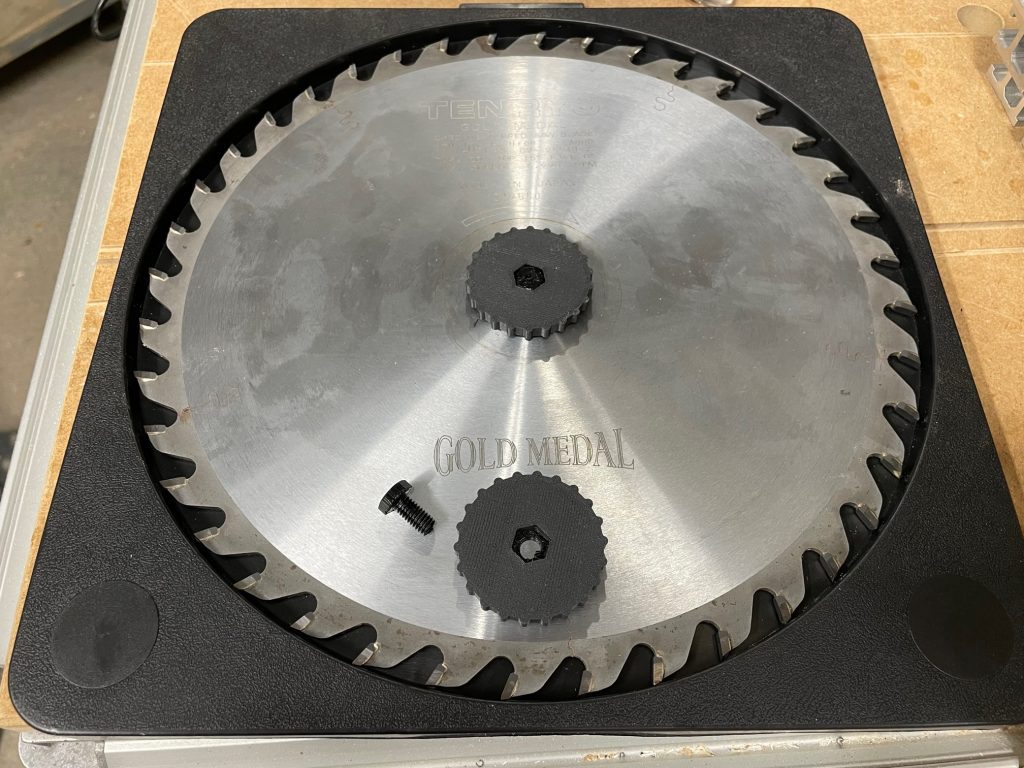
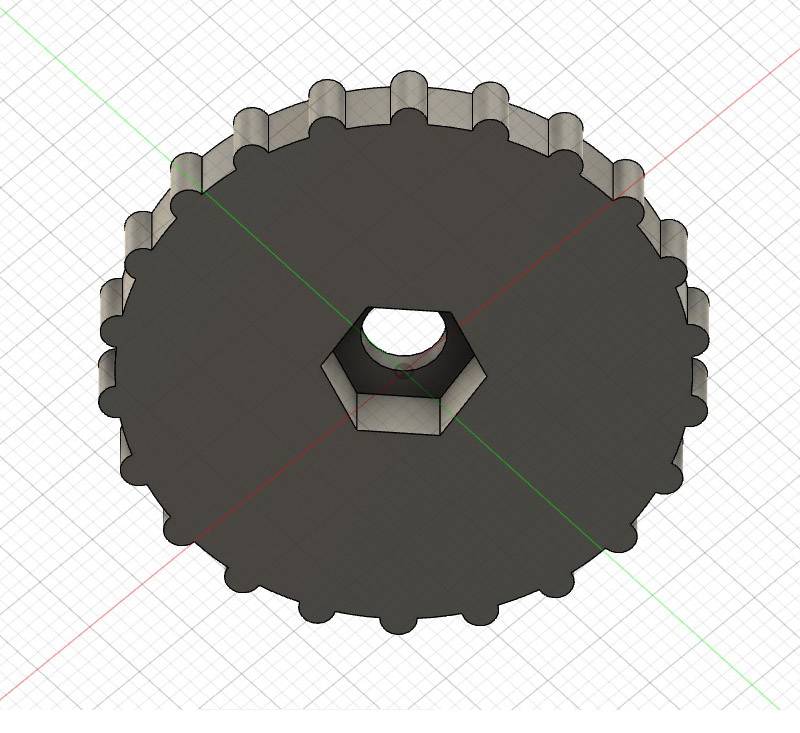
I’m getting better at designing things I need on the 3D printer in Fusion 360. I bought this popular model of a sawblade holder and they come with a large protruding knob that also sticks out the back so stacking them in a drawer isn’t easy. I made a new low profile knob and shortened the bolt so it’s flush in the back and nearly flush in the front, the height of a 5mm bolt head. This is good.