
I made this as a gift, a 3D cuttingboard.
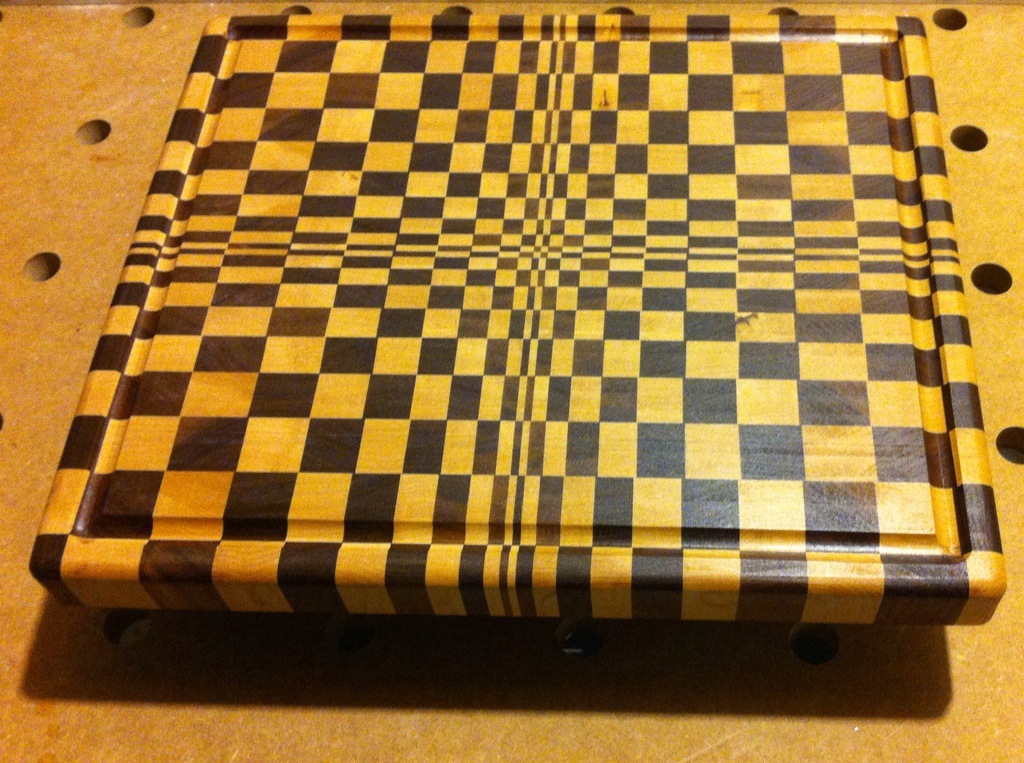
To make it you cut alternating colors of wood strips in gradual thicknesses (walnut and maple) and glue them up, thin in the middle, increase thickness going outward.
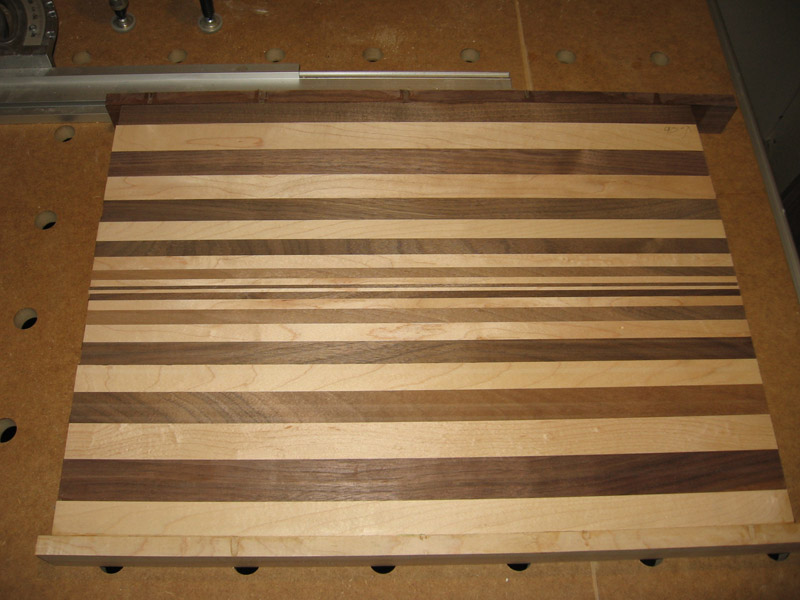
Then once the glue dries you run the glued up project through the planer to smooth out the faces for later glue up.
After that you cut horizontal strips in equal thickness that will be the thickness of your end state cutting board.
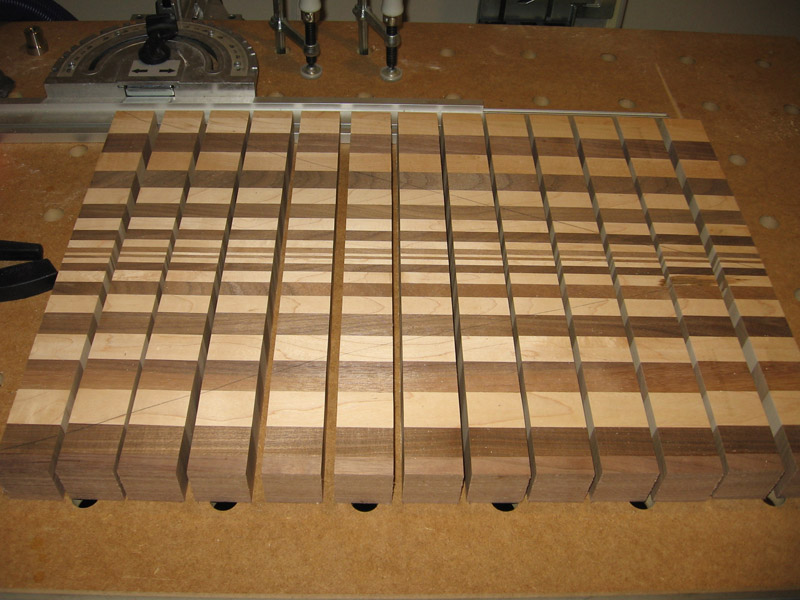
Then you flip the strips to alternate the color pattern. Don’t glue these up yet, you’ll need to work with them.
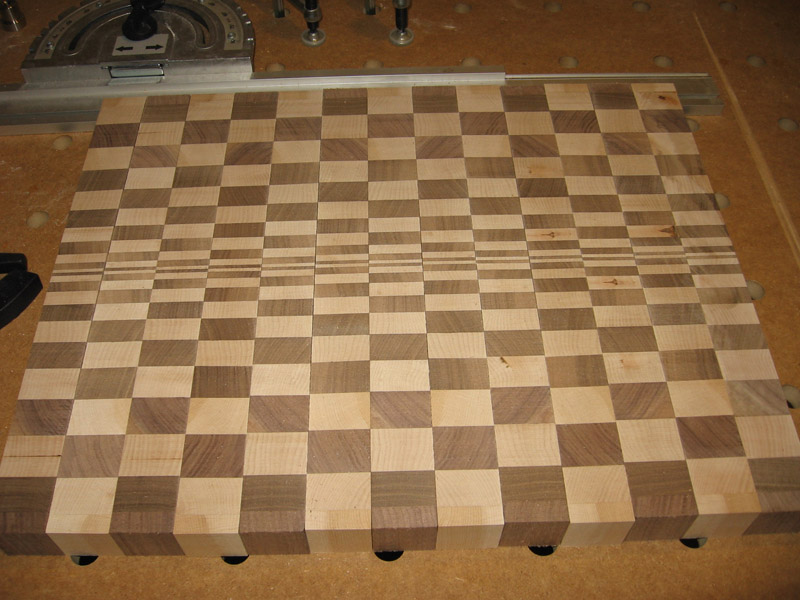
I skipped taking pictures of the next (important) step. You need to cut strips of these sections in the same gradual thickness steps you did before, and flip them to alternate the colors. So basically you cut whatever you can of the middle strip (3mm, 5mm, 8mm etc.) to minimize waste and so on. Your cuttingboard will shrink because of this so it’s best to make it longer in the beginning than what you want to end up with.