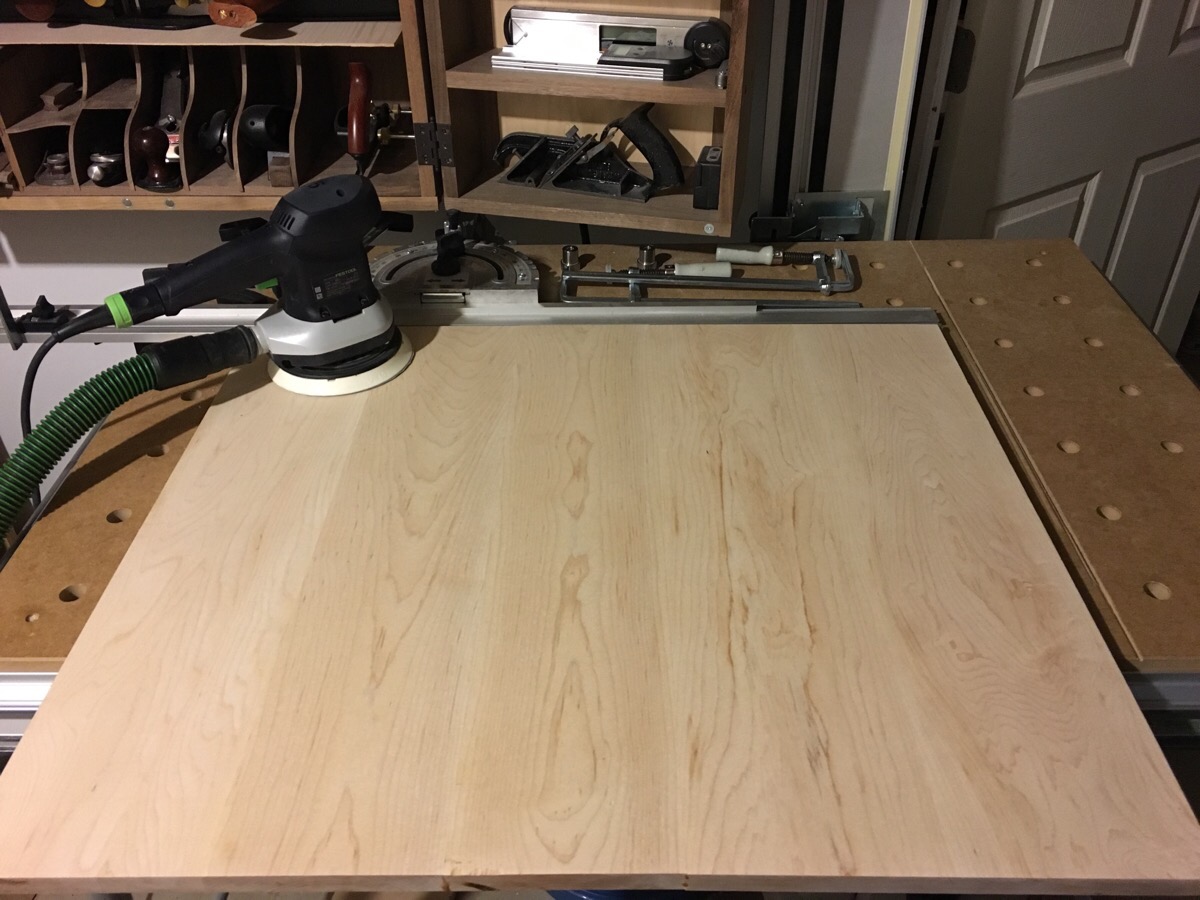
Next I glued up three sections to make the top.
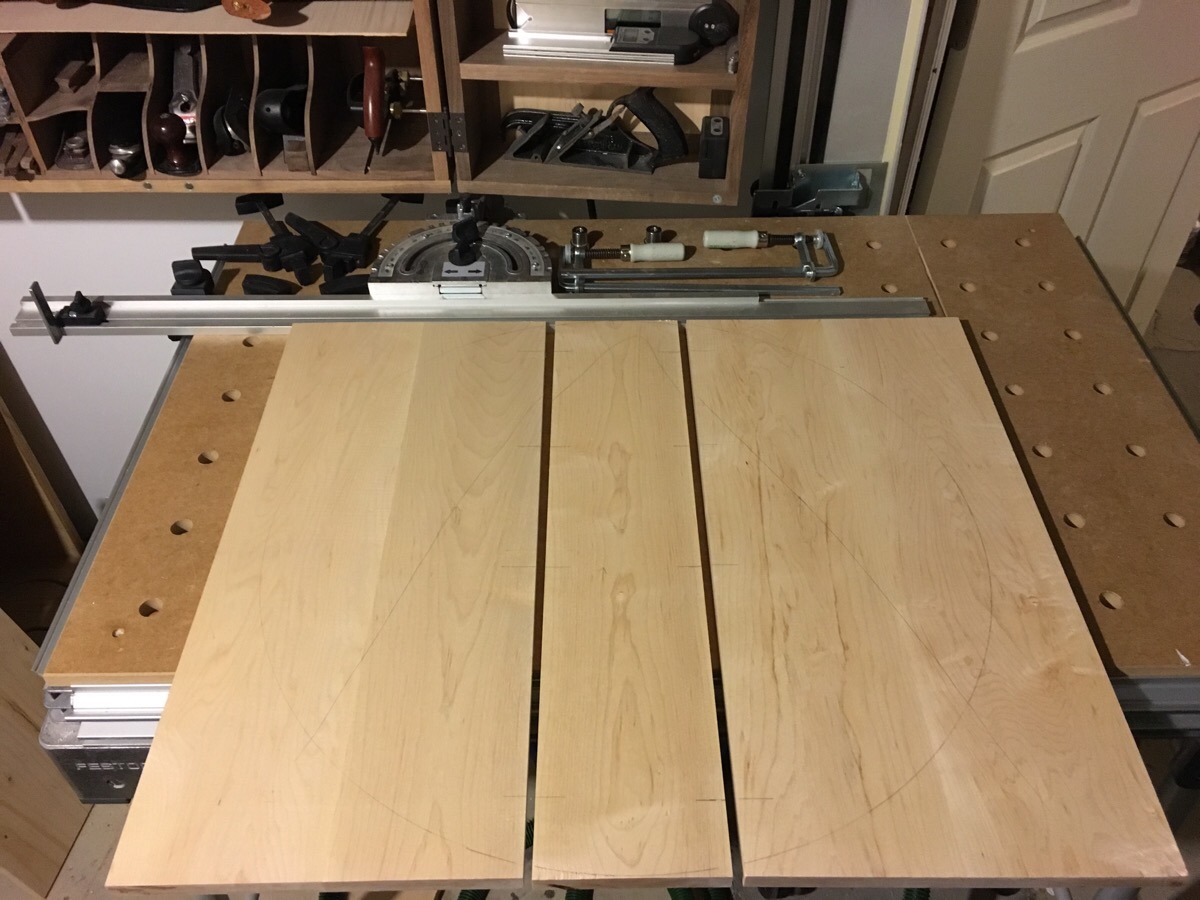
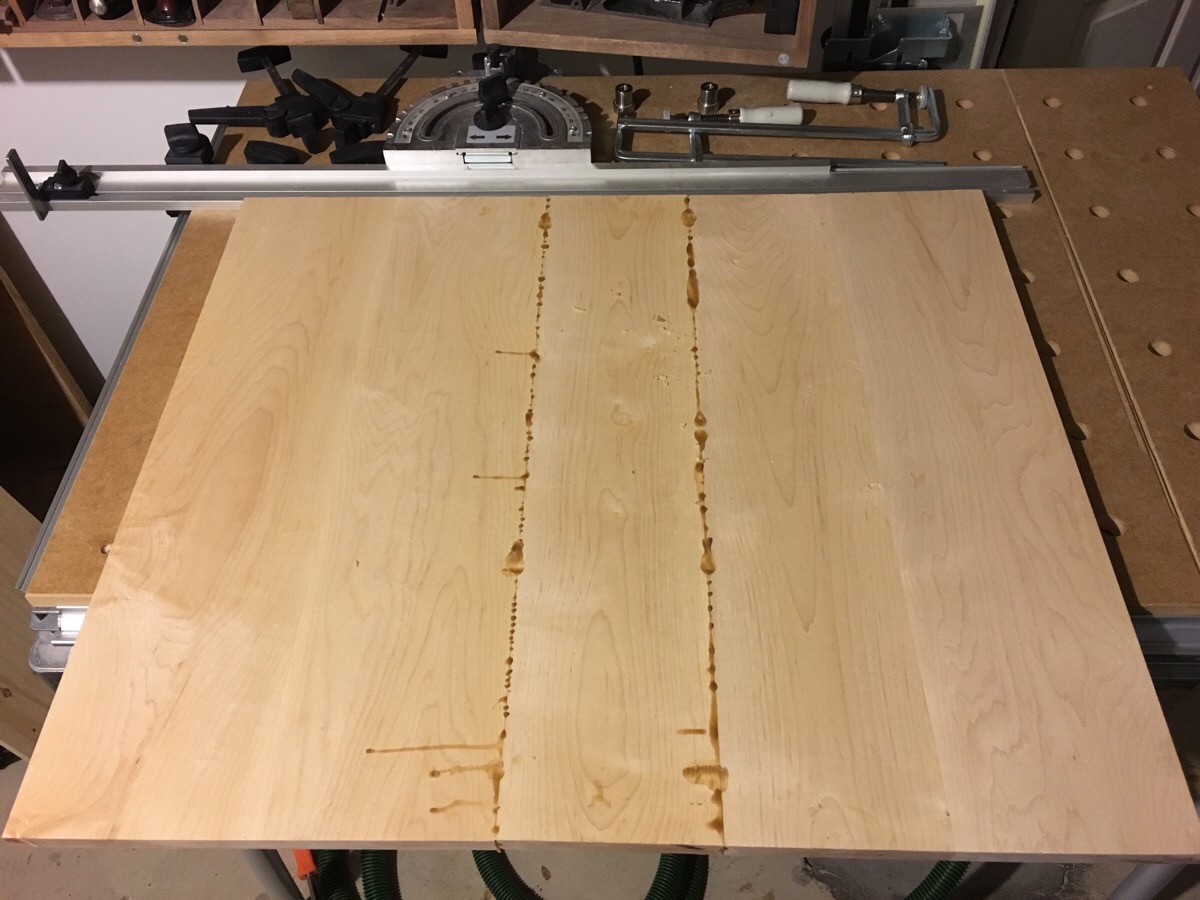
Next I glued up three sections to make the top.
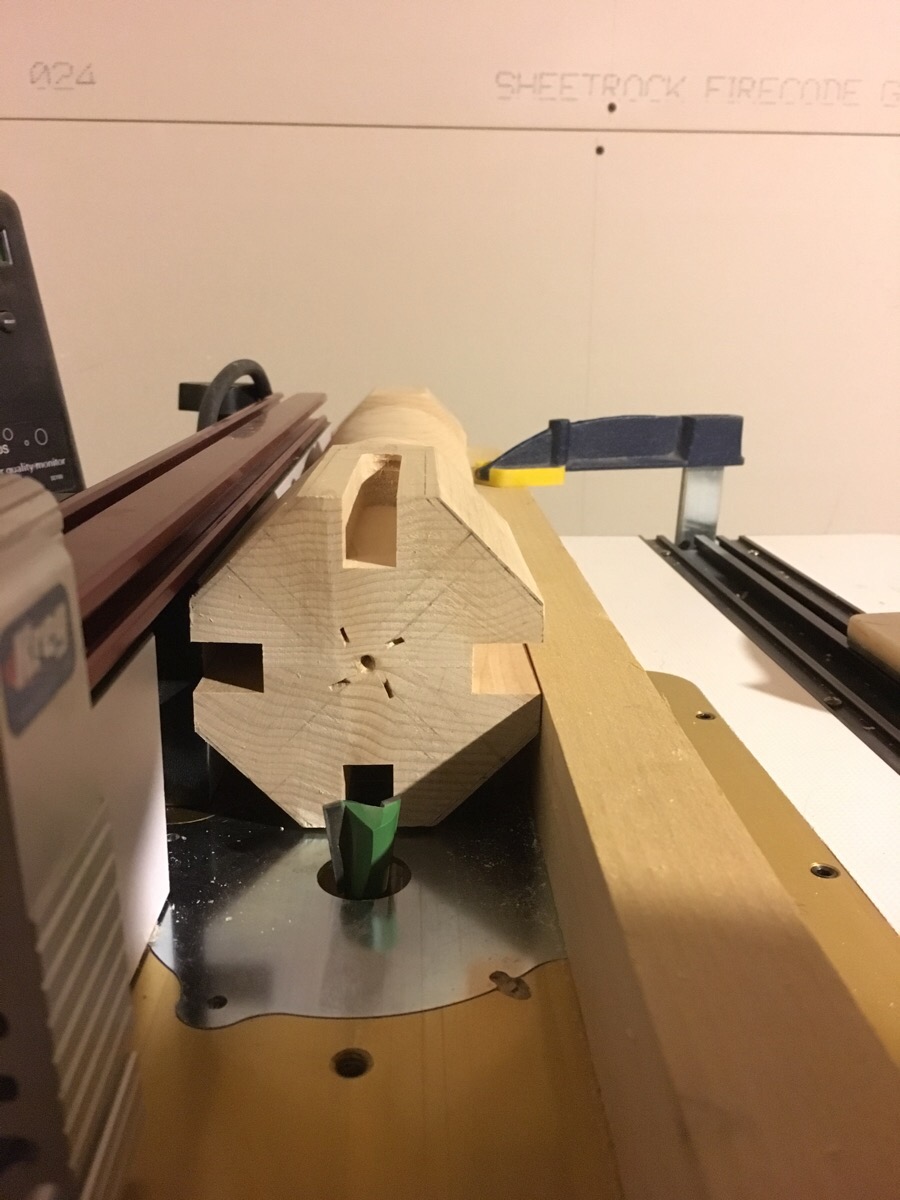
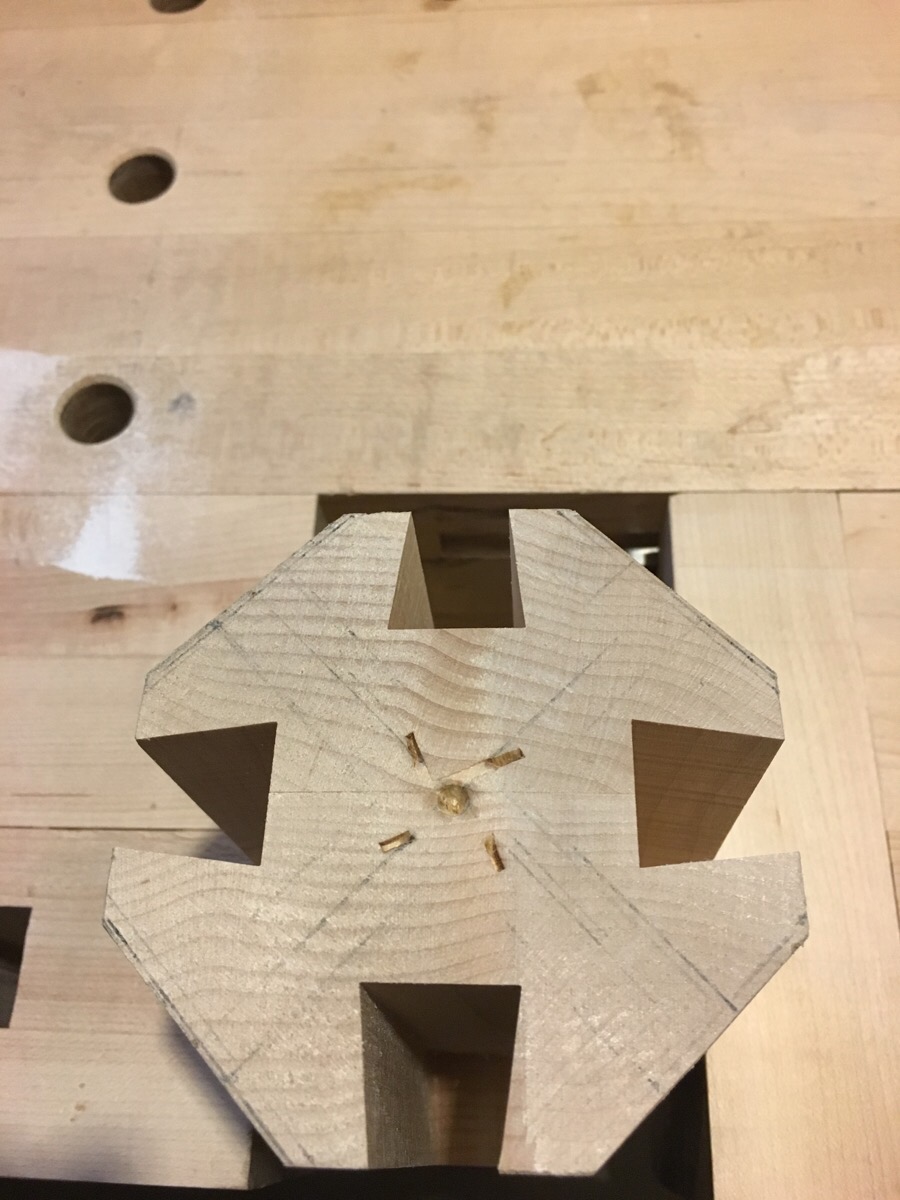
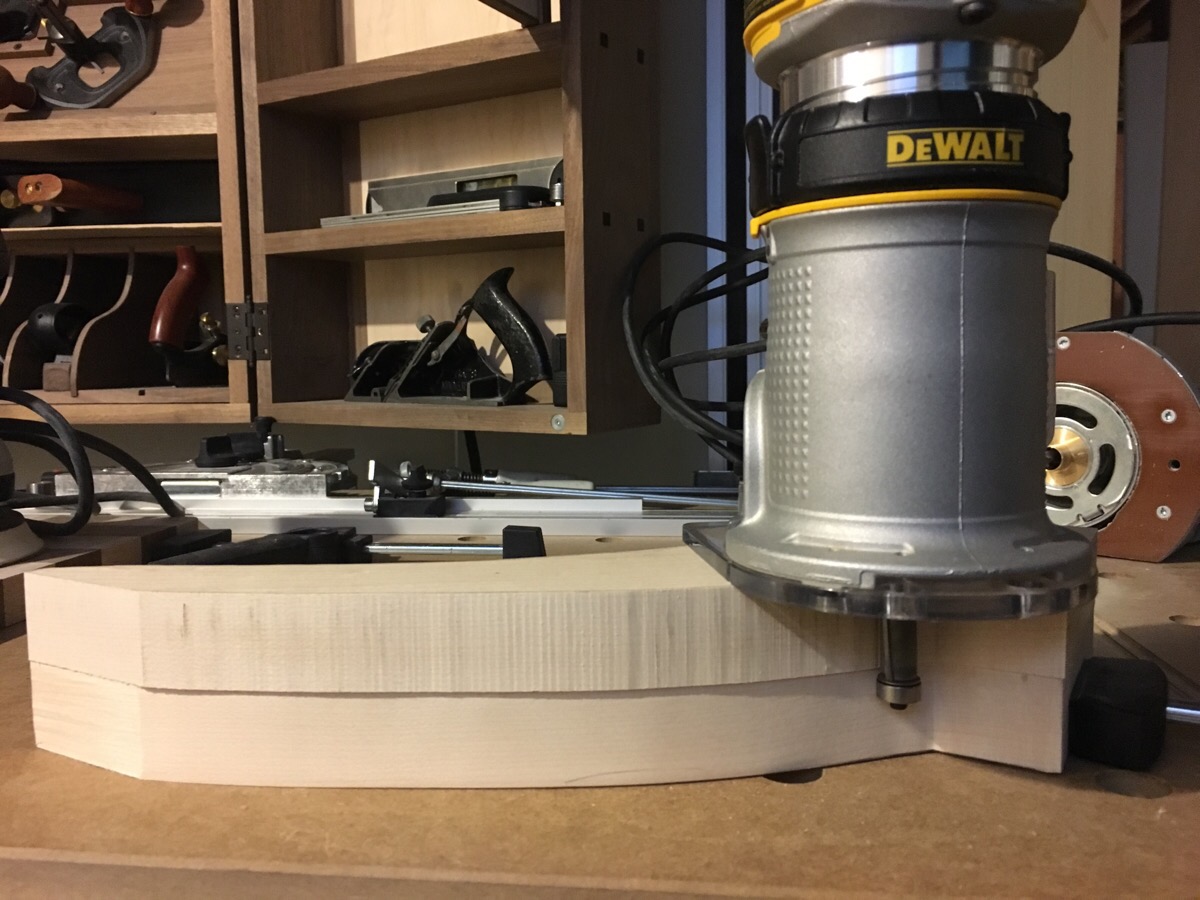
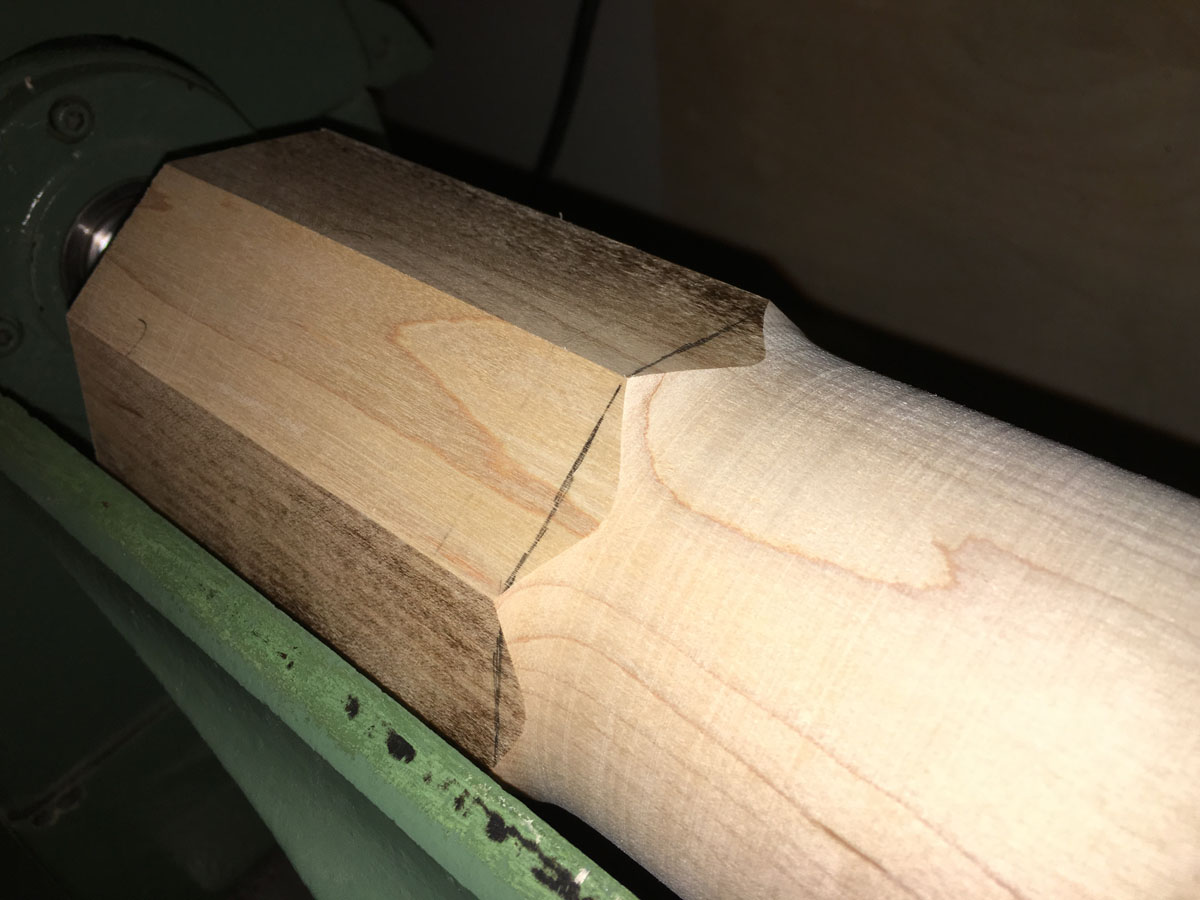
The joint to secure the legs to the base will be a sliding dovetail. To make the dovetail slot on the base I first routed a stopped 1/2″ wide, 3/4″ deep groove to remove most of the waste to finish off with the dovetail bit.
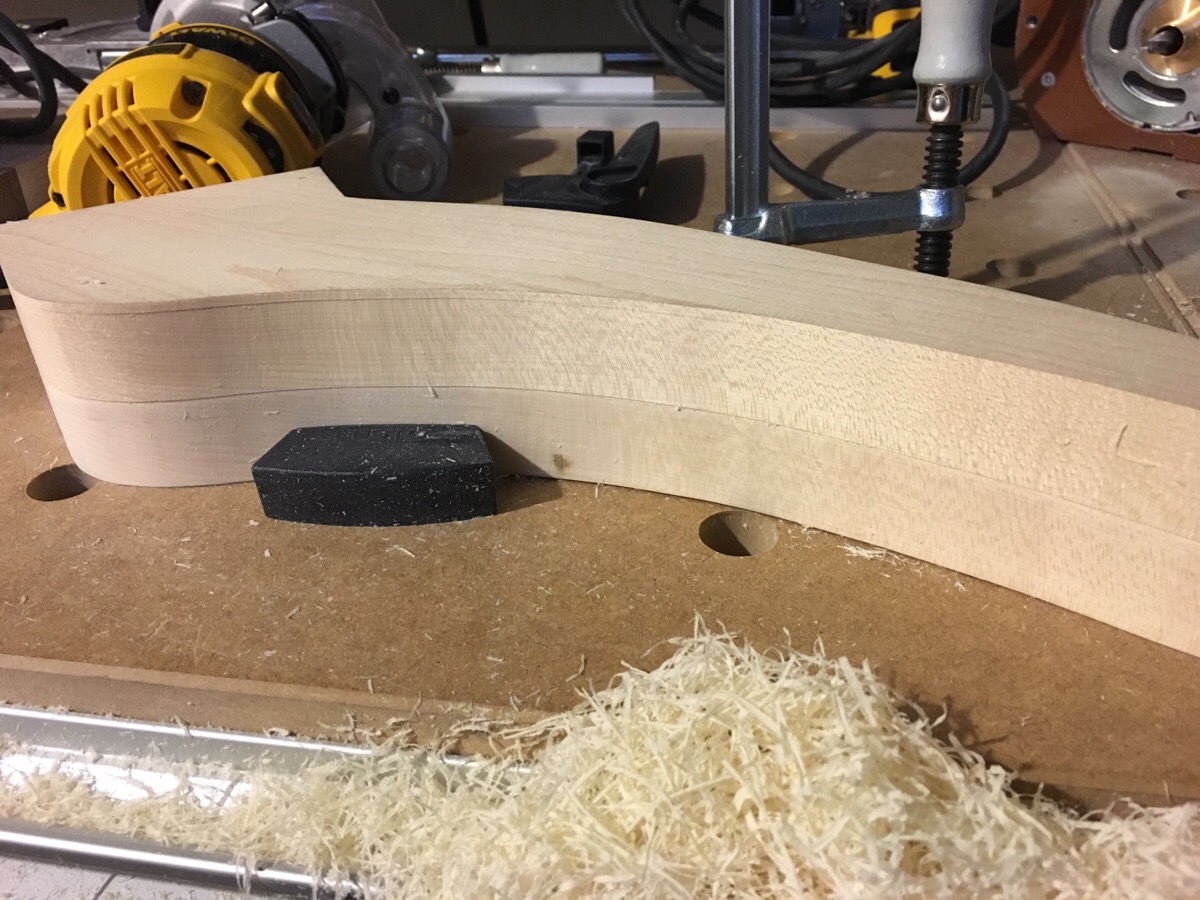
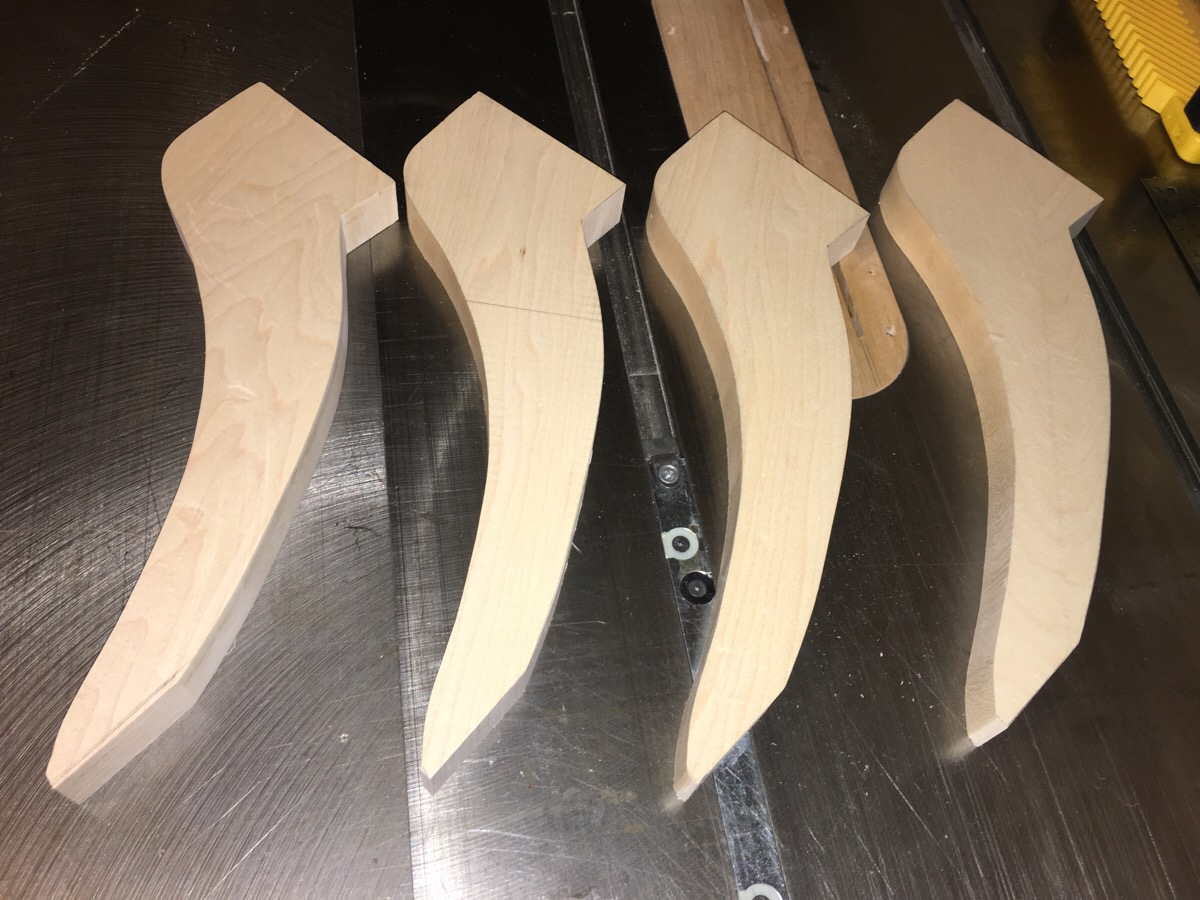
I’ve shaped out the four legs today. First I used the bandsaw to cut out the template close to the line for all legs.
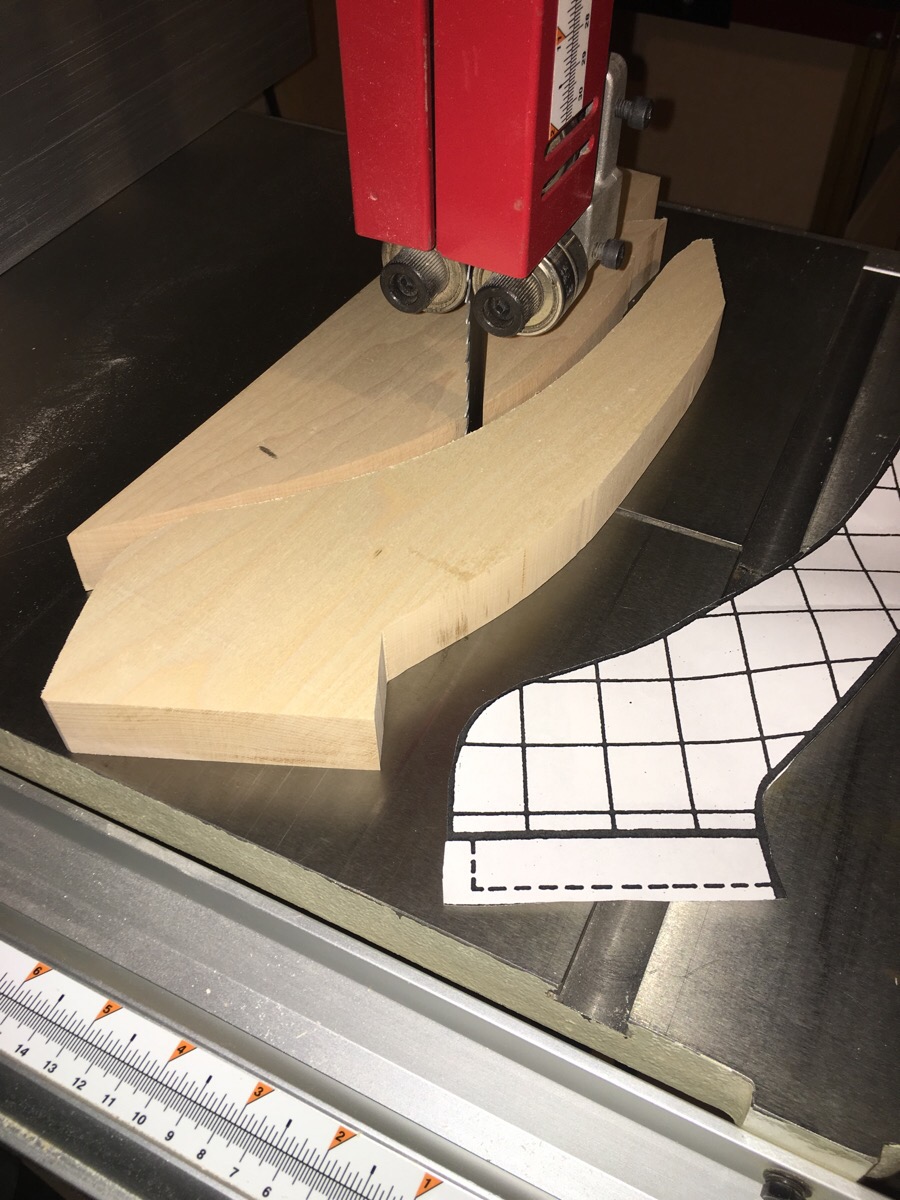
Then I sanded to the line to get one good leg. I used double stick tape to tape the good leg as a template on the bottom of each of the roughed out legs and used the flush trim bit in the router to duplicate the first.
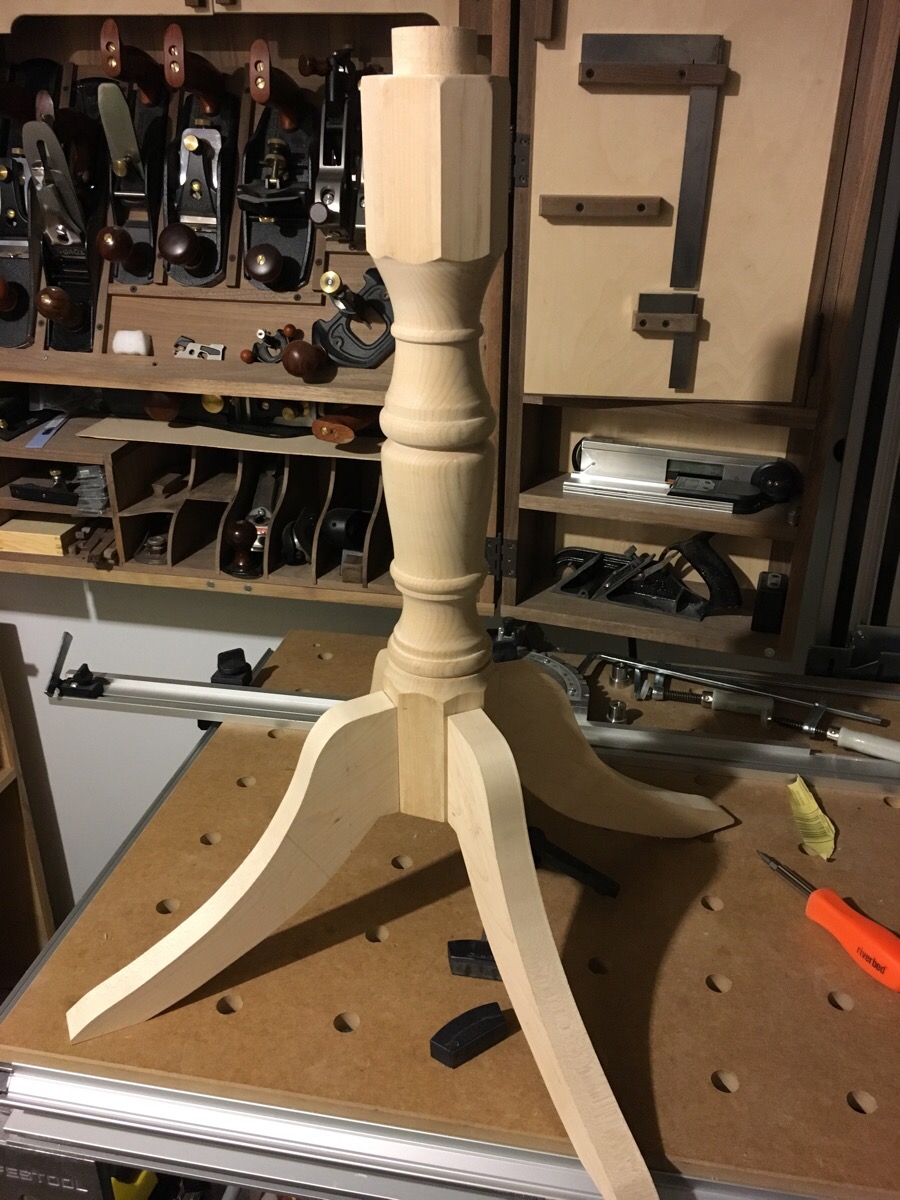
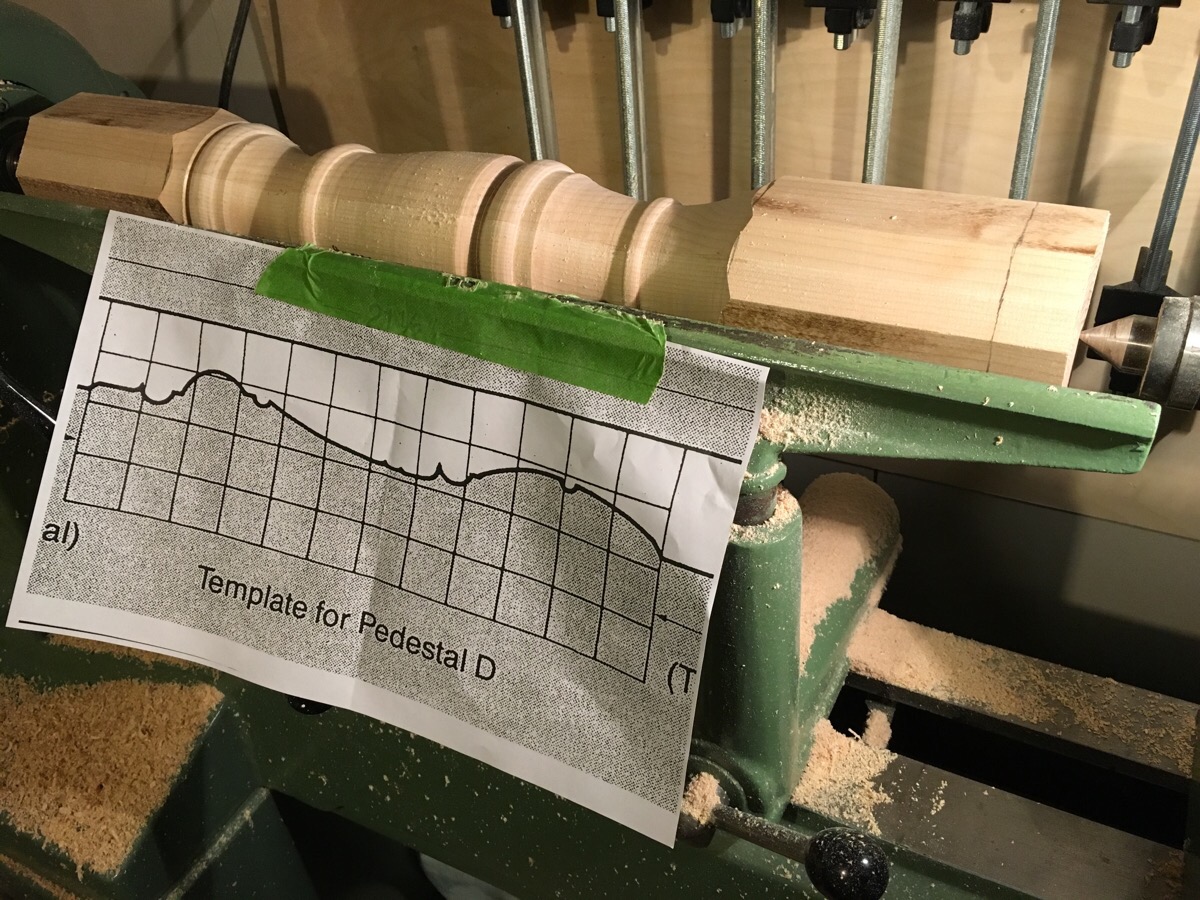
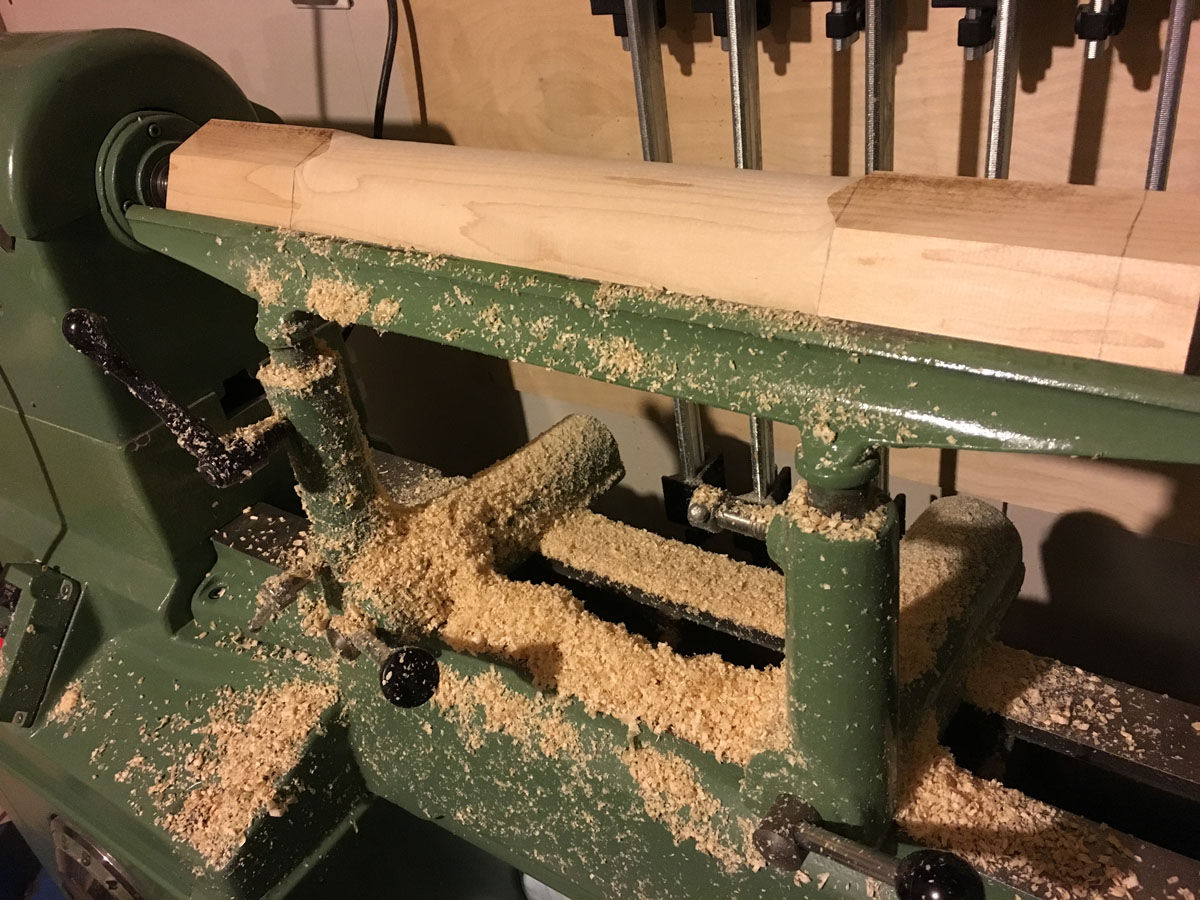
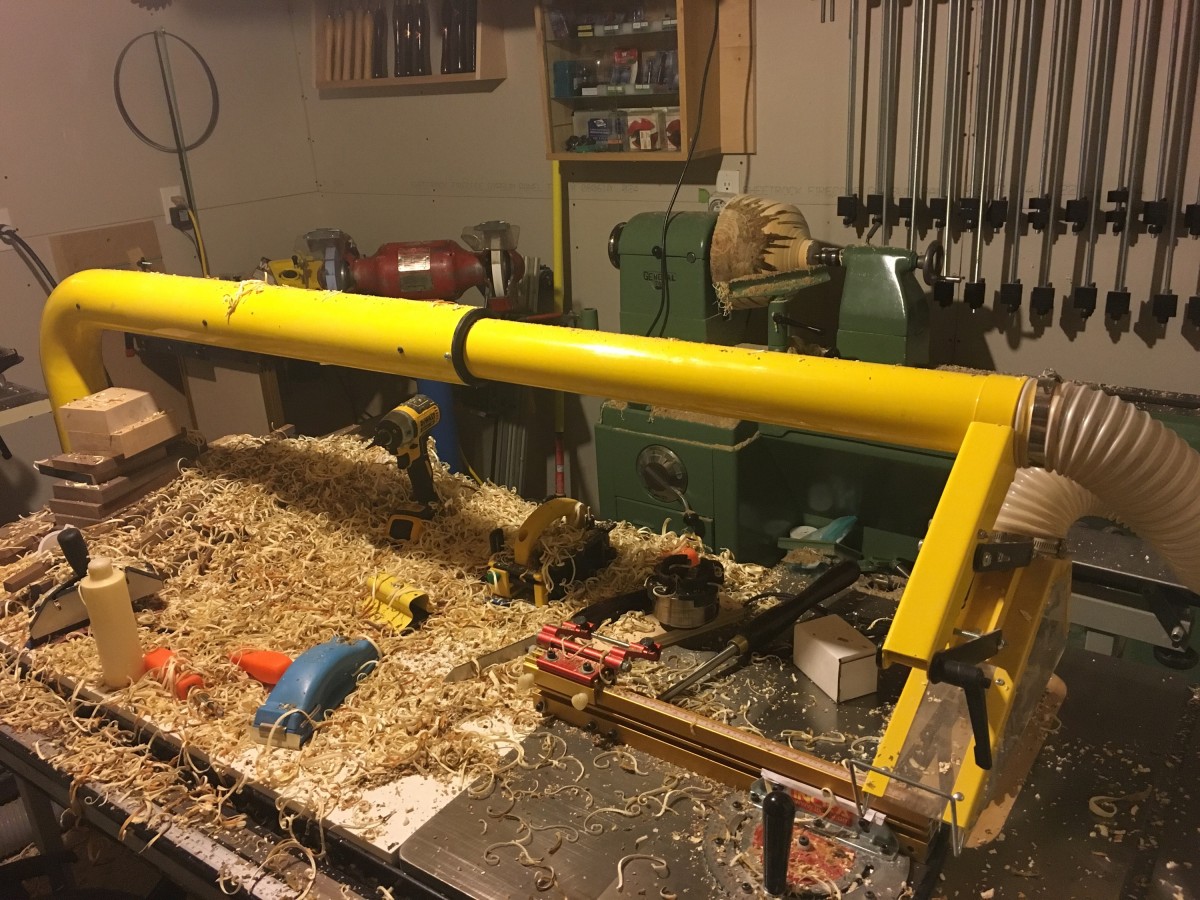
Worked on the pedestal tonight, not too shabby.
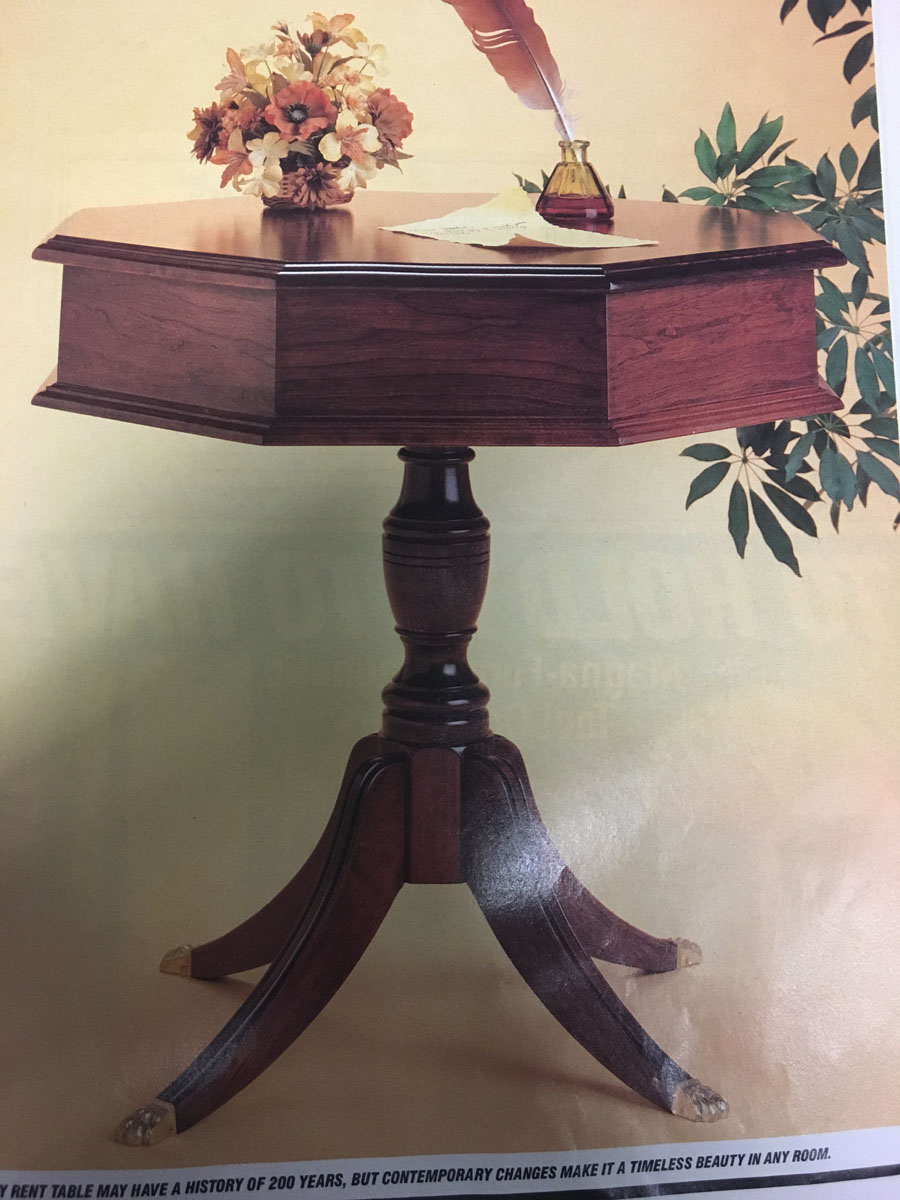
I’m building an octagonal side table that looks like the following.
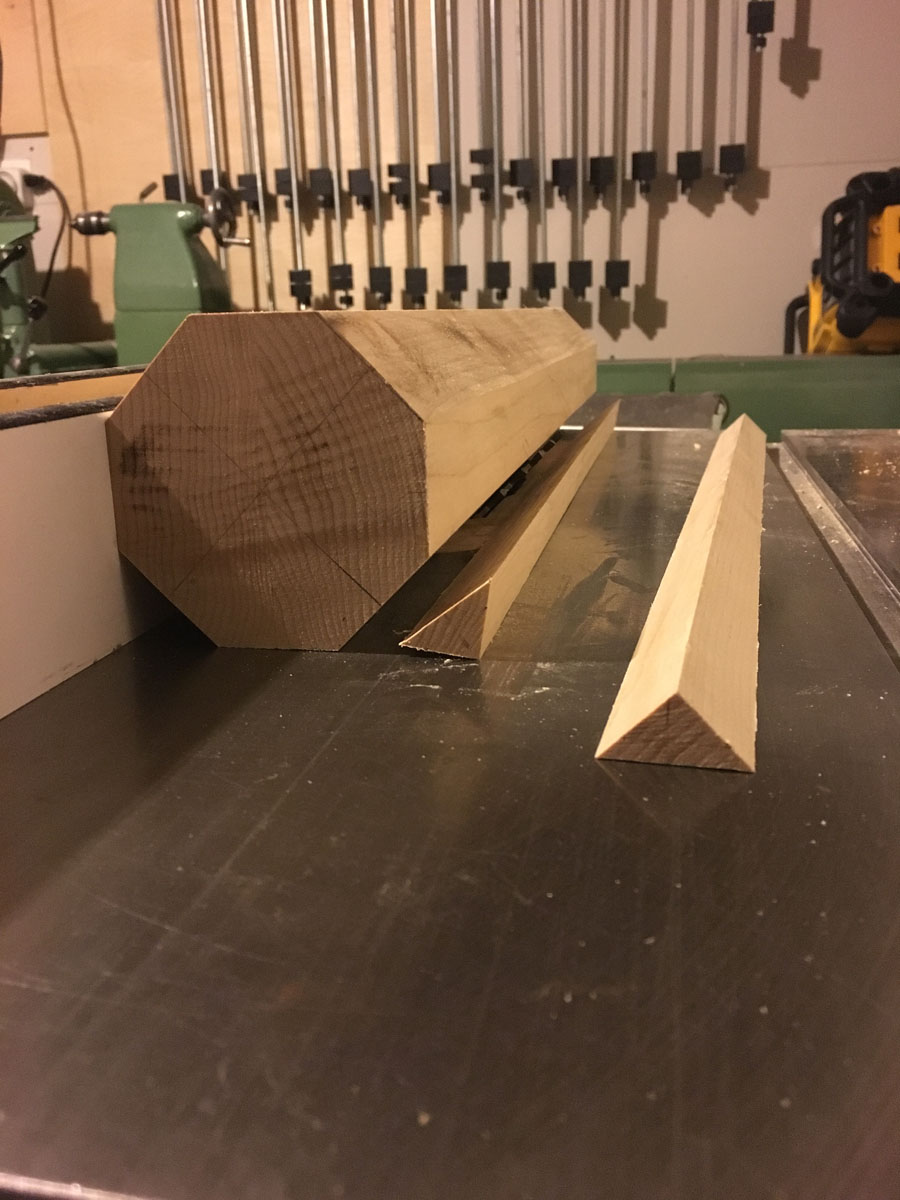
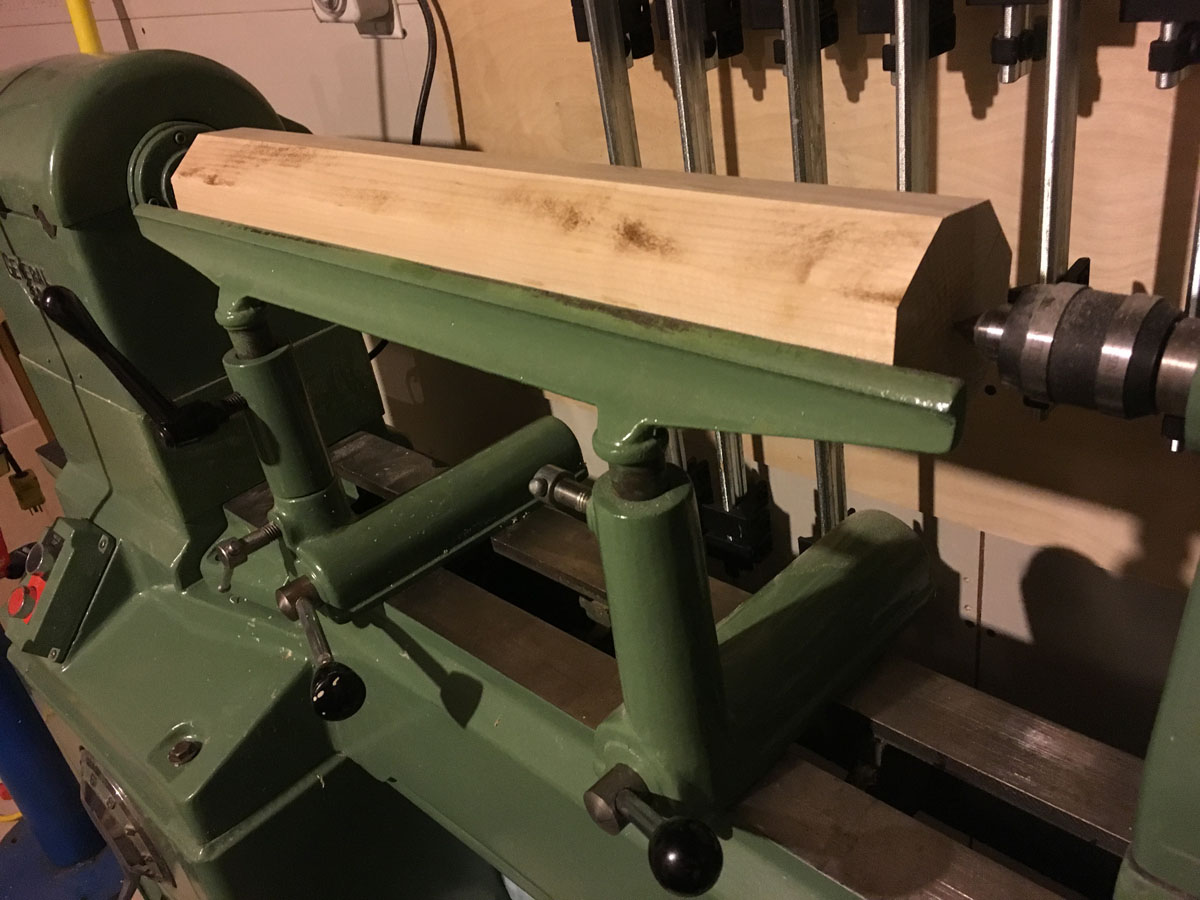
Here’s how it’s going. I laminated two 8/4 maple boards to make the 4″ thick pedestal leg. Cut it on the tablesaw to be octagonal.
Then turned the center portion round to prepare for the finer profile details.
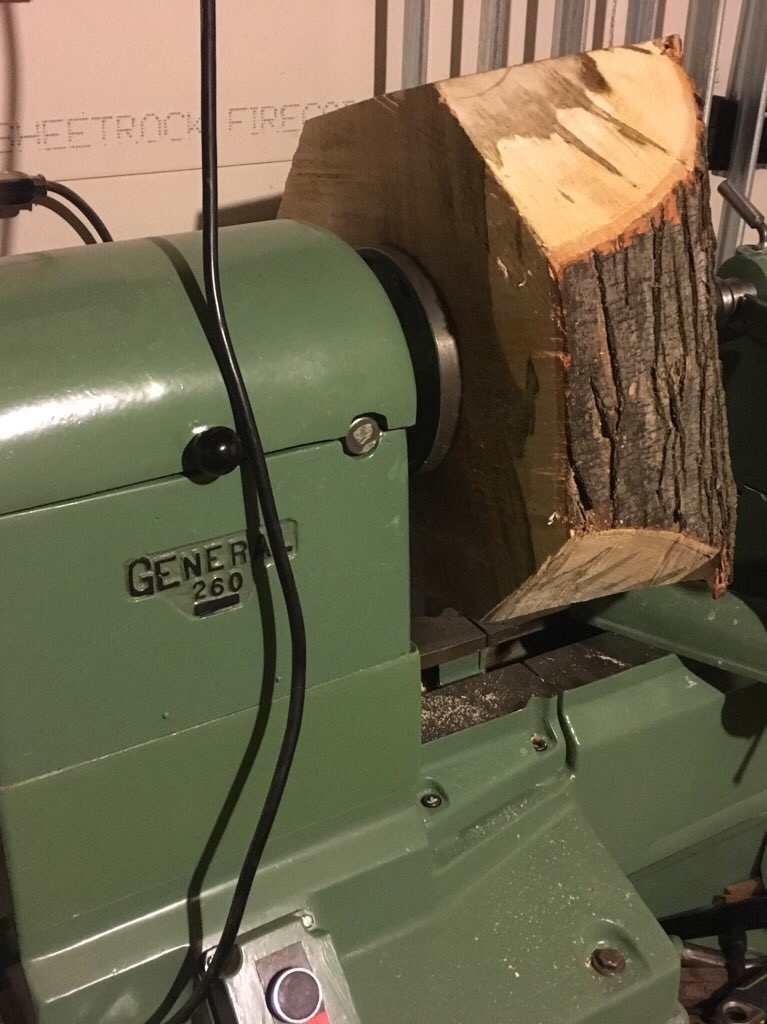
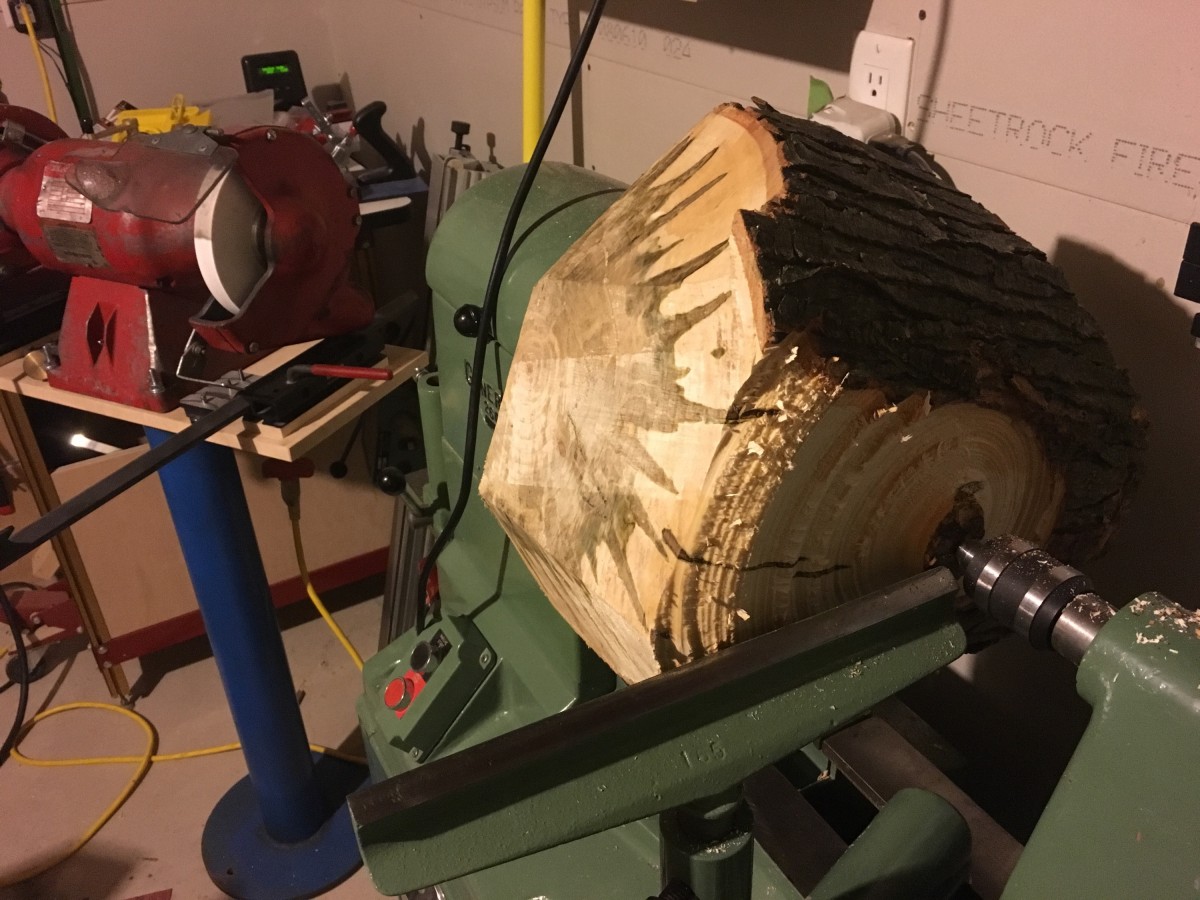
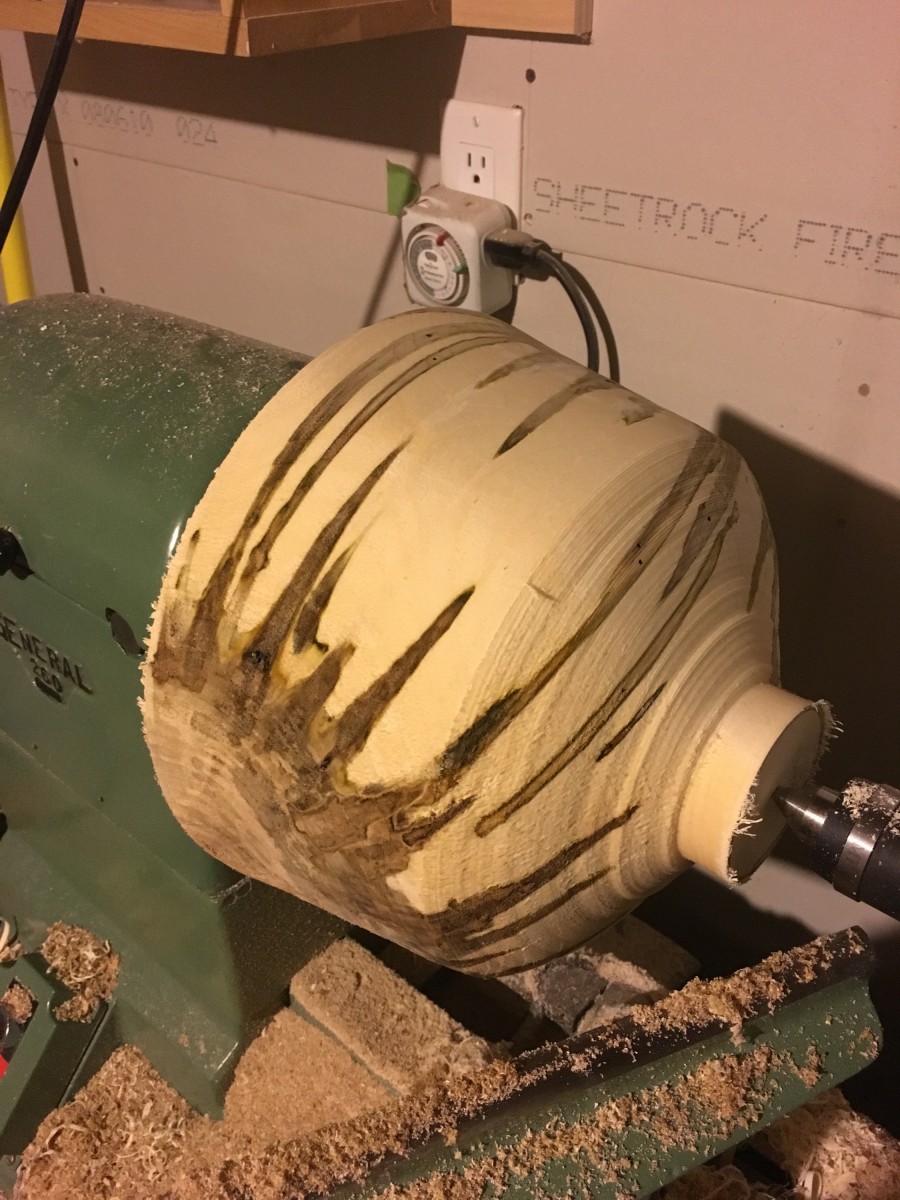
Someone on my street was cutting down a large maple tree so I grabbed a few stumps to try and turn my first bowl on my lathe.
The wood looked like fungus had started but it makes a weird star pattern that might look interesting or garbage. I rough turned it to let it dry out quicker. In 6 months I’ll finish it.

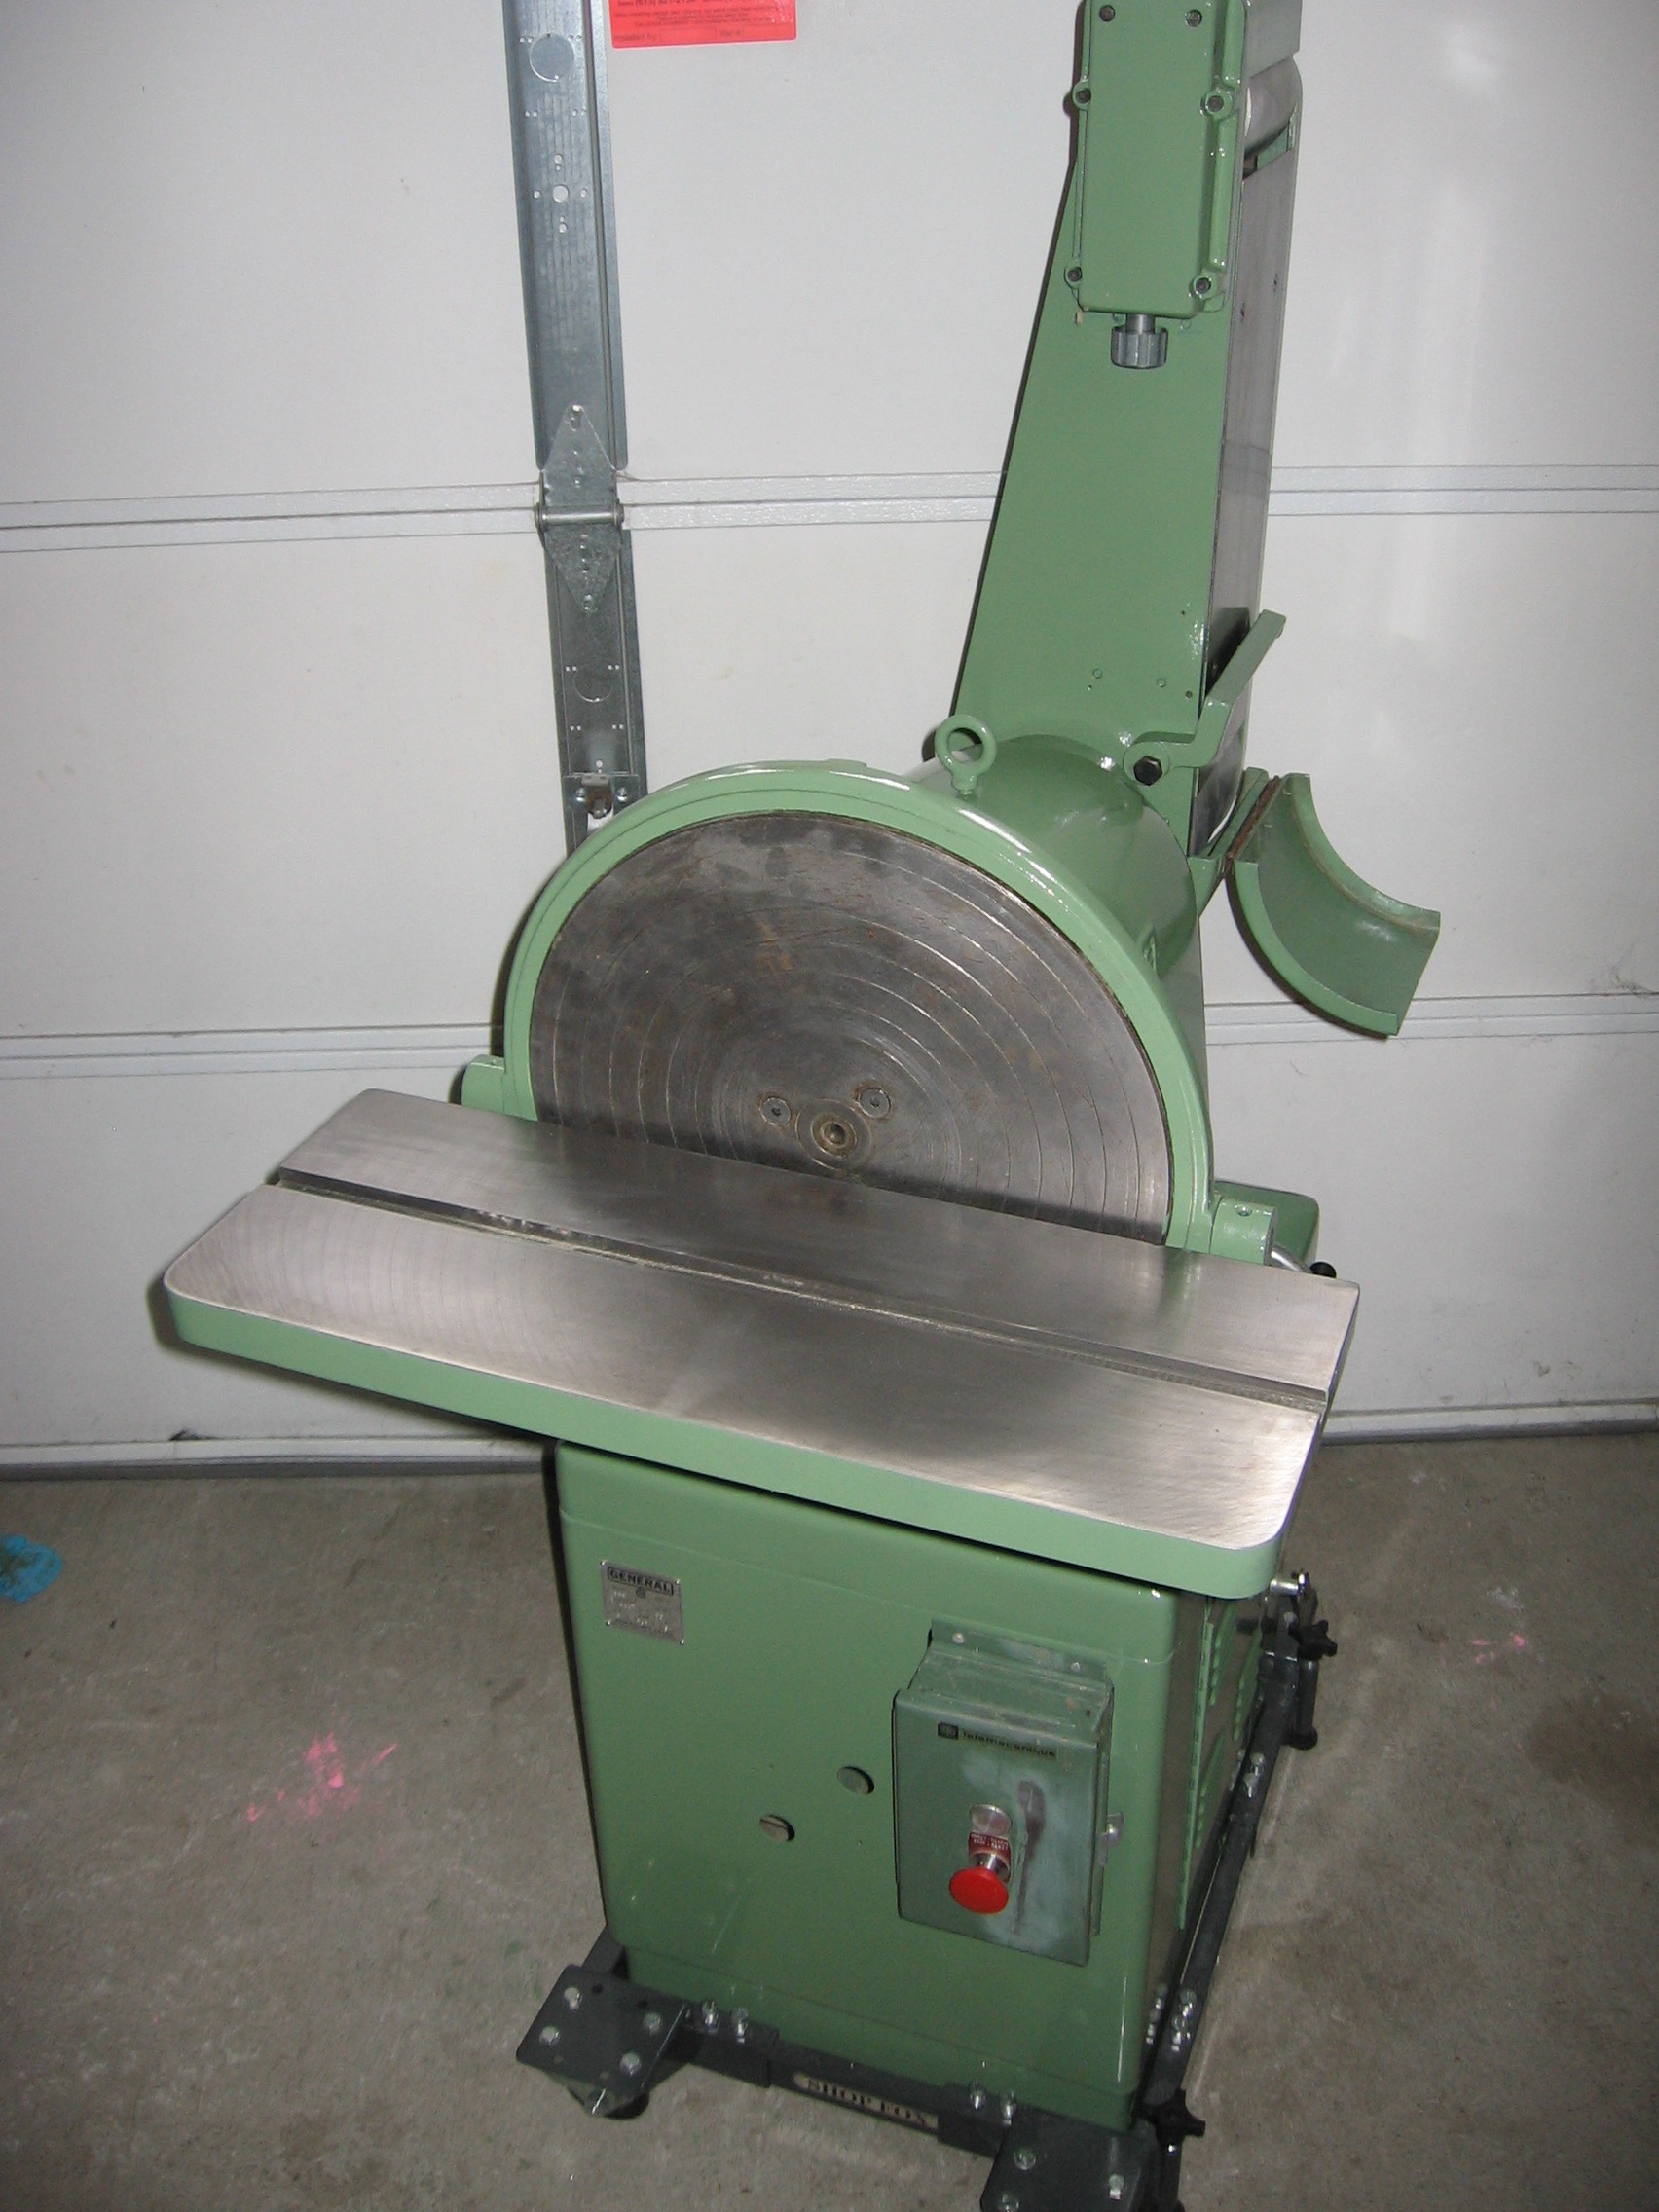
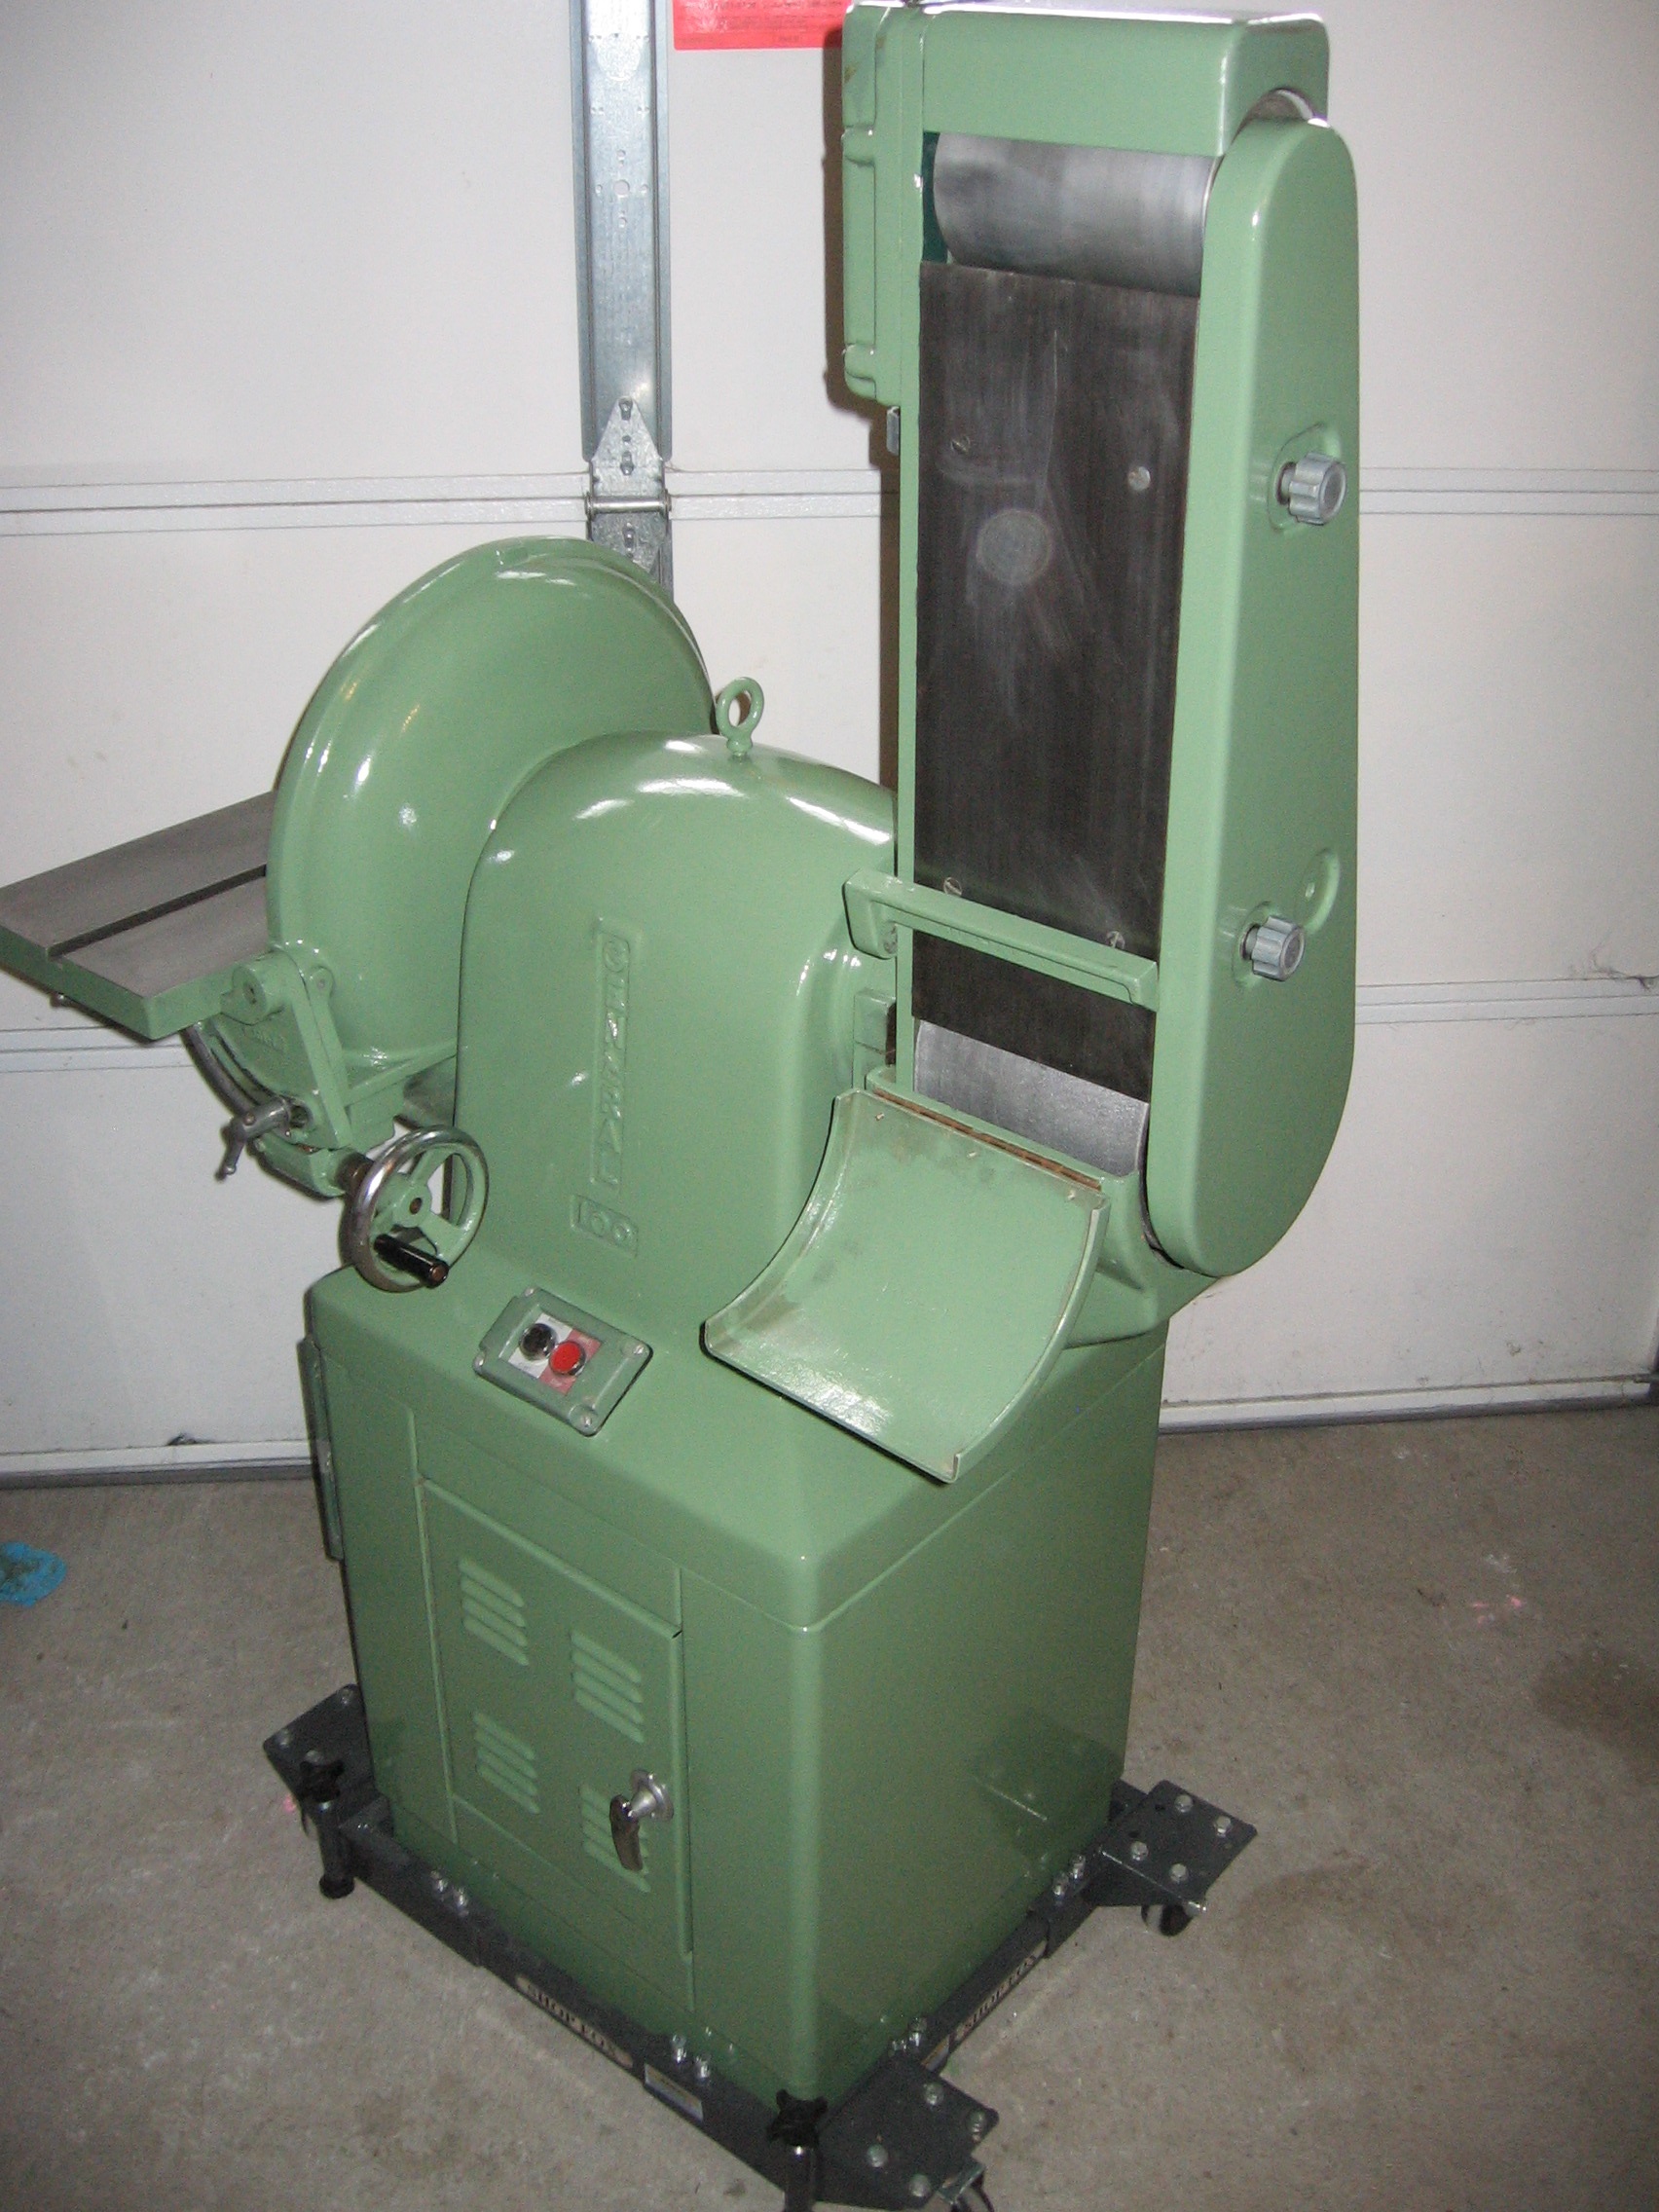
I picked up a used General 100 16″ Disc and 6″ x 60″ Belt Sander made in 1979. 600Lb, in great shape, very good price. Assuming I can find a place for it, it would look fantastic with the rest of my matching General machines.

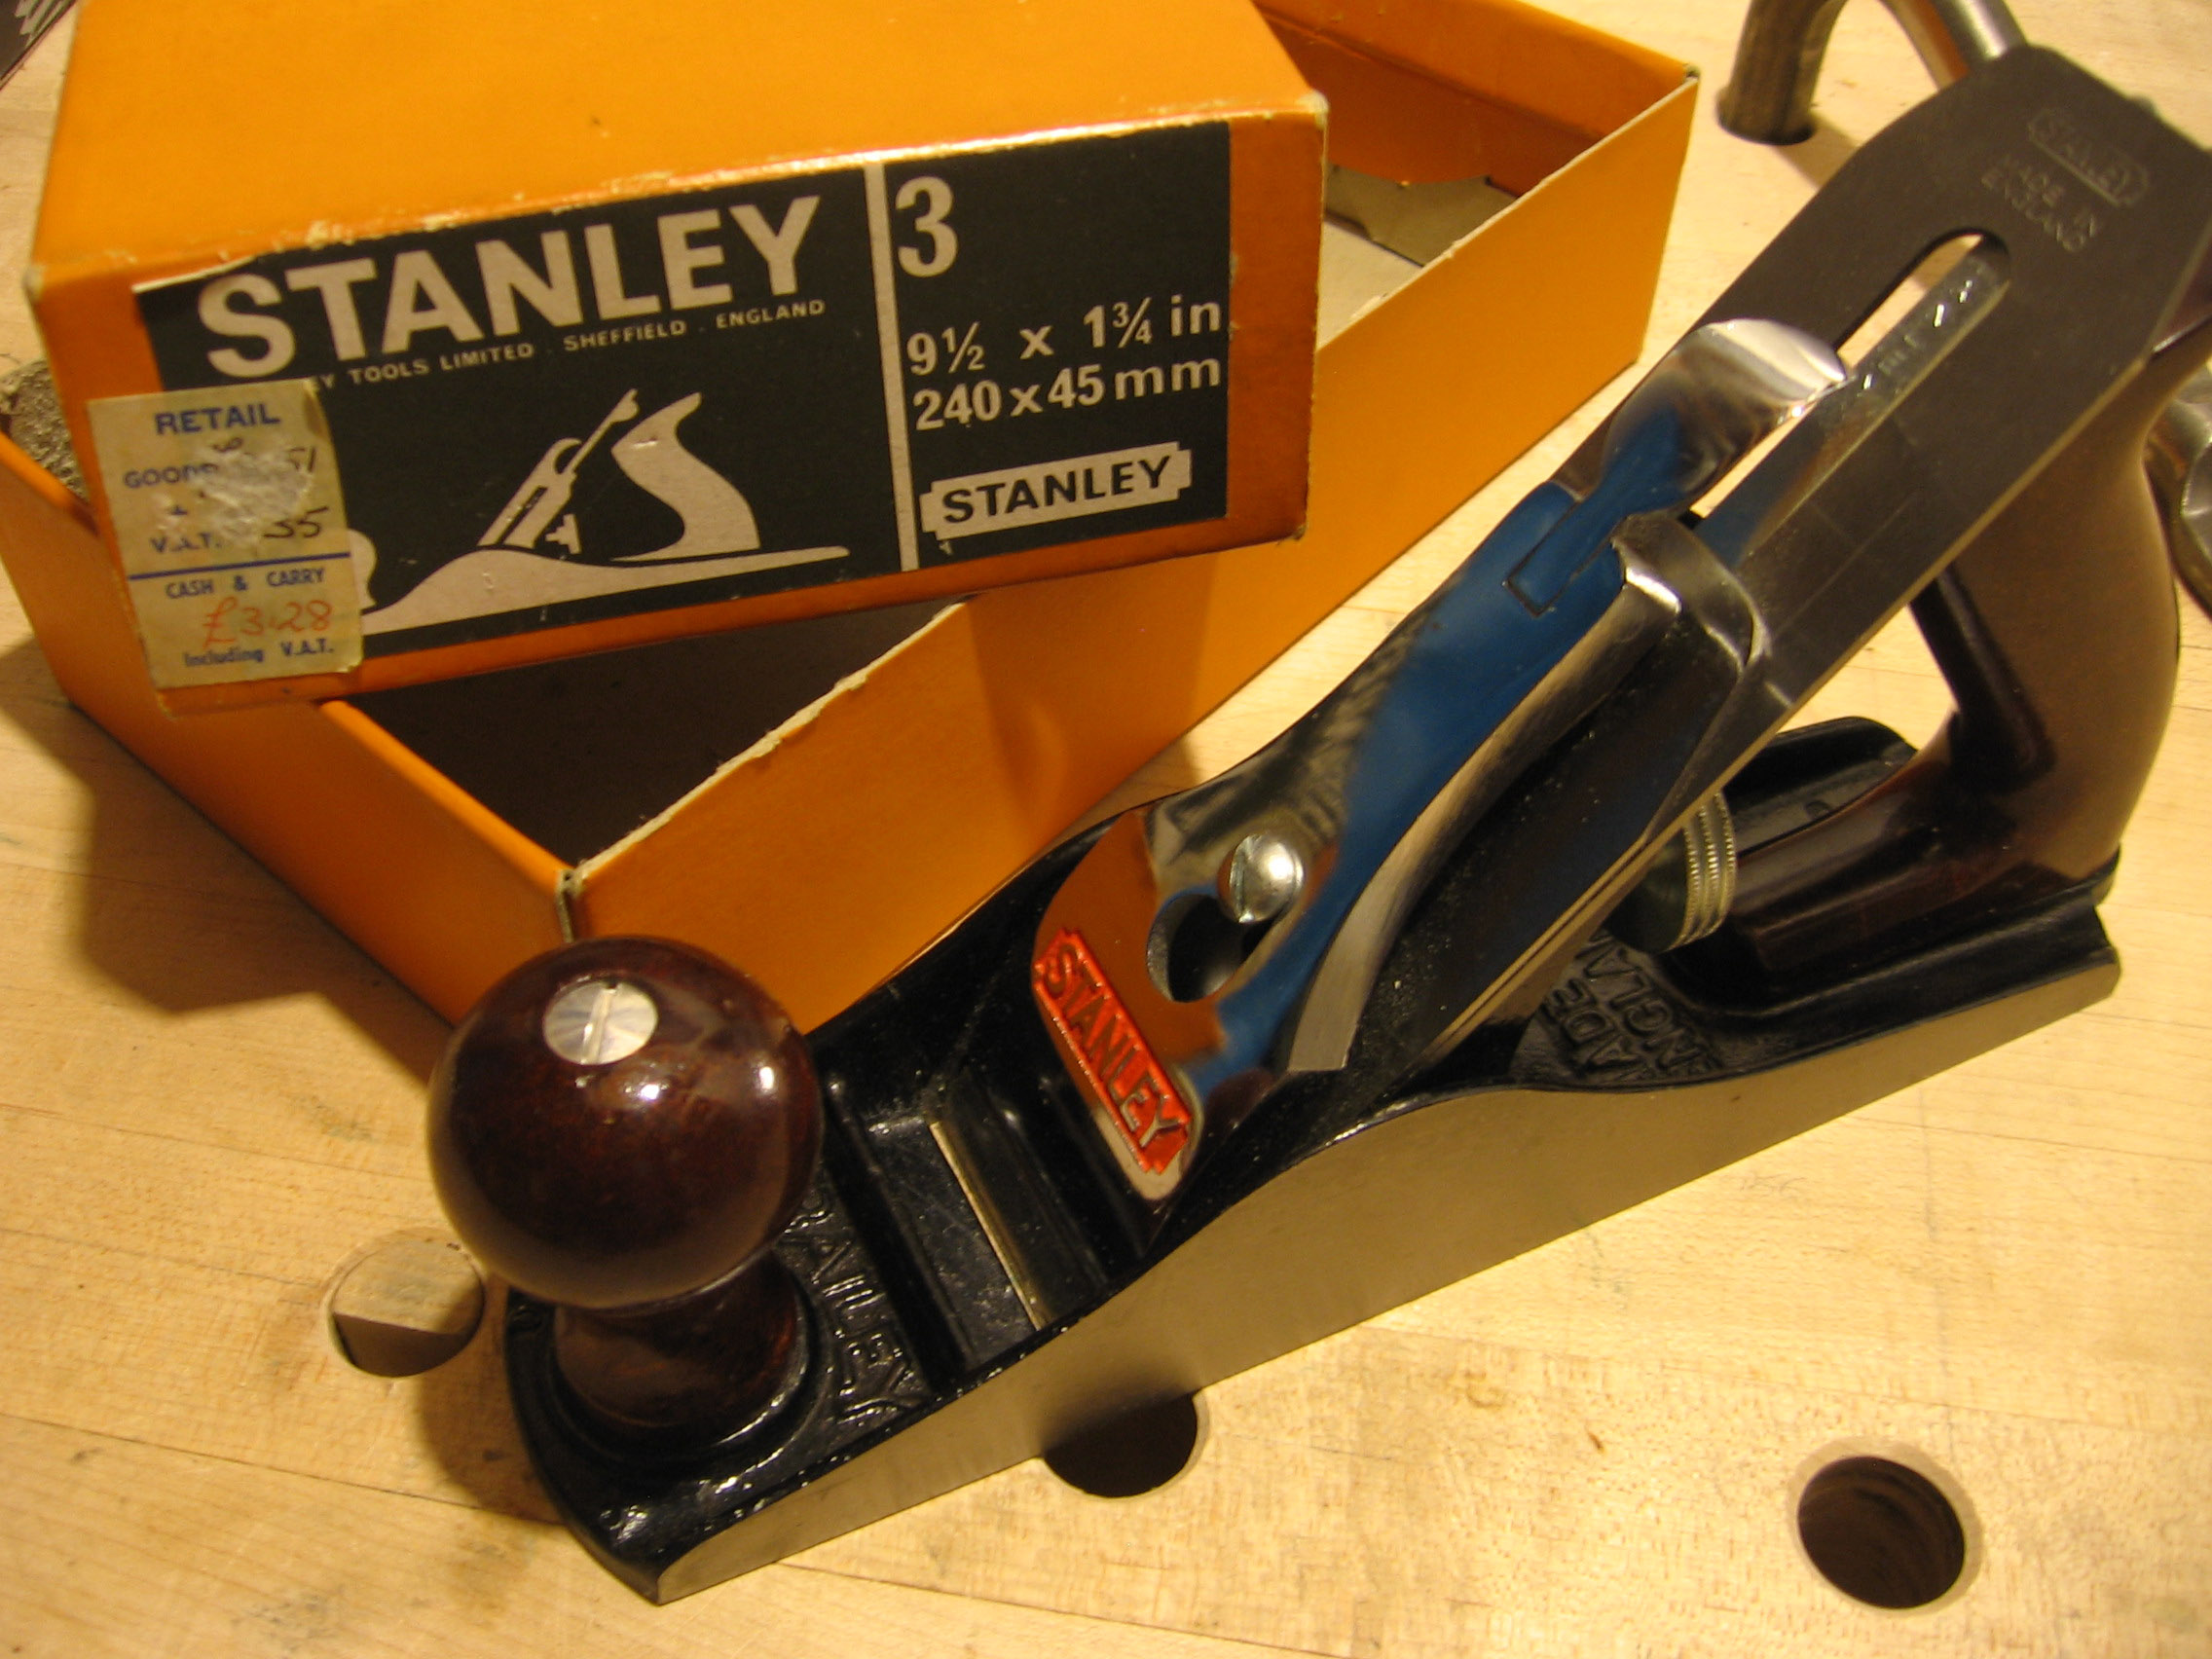
I stopped at a small town antique store on my travels during vacation this week to see if they had anything interesting in the way of old tools. I saw a Stanley “Bailey” #3 smoothing plane. It was in mint condition, it looked unused and shiny as if it was kept in grease and just toweled off to view. I knew since it said Bailey on the front it was the older premium line back in the 40-60’s but there was no tarnish to the metal at all.
I had to double check using my phone. I was right, 1948-1961 type 19.
I asked the lady if she would go lower than $85, she said she would sell it for $65 but had to double check it’s box.
“Box?” I asked? “You have the box?”
She even had the 60-70 year old box for it. She said a man brought it over from England to sell it to her, it even had the price tag still on it in British pounds.
Taken from http://hyperkitten.com/tools/stanley_bench_plane/type_study.php#Type 19
Type 19.
•Planes made by Stanley 1948-1961. •All of the features of the previous, except:
•The frog receiver, in the bottom casting, now is y-shaped.
•Rosewood is re-introduced, and is often varnished so heavily that it almost obscures the grain.
•”STANLEY” is now incised in a vertical direction on the lateral adjustment lever.
•The original type study doesn’t mention this, but on some of the models of this type “STANLEY” is stamped on both sides of the lateral adjustment lever. I’ve seen enough of these to convince me that’s it wasn’t accidental, or if it was, it was a big screw-up.
•The knurling on the brass depth adjuster is now parallel on most examples.
•Later examples have the familiar black paint on the hardwood tote and knob.
•Type study doesn’t mention this, but the cutters now have rounded tops instead of the angular top. This change happened in the mid–1950’s, in my opinion.
•Furthermore, the original type study doesn’t mention the change in the finish applied on the forked lever. For a short while, some models had a nickel plated appearance on them as a finish rather than the usual black japanning. Where in the sequence of actual manufacturing this subtle change fits is unknown to me, but I’ve only noticed it on those planes equipped with rosewood knobs and totes and rounded irons.