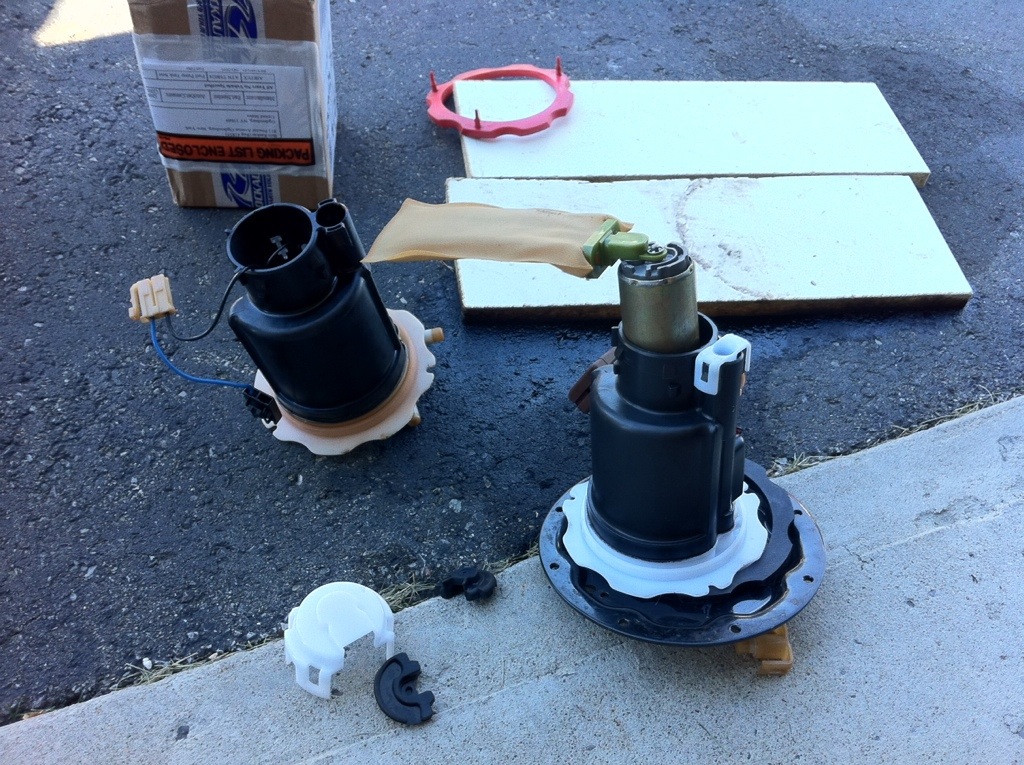
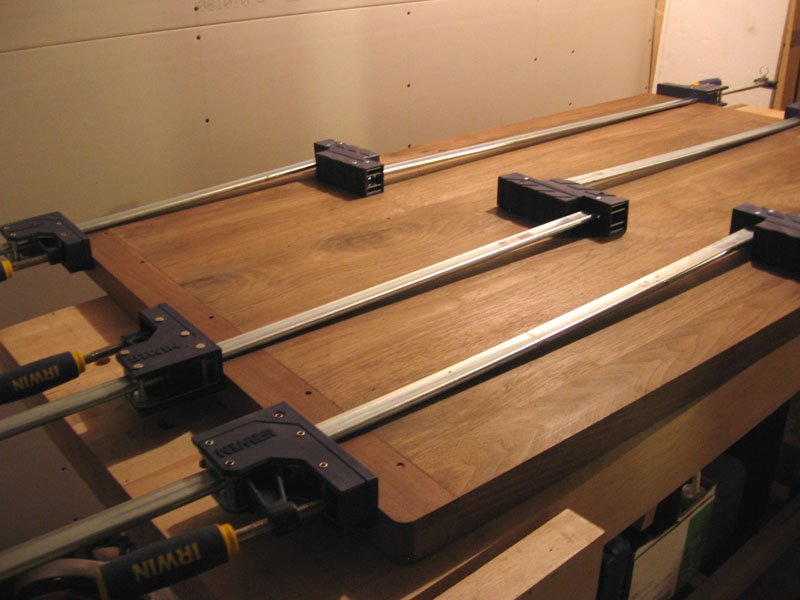
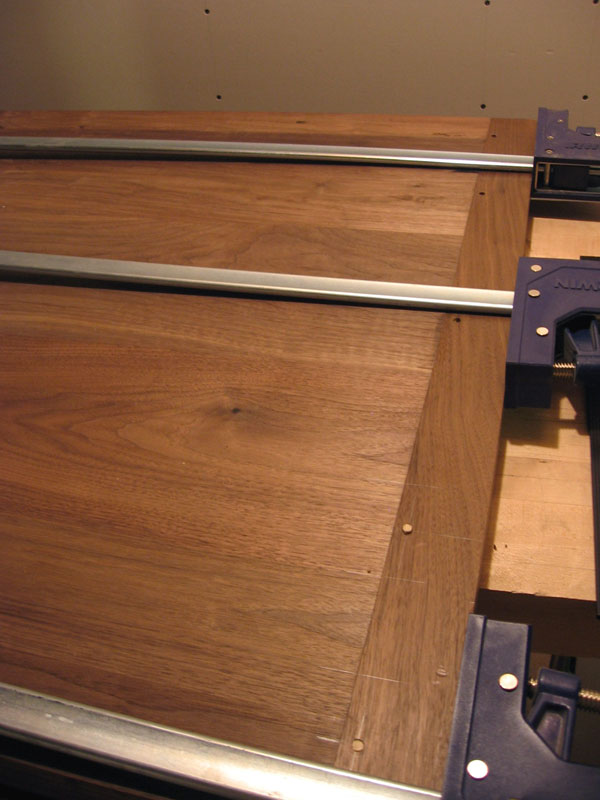
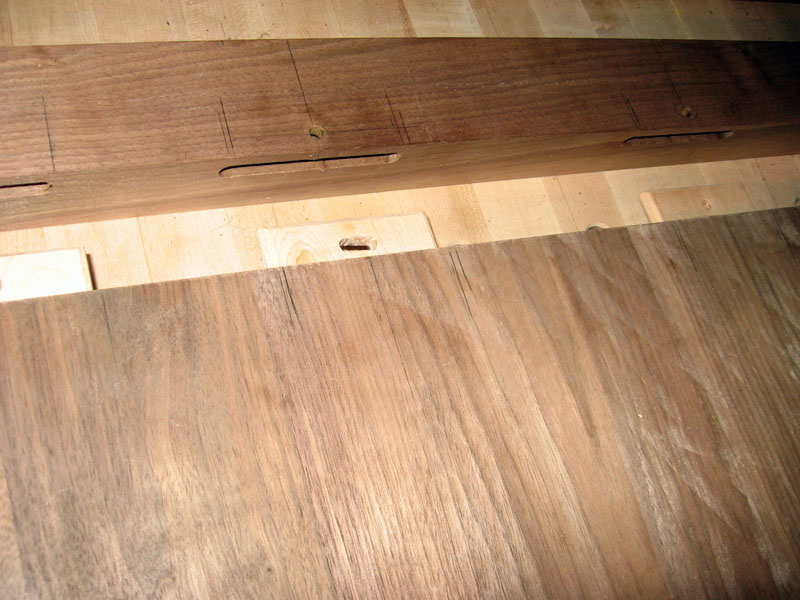
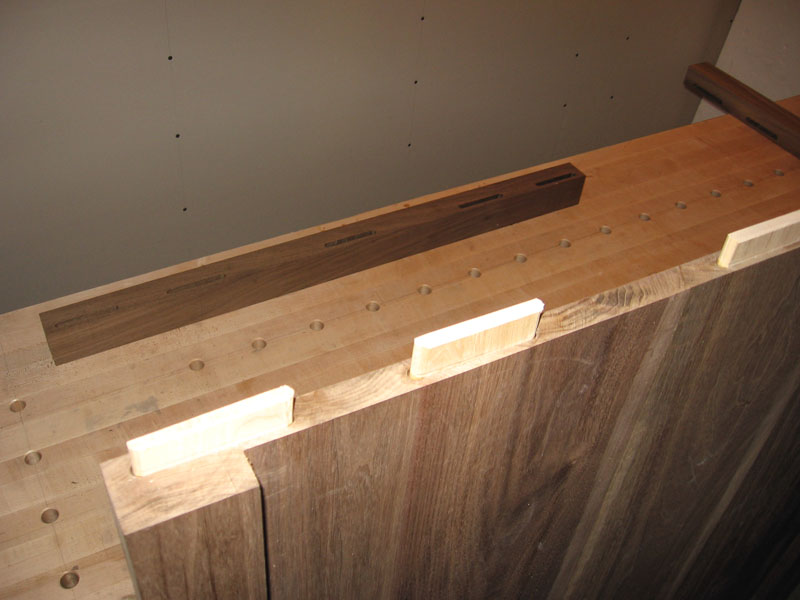
Walnut table build – breadboard ends clamped

I gave all but the center tenon a coat of wax to help free movement, then glued the center tenon and clamped both ends on. Once tight and in final position I drilled the 1/4″ pin holes 3/4 way down and hammered in the dowel pins. Only the center pin was glued, the ends were left to float. My clamps weren’t long enough so I had to improvise. Tomorrow I’ll fill the holes with ebony plugs and sand flush.

Posted in Woodworking | Leave a comment

Walnut table build – breadboard end tenon pin holes

Before attaching the ends I needed to drill holes to accept the dowel to pin through the joint. To allow for expansion all tenon pin holes except for the center (which will be glued solid) needs an elongated slot hole. Since the end will always remain stable, and the main table will expand or contract widthwise the unglued dowel pin will ride back and forth within the slot. If we didn’t allow for movement the end could crack away or the table could warp.

Posted in Woodworking | Leave a comment

Walnut table build – breadboard end tenons

After all the mortises are cut in the end pieces as well as the tabletop, the maple floating tenons can be glued in the tabletop end. Then the end pieces will slip on.

Posted in Woodworking | Leave a comment

Walnut table build – breadboard ends

With the edges glued up and dried I’ve trimmed off the ends straight to prepare for the end pieces. In order for the main walnut slab to be able to expand and contract widthwise from climate change it has to float within the end caps. If they were fixed tightly the ends would crack or warp under the force so breadboard ends are required. I begin cutting the mortises with my router and mortising jig on the table and end caps using 5 x 3″ mortises per end.

Posted in Woodworking | Leave a comment

Walnut table build – 8/4 edge glue-up

You can never have enough clamps.

Posted in Woodworking | Leave a comment

Walnut table build – 8/4 edge fitted

Here’s what the table will look like upside-down with the thick edges loosely fitted.

Posted in Woodworking | Leave a comment

Walnut table build – 8/4 edge

Next I drill out the dowel joinery for the 8/4 (2″) thick table edges to give it a thicker look.   I used the Dowelmax jig with indexer to drill out equal spacing, the table has identically positioned holes so the table top will be flush with the edges when joined.

walnuttable_dowelmax_edge-04_small

Posted in Woodworking | Leave a comment

Kitchen Table Beginning

I’ve started work on a kitchen table since mine is now falling apart. It’s going to be 3×5 feet, solid walnut top with maple stretchers and legs dyed black. The solid maple legs will be fairly beefy too, 3″x3″ square, tapered slightly to the bottom with a decorative design around the top portion.

Posted in Woodworking | Leave a comment

Odometer clicked over

Twelve years in the making!

20130405-083802.jpg

Posted in General | Leave a comment

Infill Plane Testing

I was given the chance to test out an infill plane made by Wayne Jepson, Caledon, On.
This is a really beautiful plane. Some of the shavings in the picture are on the heavy side for a smoother but I backed it off a little in the end. I tested it next to my Veritas Bevel-up smoother and the results were very similar in terms of shaving shape, thickness, consistency and board finish. The Veritas having a 2 1/4″ blade is much harder to push a full width shaving which makes this a different experience. The additional weight is also nice, it drives itself more.

Posted in Woodworking | Leave a comment